Danish Pastry Recipe
Anne Marie 0 CommentsPrep time: 10 Minutes Baking Time: 12 Minutes
Serves: 6 People (6 Danish pastry Units) Easy

Learn How To Make Money And Save Money With Cooking & Baking
Danish Pastry recipe is pretty easy to make and anyone can make it, even without much baking experience. What makes it worth your time is the way it combines simple ingredients that are good for your body. There’s milk in the pudding, which offers a steady source of calcium for strong bones and teeth. The puff pastry it uses also contributes important fats that your body needs to absorb certain vitamins.
Berries are a source of B vitamins and probiotics that may help with digestion. What people often overlook is that when something is made from scratch, you have complete control over what goes in. You’re not dealing with additives or preservatives that are often found in store-bought versions. That alone makes this dish a smarter option for those looking to enjoy something that’s both comforting and more thoughtful.
Plus, it’s just really good. Not overdone, not overdone. Simply good enough to make you want to share it.
This page has everything you need to make this dish yourself. From the full ingredient list to the calorie count and a step-by-step guide on how to make the final dish. All that’s left is to follow the instructions.
Table of Contents
Recipe Description
A Danish pastry recipe includes a soft, layered puff pastry filled with vanilla pudding and berries. It is ideal for vegetarians, home bakers, and anyone who enjoys real ingredients.
We'll set up your own food blog for 100% FREELearn About Our Mentoring Program
Recipe Ingredients
- 500 grams puff pastry
- 300 grams berries
- 80 grams Vanilla pudding
- 1 medium egg
Recipe Calorie Chart
- Puff pastry 1750
- Berries 144
- Pudding 290
- Egg 85
- Total Calories: 2269
Recipe Attributes
- Nut Free
- Low Fat
- Low Carb
- Refreshing
- Budget Friendly
- Picnic Friendly
Danish Pastry Recipe Steps
- Step 1 Cut puff pastry. Cut puff pastry into 6 equal squares.
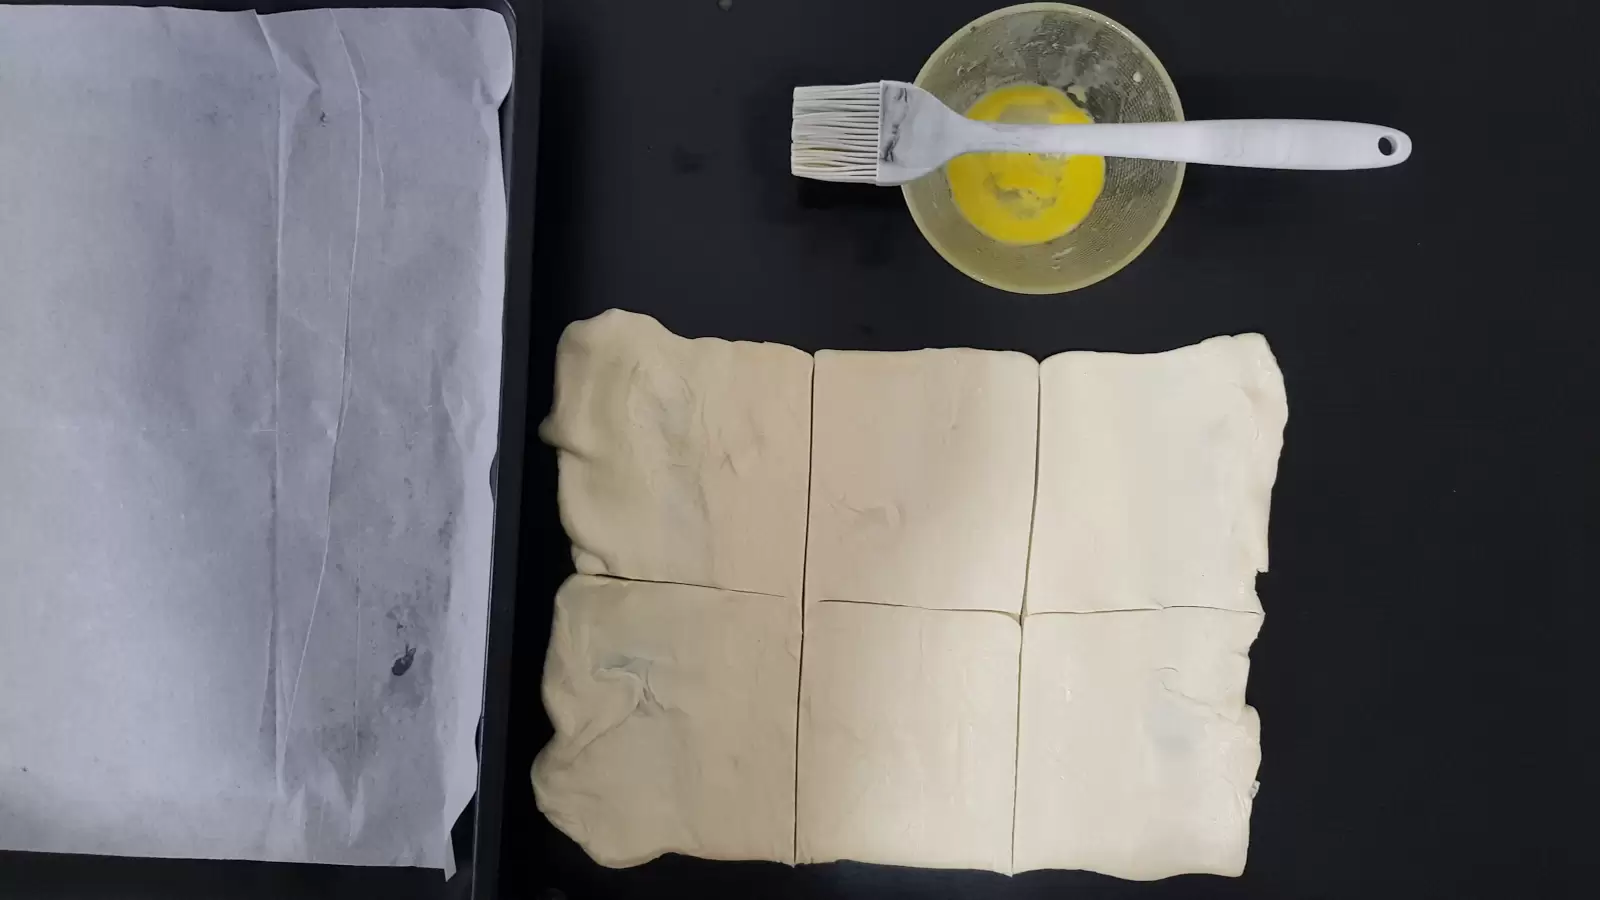
Step 1: Cut puff pastry. - Step 2 Cut an inner square. Cut an inner square, like a frame, but not all the way through.

Step 2: Cut an inner square. - Step 3 Fold to one side. Fold one strip of dough to the right.
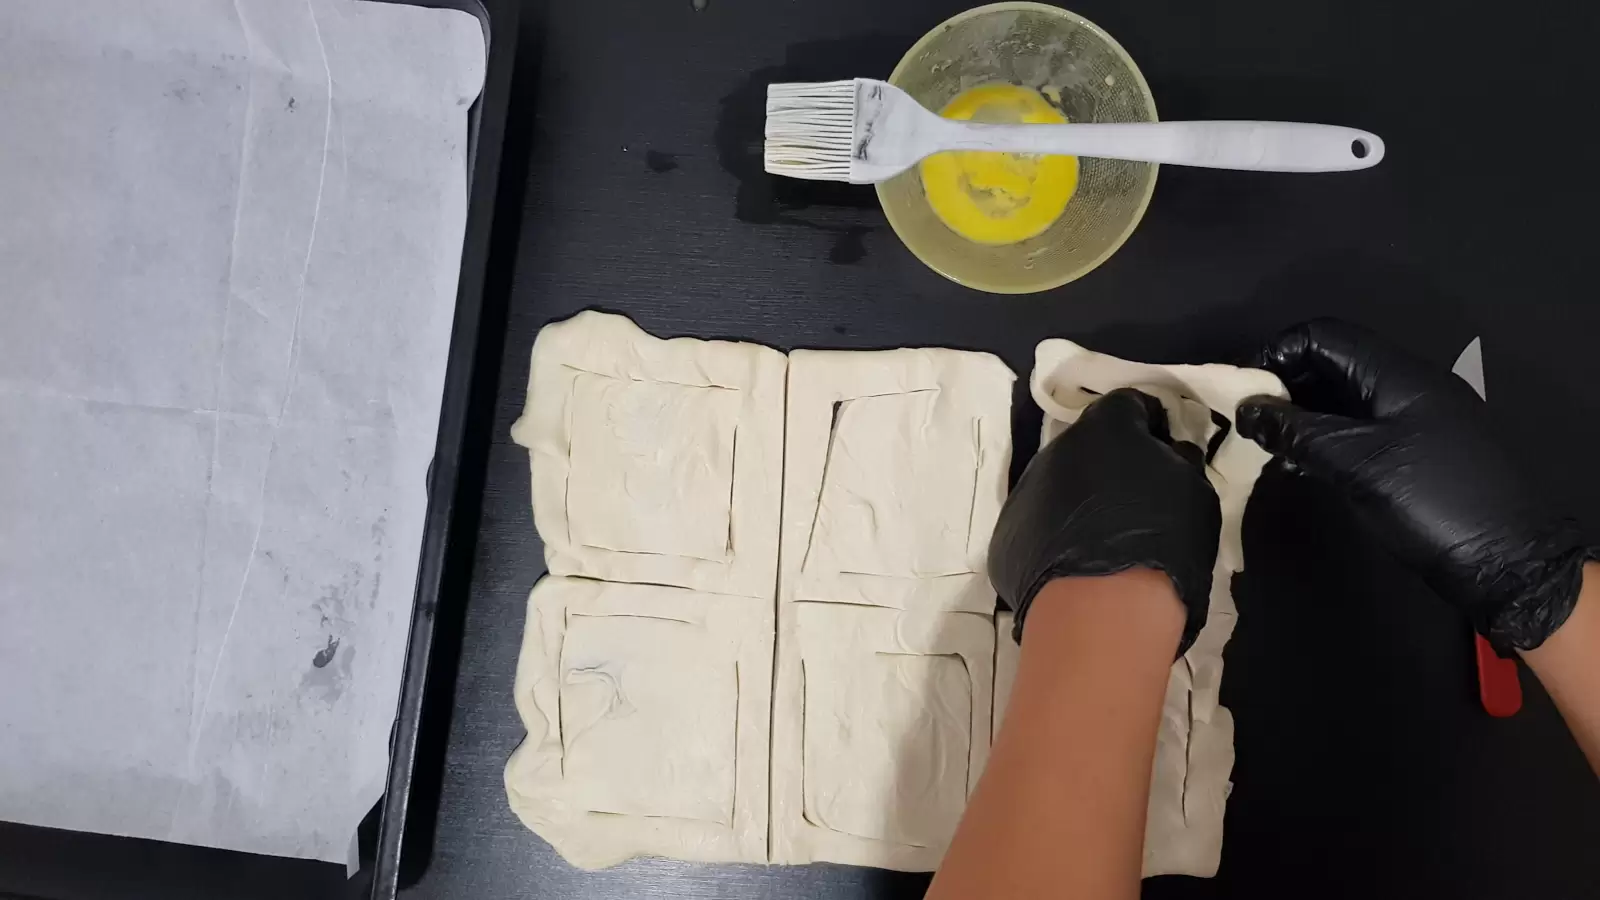
Step 3: Fold to one side. - Step 4 Fold to the other side. Fold the other strip of dough to the left.
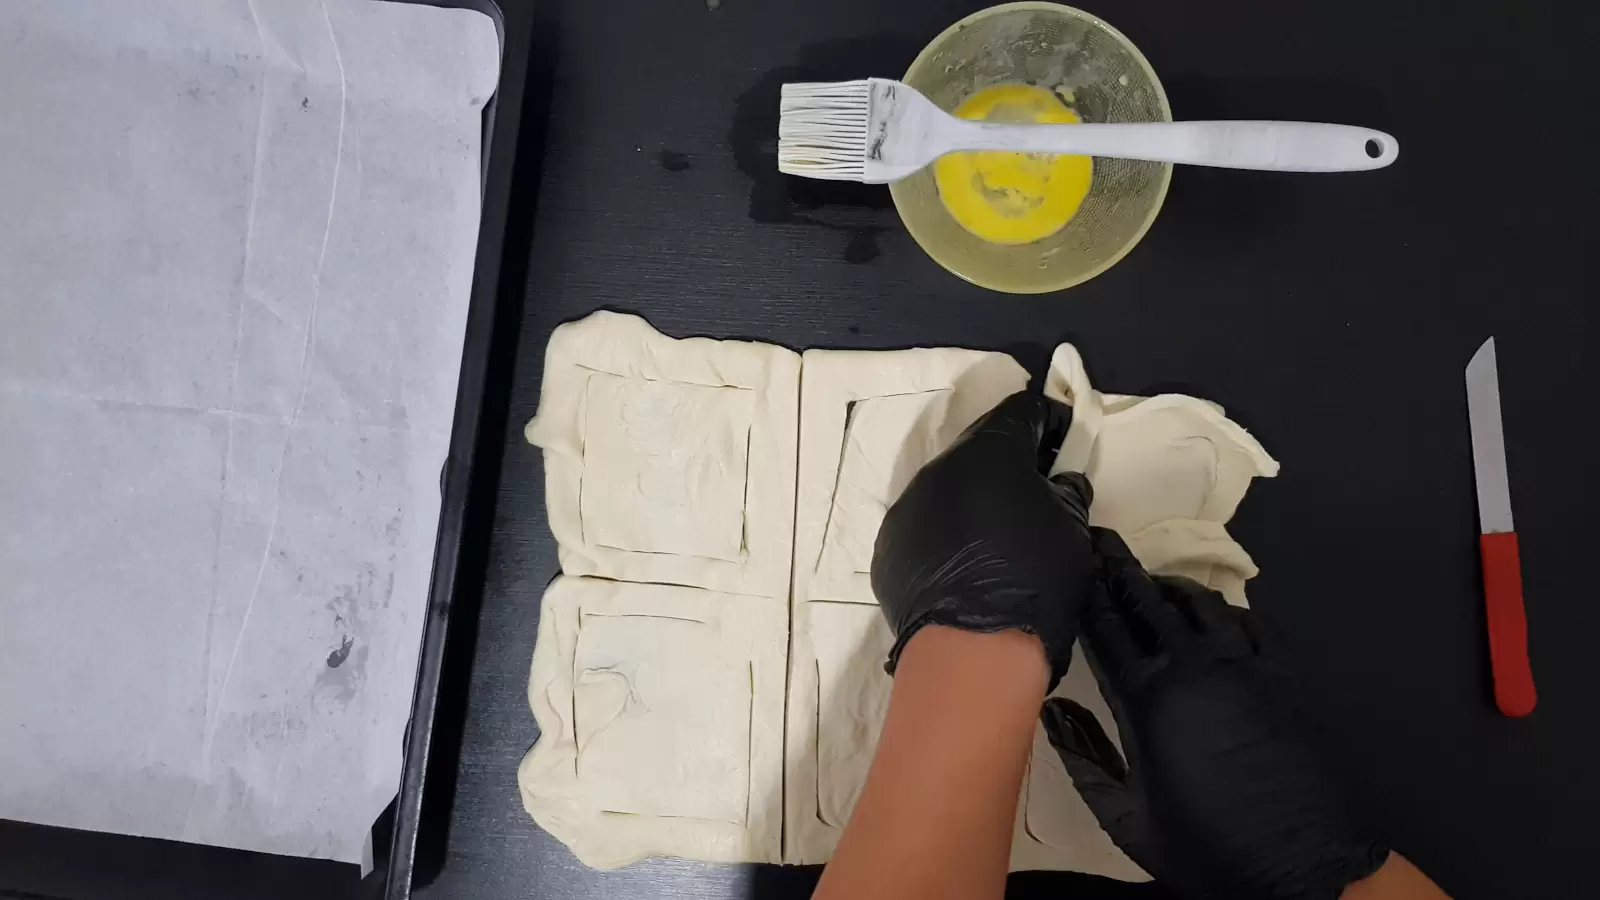
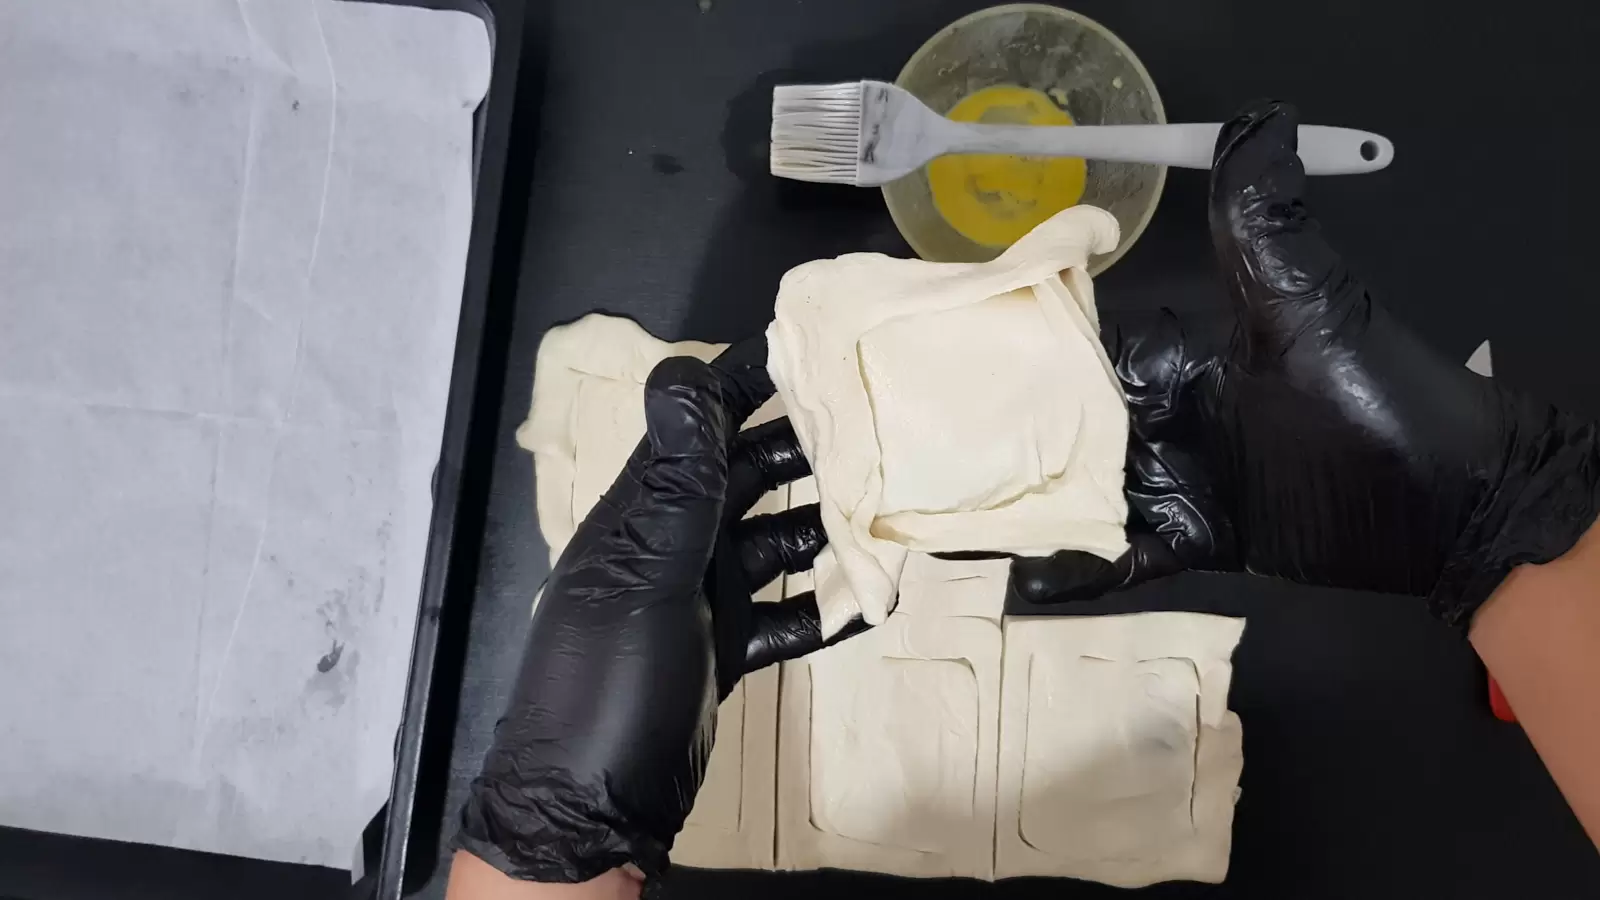
Step 4: Fold to the other side. - Step 5 Repeat. Repeat the preparation method for all the other squares, so that you get a square of dough with a frame.
Step 5: Repeat. - Step 6 Brush an egg. Brush an egg on the frame we prepared.
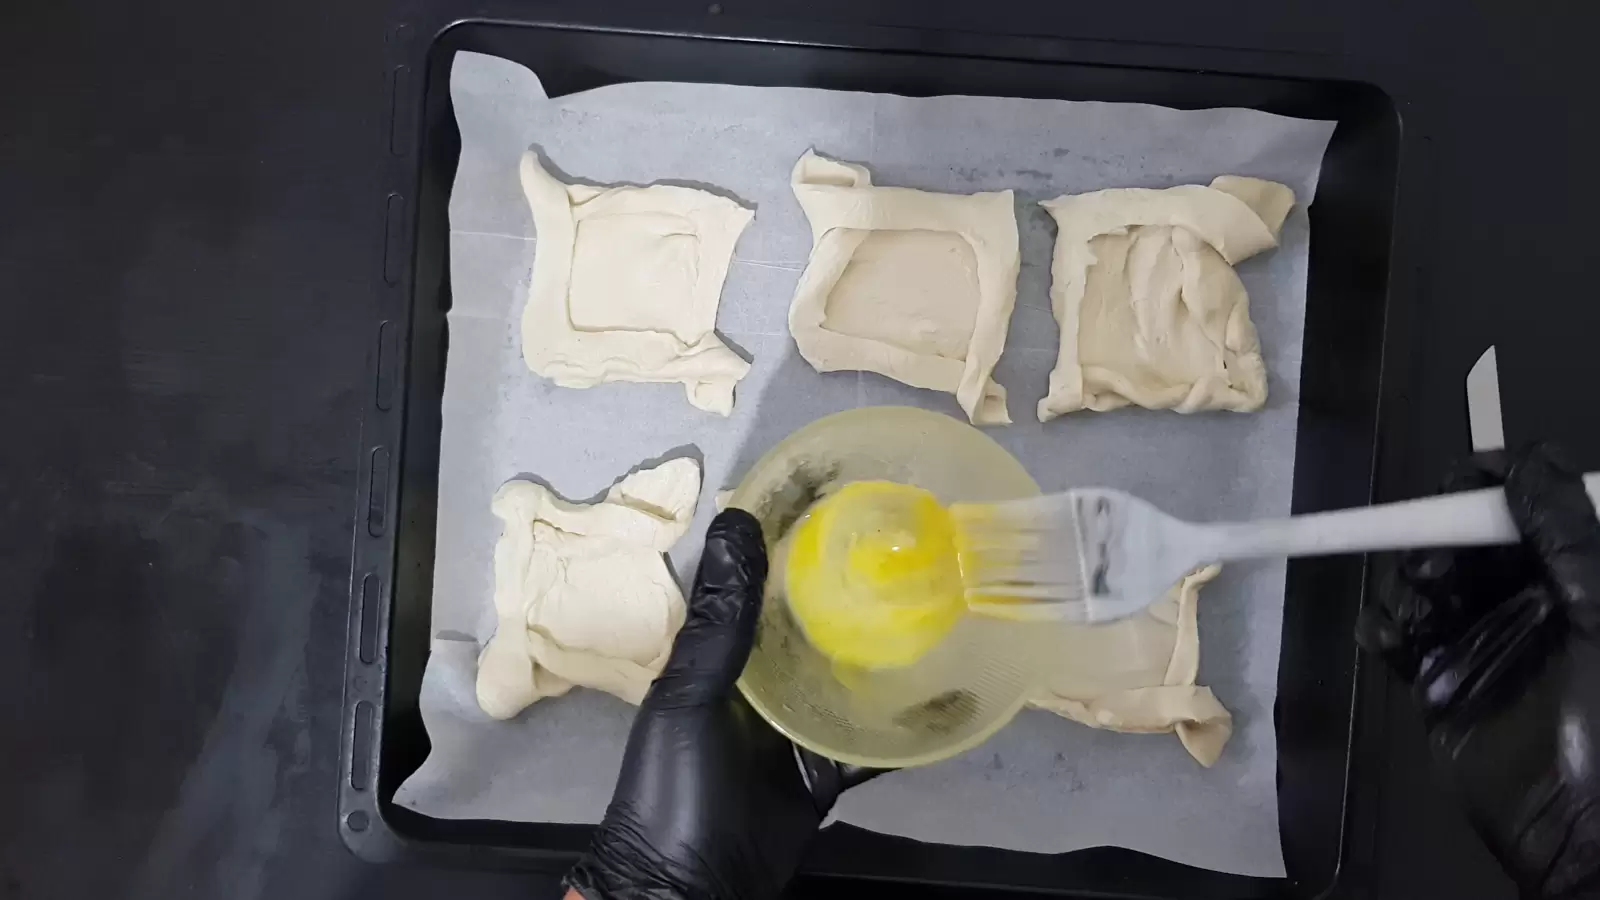
Step 6: Brush an egg. - Step 7 Make holes with a fork. Make holes with a fork in the inside of the square. Place in the oven at 180 degrees, turbo mode, 10-12 minutes or until browned.

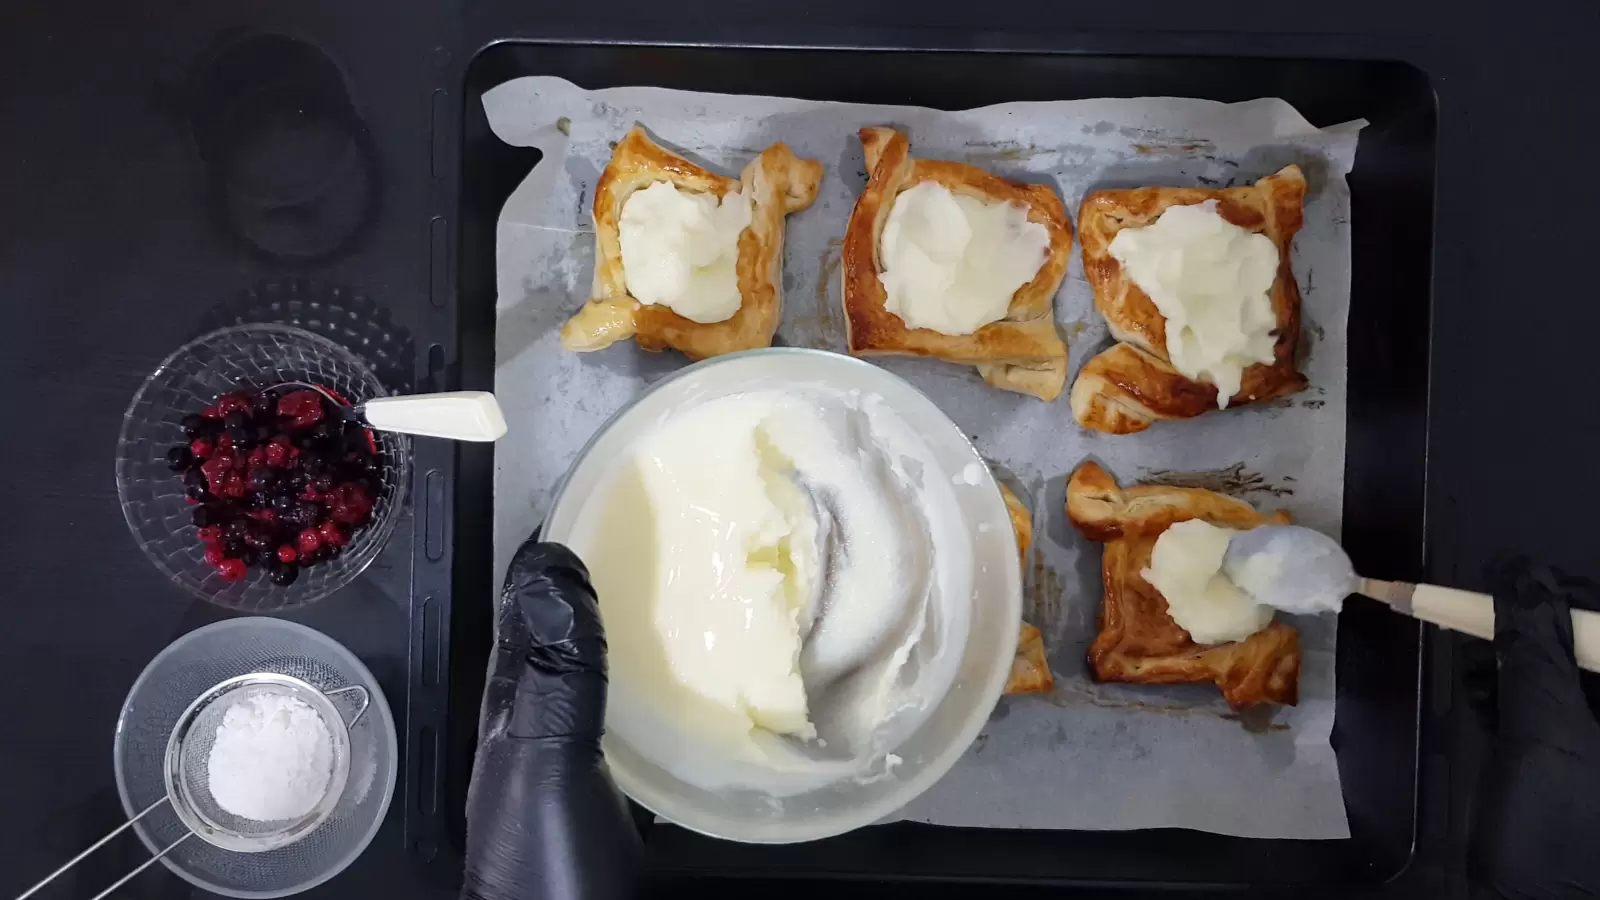
Step 7: Make holes with a fork. - Step 8 Fill the dough. Wait for the pastries to cool and prepare pudding or whipped cream according to the manufacturer's instructions. Using a spoon, place in the center of each dough, so that the frame remains empty.
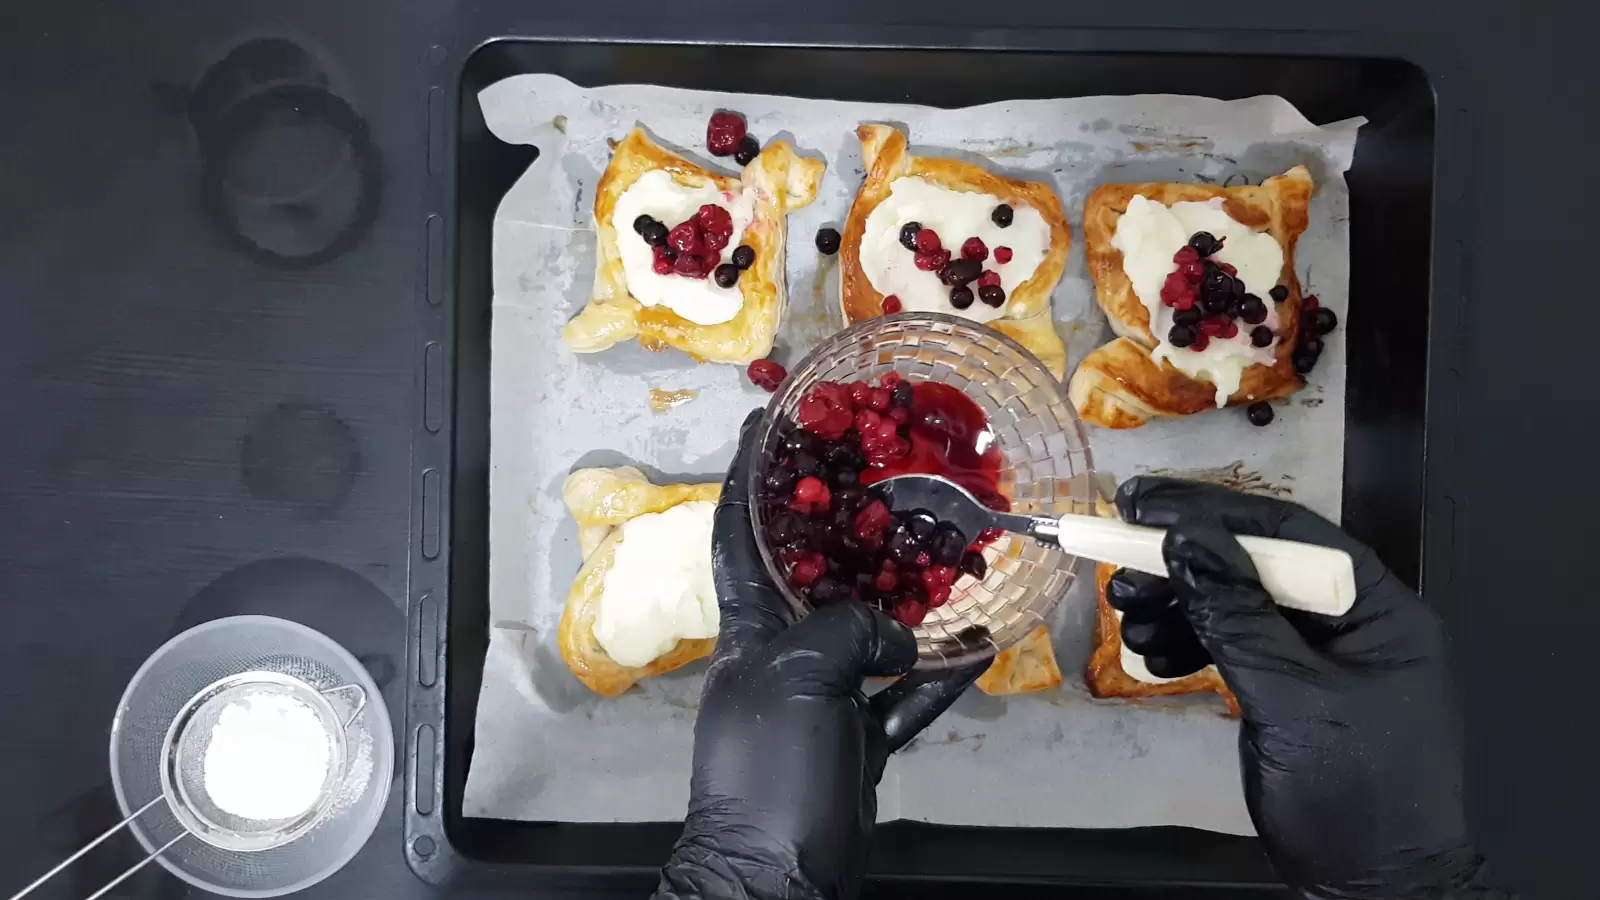
Step 8: Fill the dough. - Step 9 Add berries. Add a spoonful of fresh berries on top of each pastry.
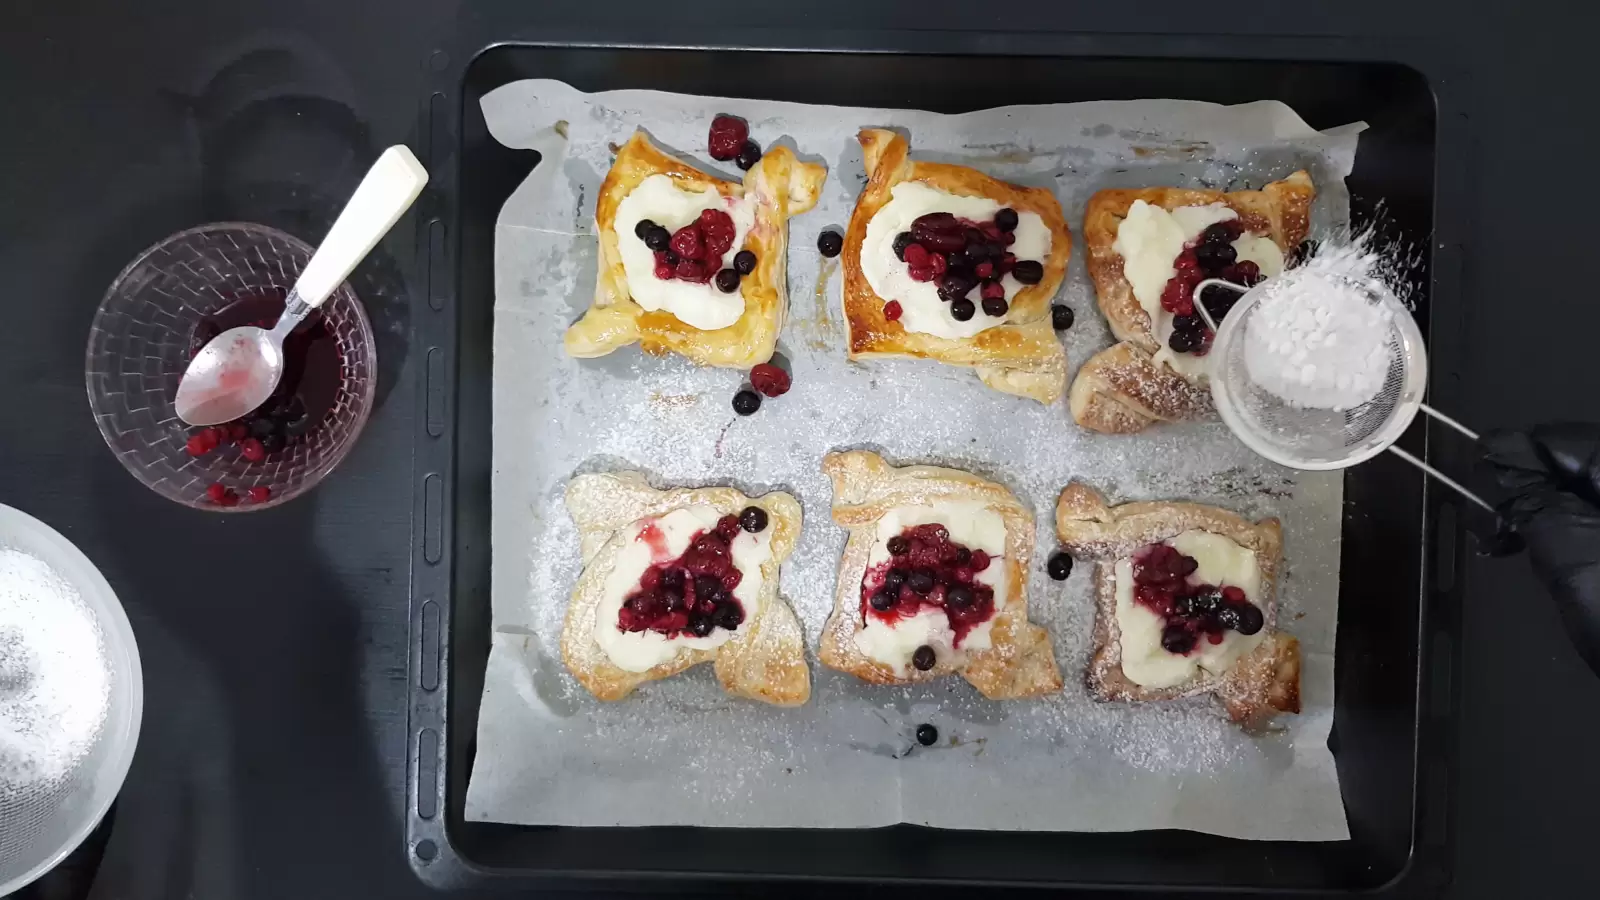
Step 9: Add berries. - Step 10 Sprinkle powdered sugar. Sprinkle powdered sugar on top.
Step 10: Sprinkle powdered sugar. - Step 11Did you like our dish? Let us know your thoughts. Share your experience and leave a comment!

Step number 11: Now comes your turn! Share your thoughts on our recipe with us. Comment, pose questions, pass on the recipe, and rate it!
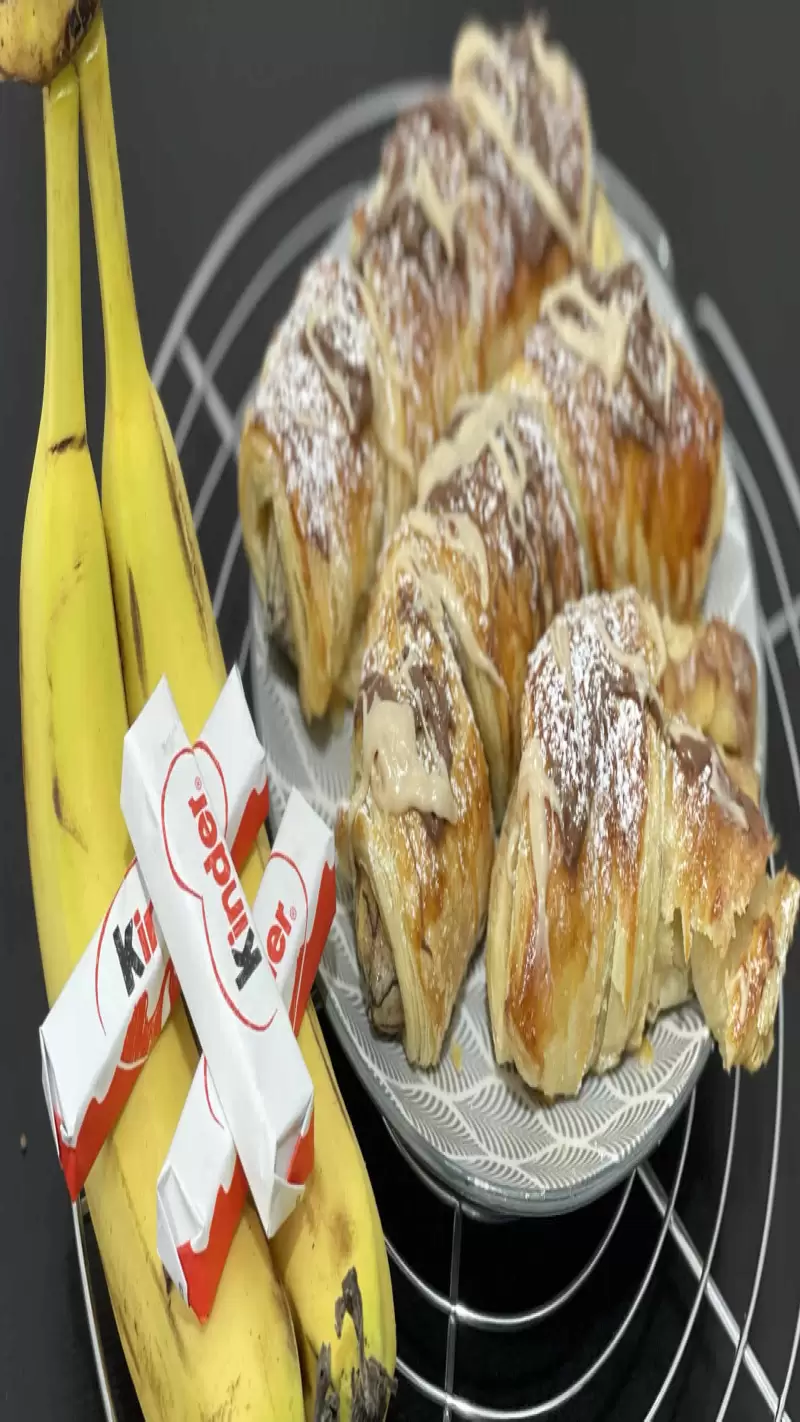
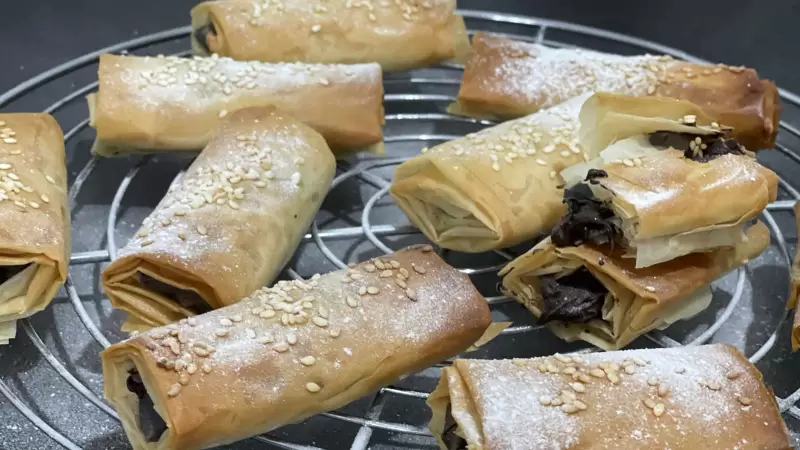
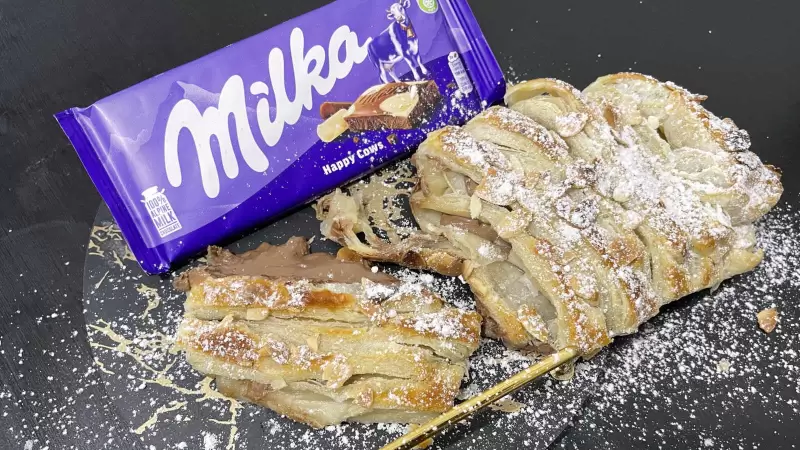
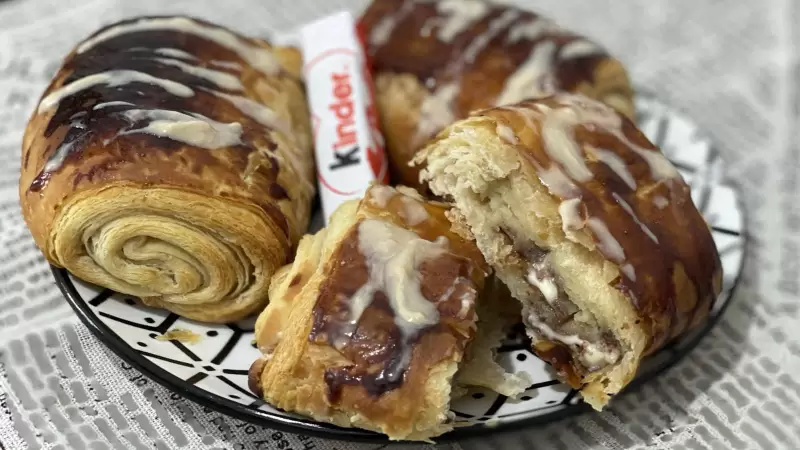
Danish Pastry Recipe Pictures
Going out to buy a Danish pastry from a cafe or bakery every time you fancy one can quickly get expensive. Making this recipe at home gives you a much more economical way to enjoy it without spending extra money on things like packaging, shipping or branding. When you bake at home, you can buy ingredients in larger quantities and use them in multiple batches, adding to the savings over time.
You also avoid hidden costs that usually come with store-bought products, like preservatives or stabilizers that increase shelf life but do nothing for your health. Using ingredients you already have in your kitchen means fewer trips to the store, which also saves money on gas or shipping.
The best part is that you get more for less. One batch of this recipe often gives you several servings, whereas paying the same amount at a bakery might only give you one serving. Over a few weeks, that difference adds up.

People who lead a vegetarian lifestyle will definitely appreciate this recipe, as it doesn’t rely on meat or animal by-products beyond basic baked goods like puff pastry, pudding, and berries. Anyone who enjoys mindful eating and prefers dishes with fewer processed ingredients will find this recipe appealing as well.
Athletes and active people looking for a source of carbohydrates to fuel energy levels after a workout may enjoy it as part of their balanced day. Those who enjoy baking at home without needing fancy ingredients or professional skills are another group who will find value in it.
It’s also great for families who want to control what goes into their food while making something that can be easily shared and stored. Whether you’re into baking, focusing on clean eating, or just enjoy spending time in the kitchen, this recipe works well without being too demanding.

You don’t need any fancy equipment to make this recipe at home. A basic mixing bowl, tray, spoon, and knife will get you far. A clean surface to place the dough on is important, and a baking sheet lined with parchment paper will help ensure even baking without sticking.
You can also use a pastry brush to brush the egg wash for a golden brown surface, and a sharp knife or pizza cutter to shape the dough before baking. If you have a stand mixer for making the pudding, it can help reduce the effort, but it’s not at all necessary.
This recipe isn’t that difficult to make. It just requires a little attention and a willingness to follow a few steps in the right order. Most people already have what they need in their kitchen, and the tools involved are pretty standard. No complicated gadgets are needed.

Thank you so much for taking the time to read this recipe. I hope you give it a try because it really is one of those things that feels good to make from scratch. When I first tried it myself, I was surprised at how doable it really is. I already had most of the ingredients, and once I got into the swing of things, it became something I looked forward to making again.
If you enjoy cooking or baking, even just occasionally, you might want to consider sharing your own recipes online. That’s how this blog started. What started as a small personal project has grown into a source of income over time. You don’t need any tech experience to start your own food blog. Just a love of food and a willingness to share what you know.
Are you considering starting your own blog too? If you’re curious, there’s a link at the bottom of the page that will walk you through the process.
You’re also welcome to ask questions or leave a comment or rating about this recipe. Scroll down and you’ll find the comment box and the rating right there waiting. Let me know what you think or how your version turned out.

Recipe Tips
- You can replace the berries with fresh strawberries or your favorite seasonal fruits.
- For a vegetarian substitute - instead of applying egg, you can apply honey, dates, water, or nothing at all.
- It is recommended to eat immediately after preparation, or you can store it in the refrigerator for up to two days in a tightly closed container.
Other Recipes You May Like


Leave A Comment
Your email address will not be published. Required Fields Are Marked With (*).