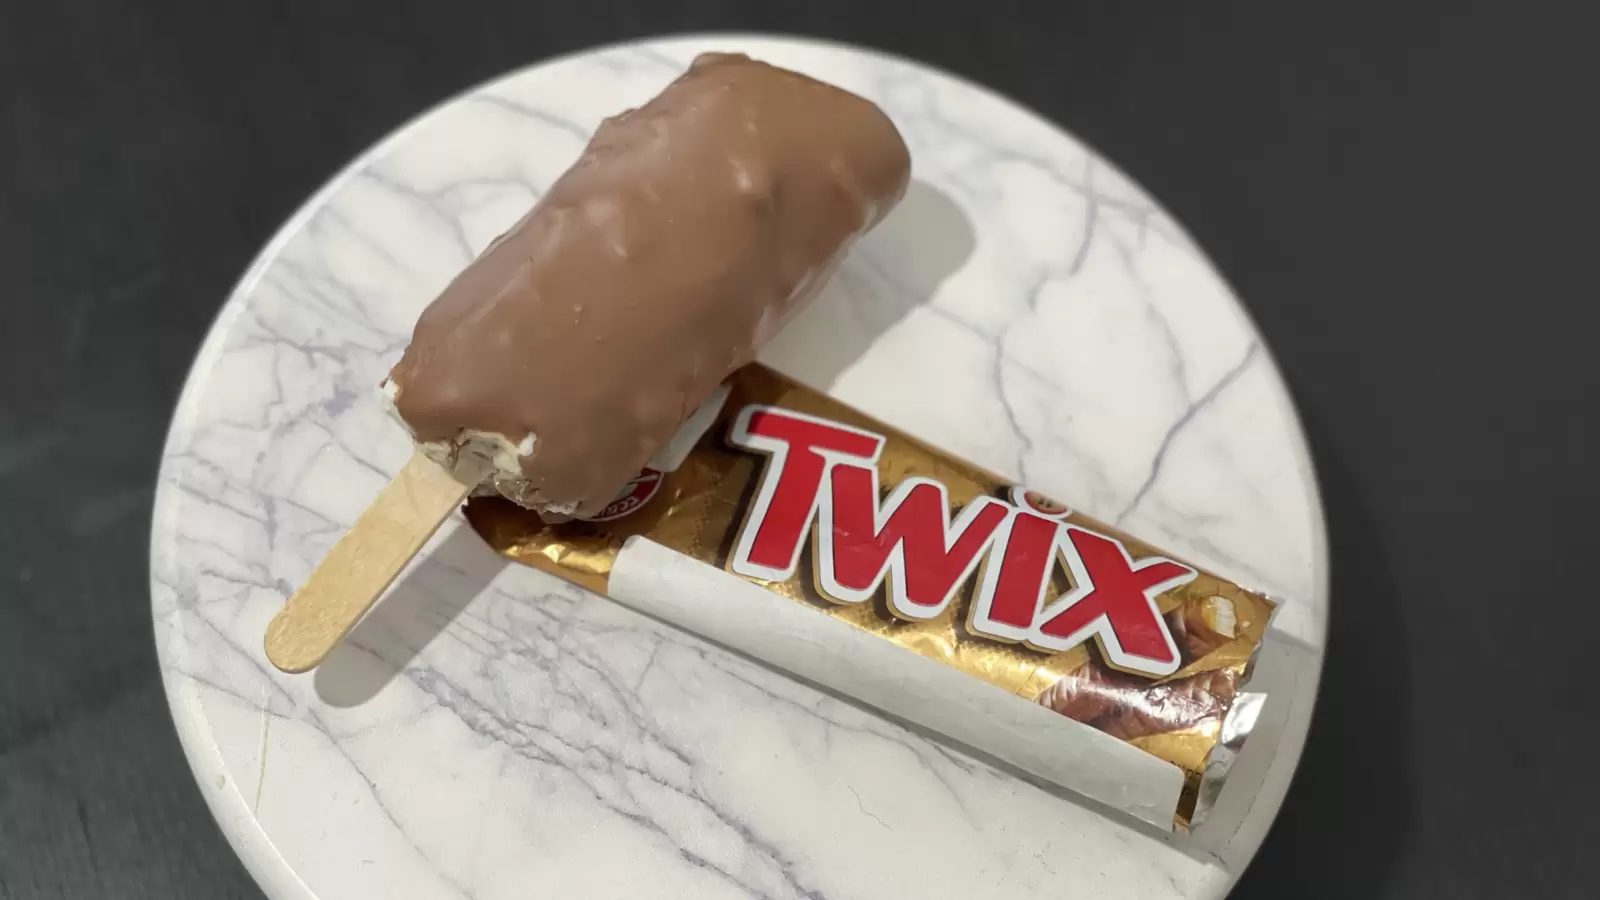
Twix Ice Cream Recipe
Anne Marie 0 CommentsPrep time: 10 Minutes Cooking Time: 3.5 Hours
Serves: 1 People (1 Twix Ice Cream Units) Easy
Learn How To Make Money And Save Money With Cooking & Baking
It’s fairly easy to make Twix Ice Cream at home, and anyone can do it, even if you typically shy away from lengthy kitchen projects. When I talk to people about frozen treats, I often hear that they want something simple that still feels worth their time, and that’s where our recipe comes in. You get a combination of familiar ingredients that contain nutrients like calcium from the milk base and small amounts of antioxidants from the chocolate. Caramel also gives a gentle energy boost due to its natural sugars. When it all comes together, the result is incredibly delicious, although I’ll only say it once.
What people also appreciate here is that this recipe is built with items that you can identify and measure yourself, so you stay in control of what goes into the serving. Some prefer to know that the milk offers protein, which can support an active day, while others like the fact that the chocolate contains trace minerals. No matter which part speaks to you, the process remains friendly and requires no special skills.
This page has everything you need, from a full ingredient list to a calorie chart and a step by step guide, and all that’s left is to follow the instructions.
Table of Contents
Recipe Description
A Twix ice cream recipe combines a cold creamy base with chocolate and caramel pieces that suit a wide range of preferences. People who enjoy simple, homemade desserts will find it easy to appreciate.
We'll set up your own food blog for 100% FREELearn About Our Mentoring Program
Recipe Ingredients
- Pack of Twix
- 100 ml Whipped Cream
- 50 Milk Chocolate
Recipe Calorie Chart
- Twix 250
- Whipped Cream 330
- Chocolate 270
- Total Calories: 850
Recipe Attributes
- Freezable
- Refreshing
- Kids Favorite
- Budget Friendly
Twix Ice Cream Recipe Steps
- Step 1 Crush the Twix. Crush the Twix with a meat tenderizer, or any strong kitchen utensil
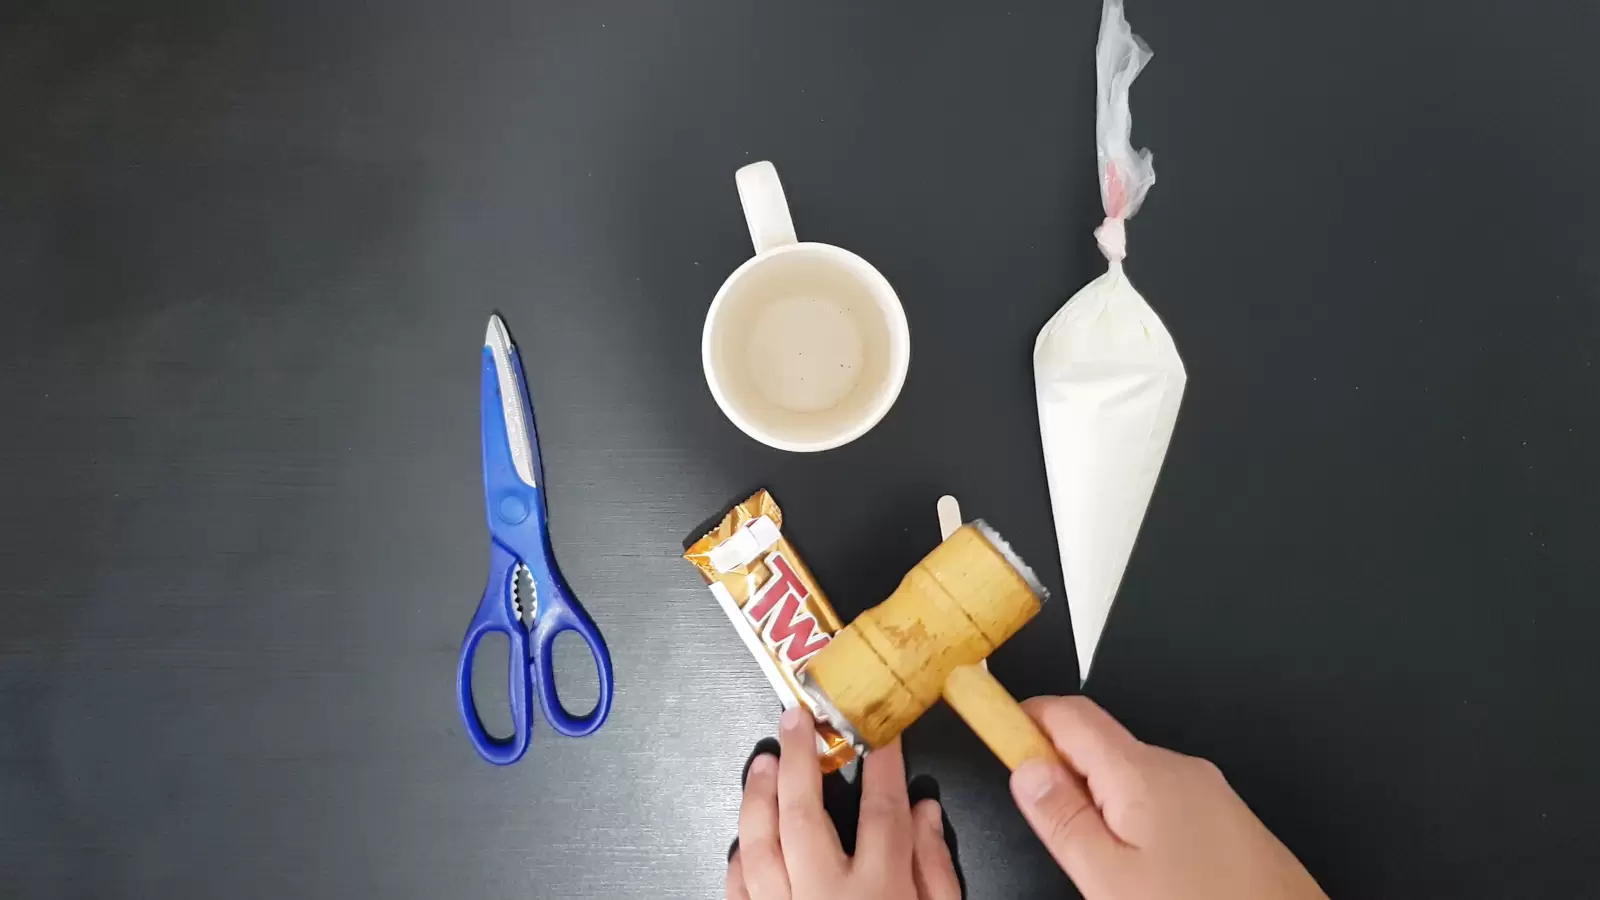
Step 1: Crush the Twix. - Step 2 Shake the Twix well. Shake well so that the cookies are on one end. Cut the edge of the wrapper with scissors. Put in a glass and place a popsicle stick in the center. If you don't have one - you can use an inverted spoon.
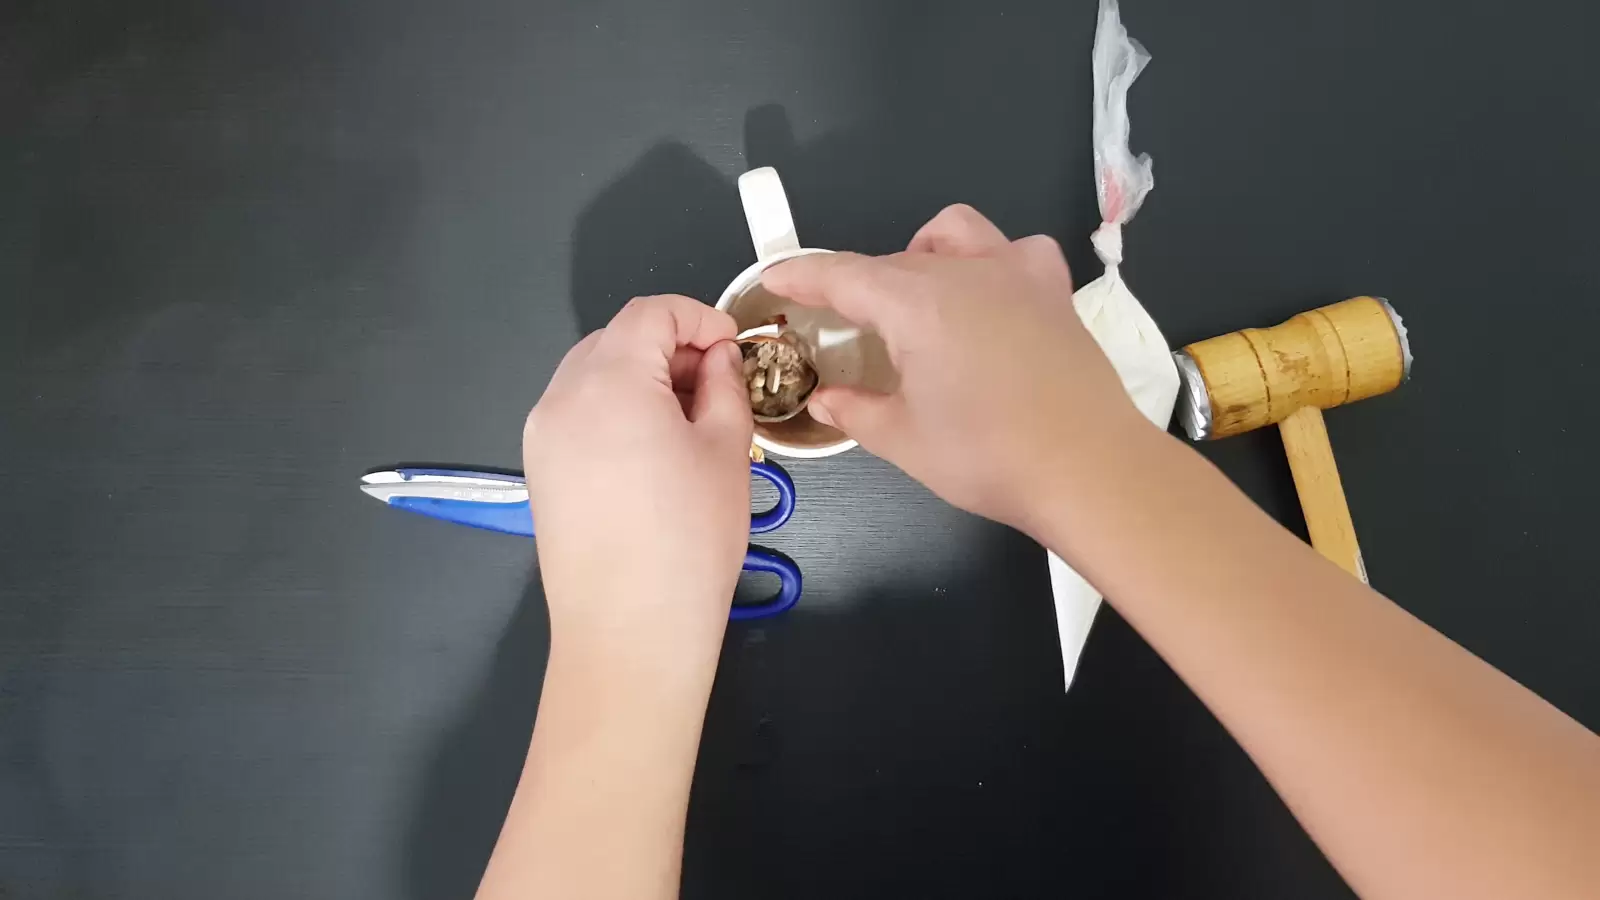
Step 2: Shake the Twix well. - Step 3 Pour whipped cream over the Twix. Pour whipped cream until the cookies are covered, you can repeat the operation a second time because the cookies absorb the whipped cream. Put in the freezer for at least 3.5 hours.
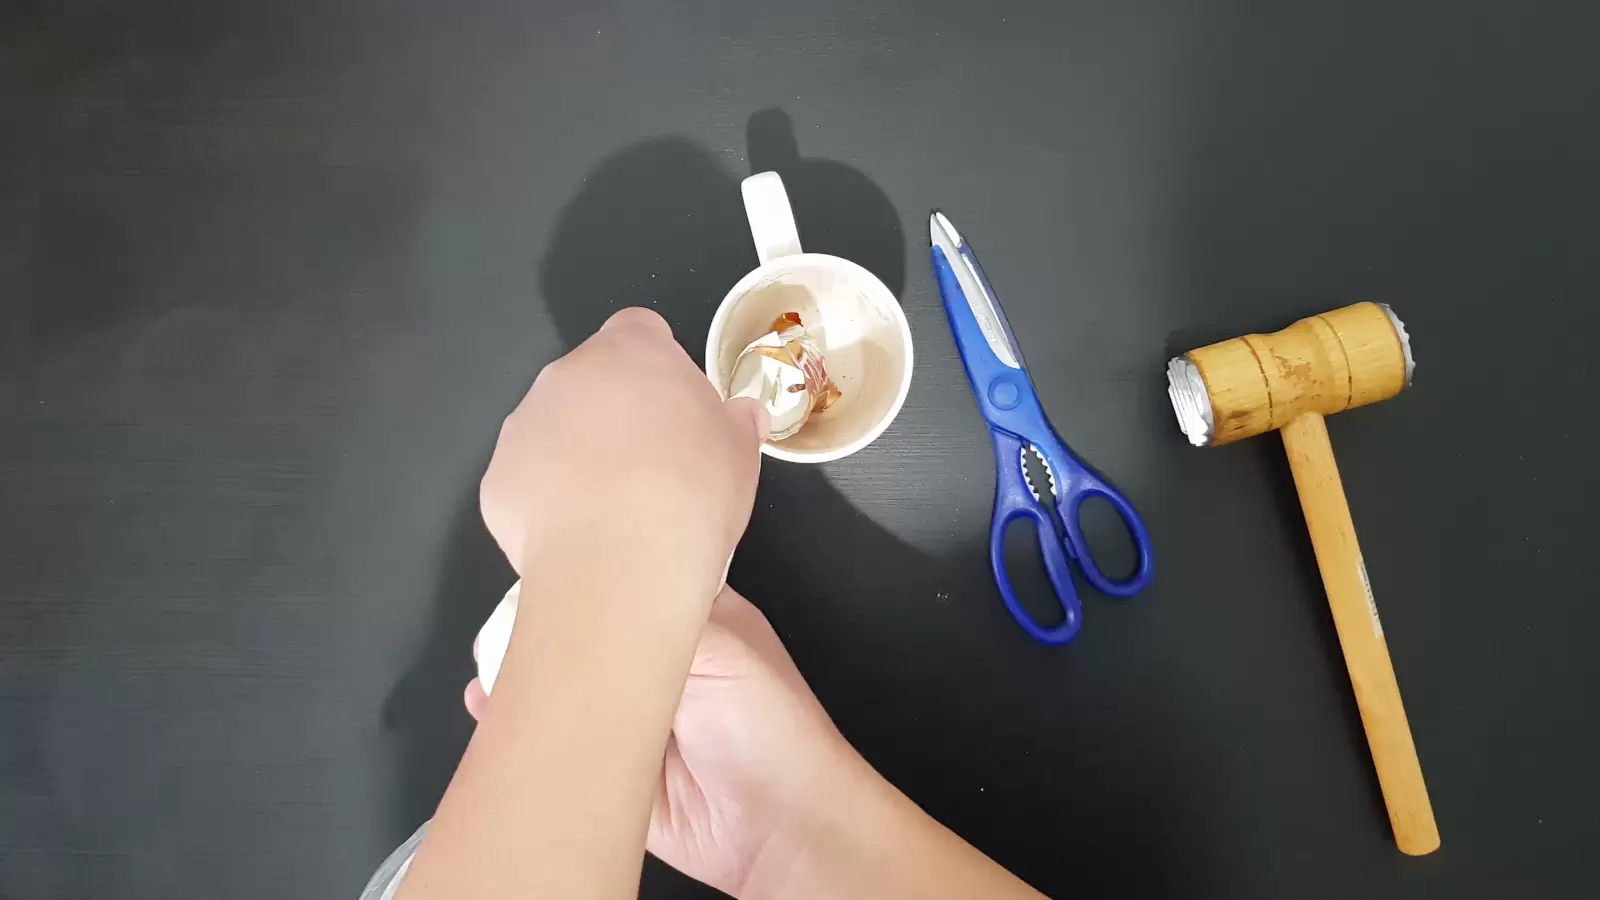
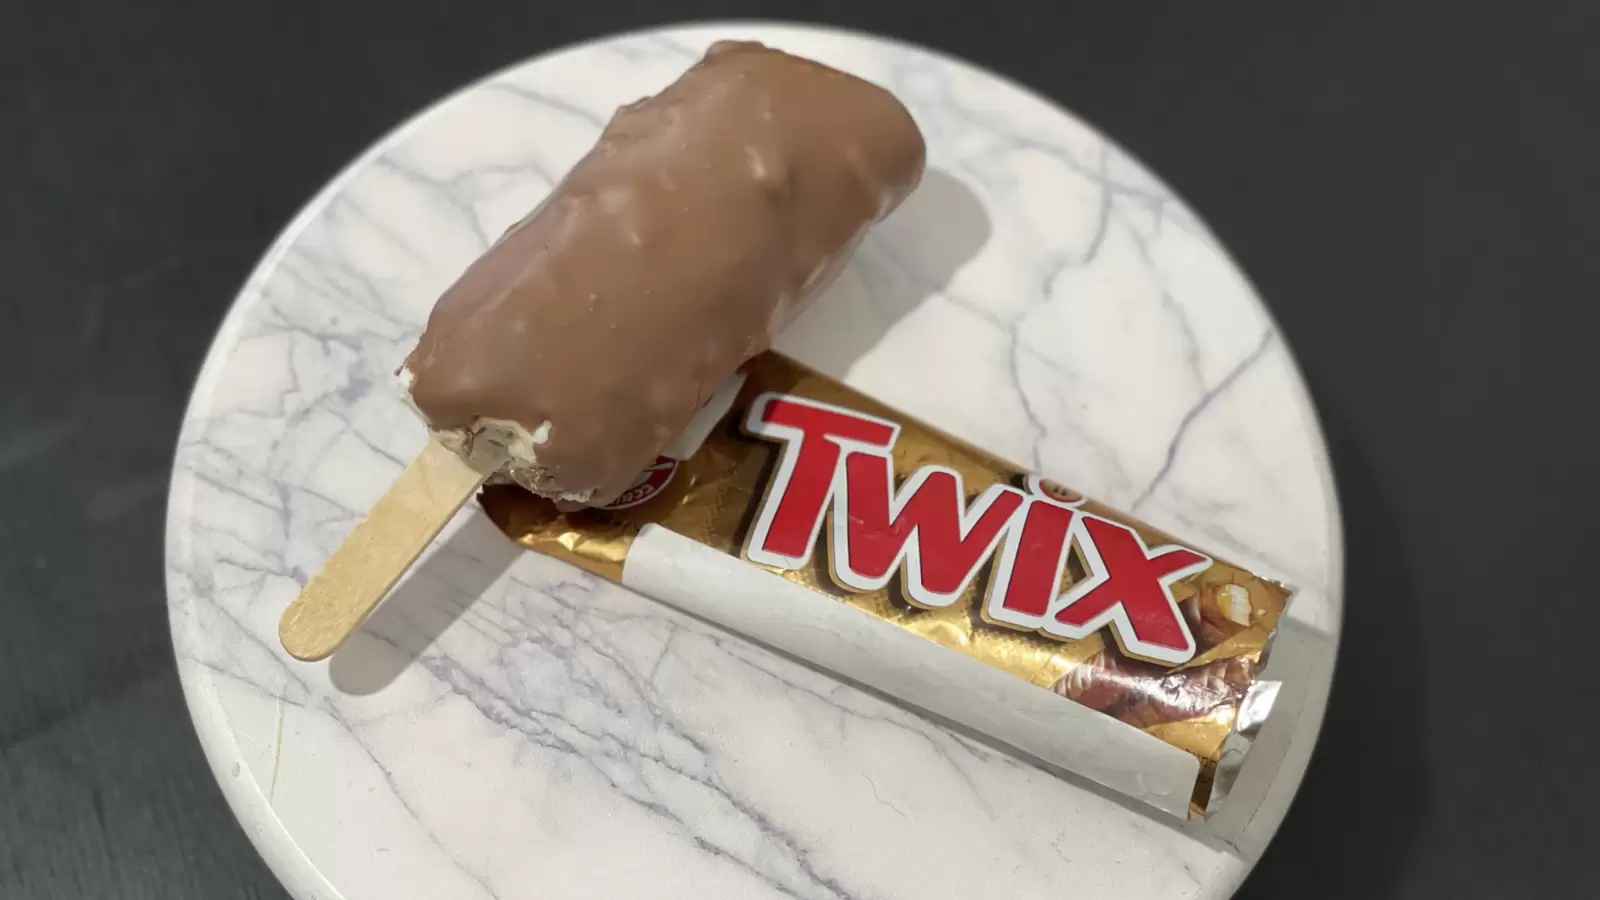
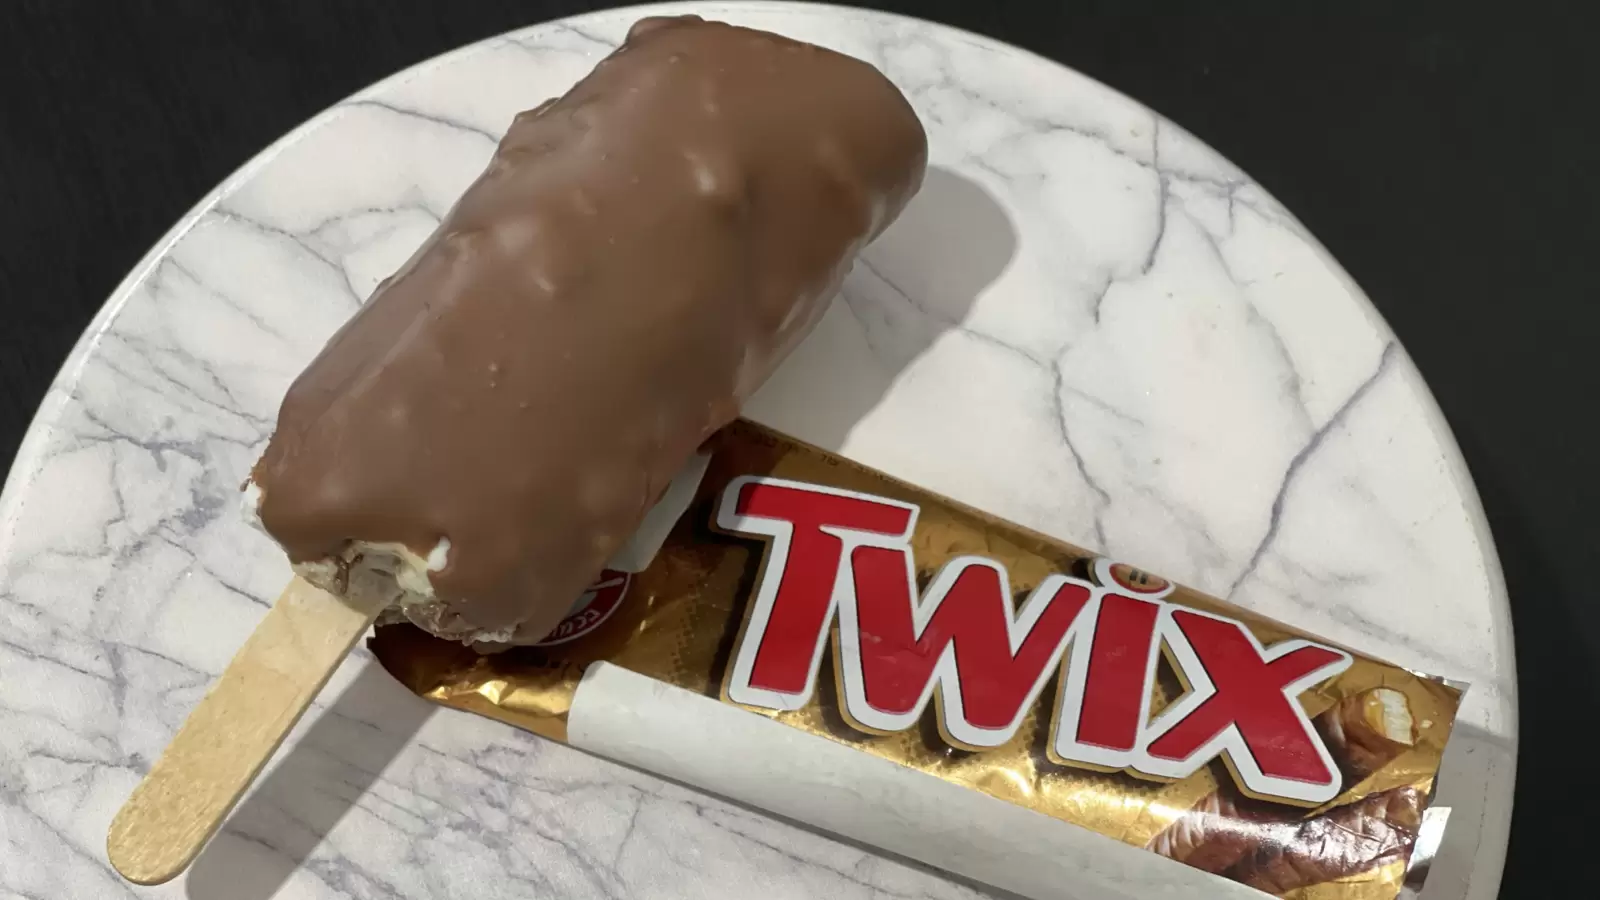
Step 3: Pour whipped cream over the Twix. - Step 4 Remove the Twix wrapper. Gently remove the ice cream wrapper.
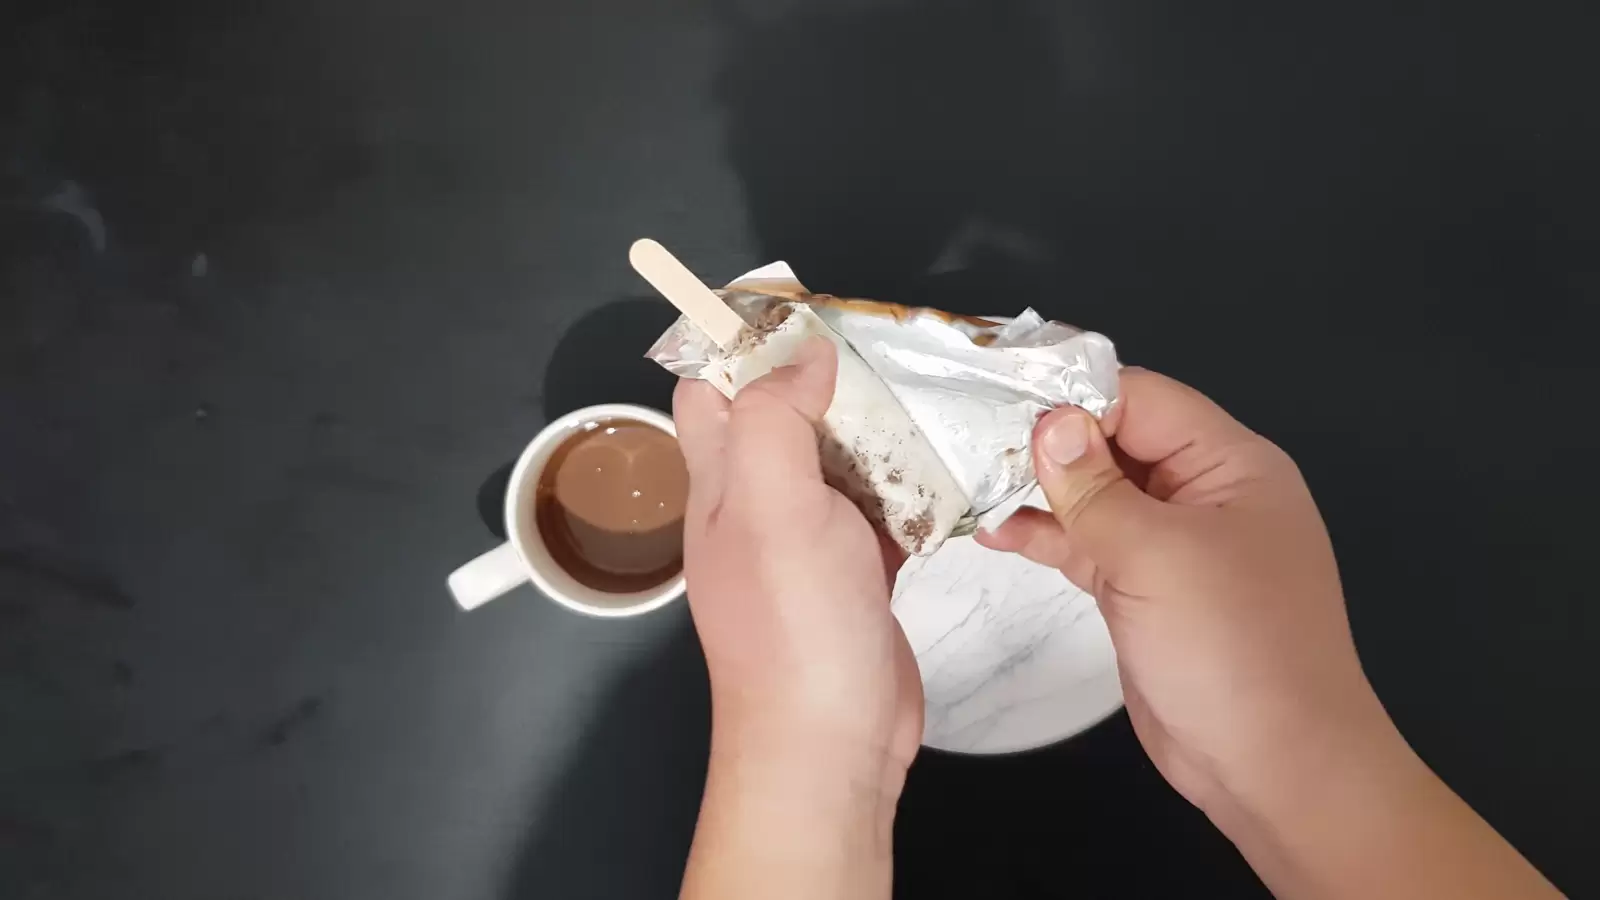
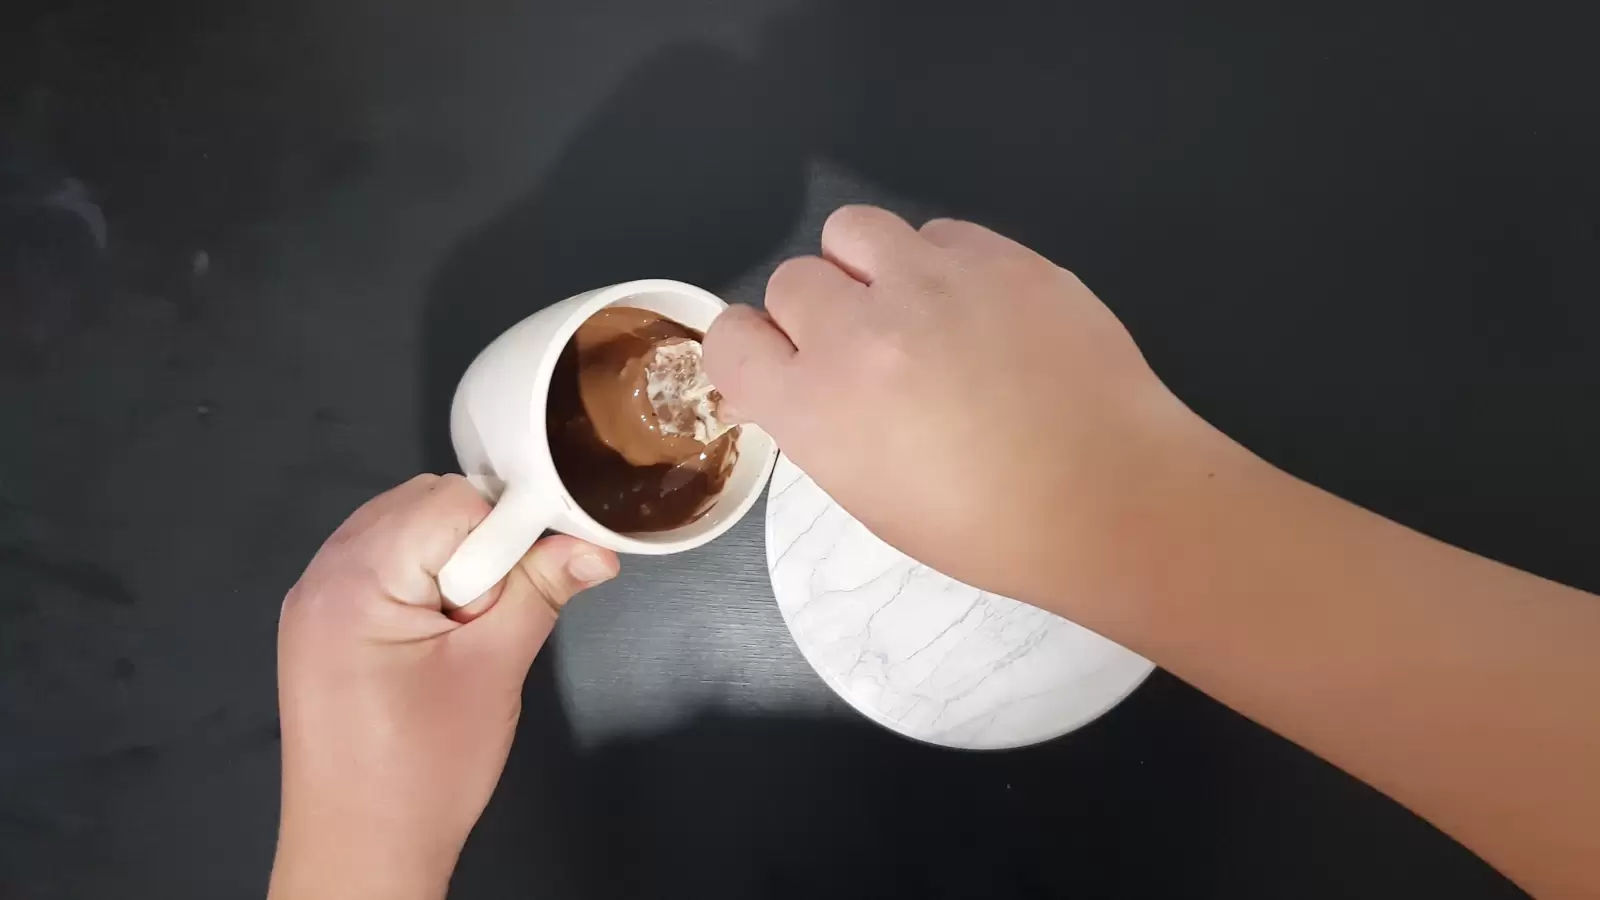
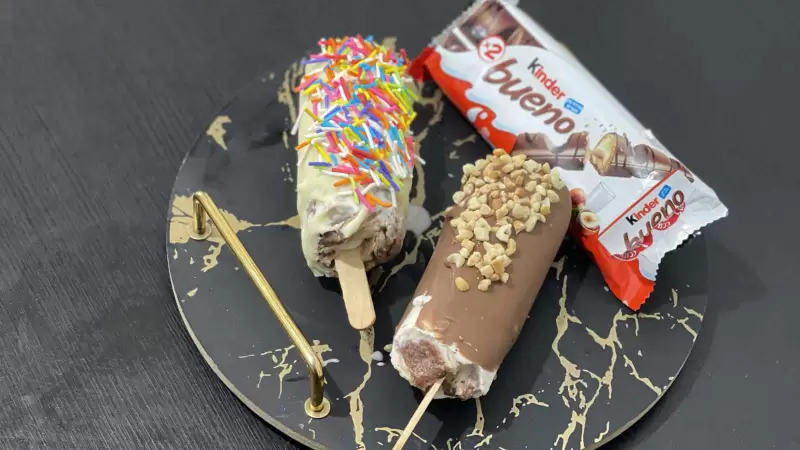
Step 4: Remove the Twix wrapper. - Step 5 Dip in white or milk chocolate. Dip the ice cream in white or milk chocolate, you can sprinkle pieces of Twix or white chocolate on top
Step 5: Dip in white or milk chocolate. - Step 6Take a taste test and share your opinion! Did you enjoy our recipe? Let us know in the comments.
Step number 6: In the final step of our recipe, the spotlight is on you! Share your thoughts! Drop a comment if our recipe delighted you, ask anything, pass it on, and kindly rate your experience
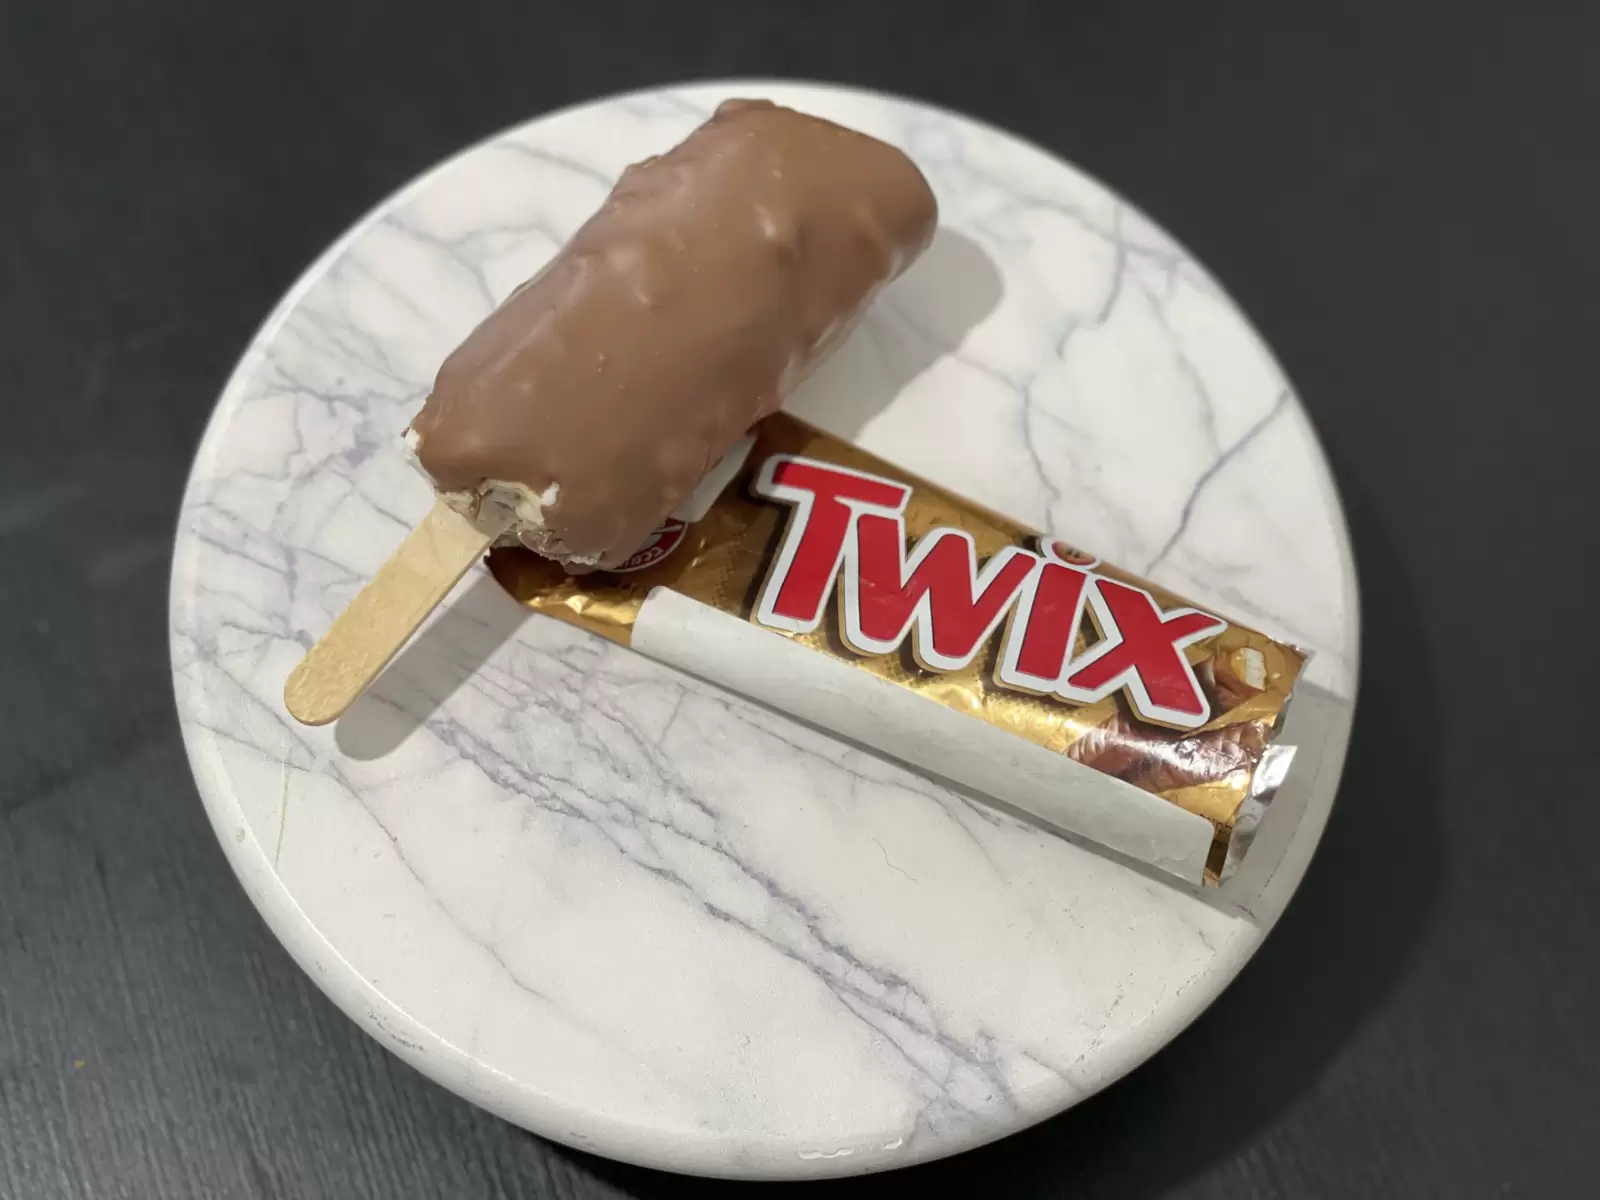
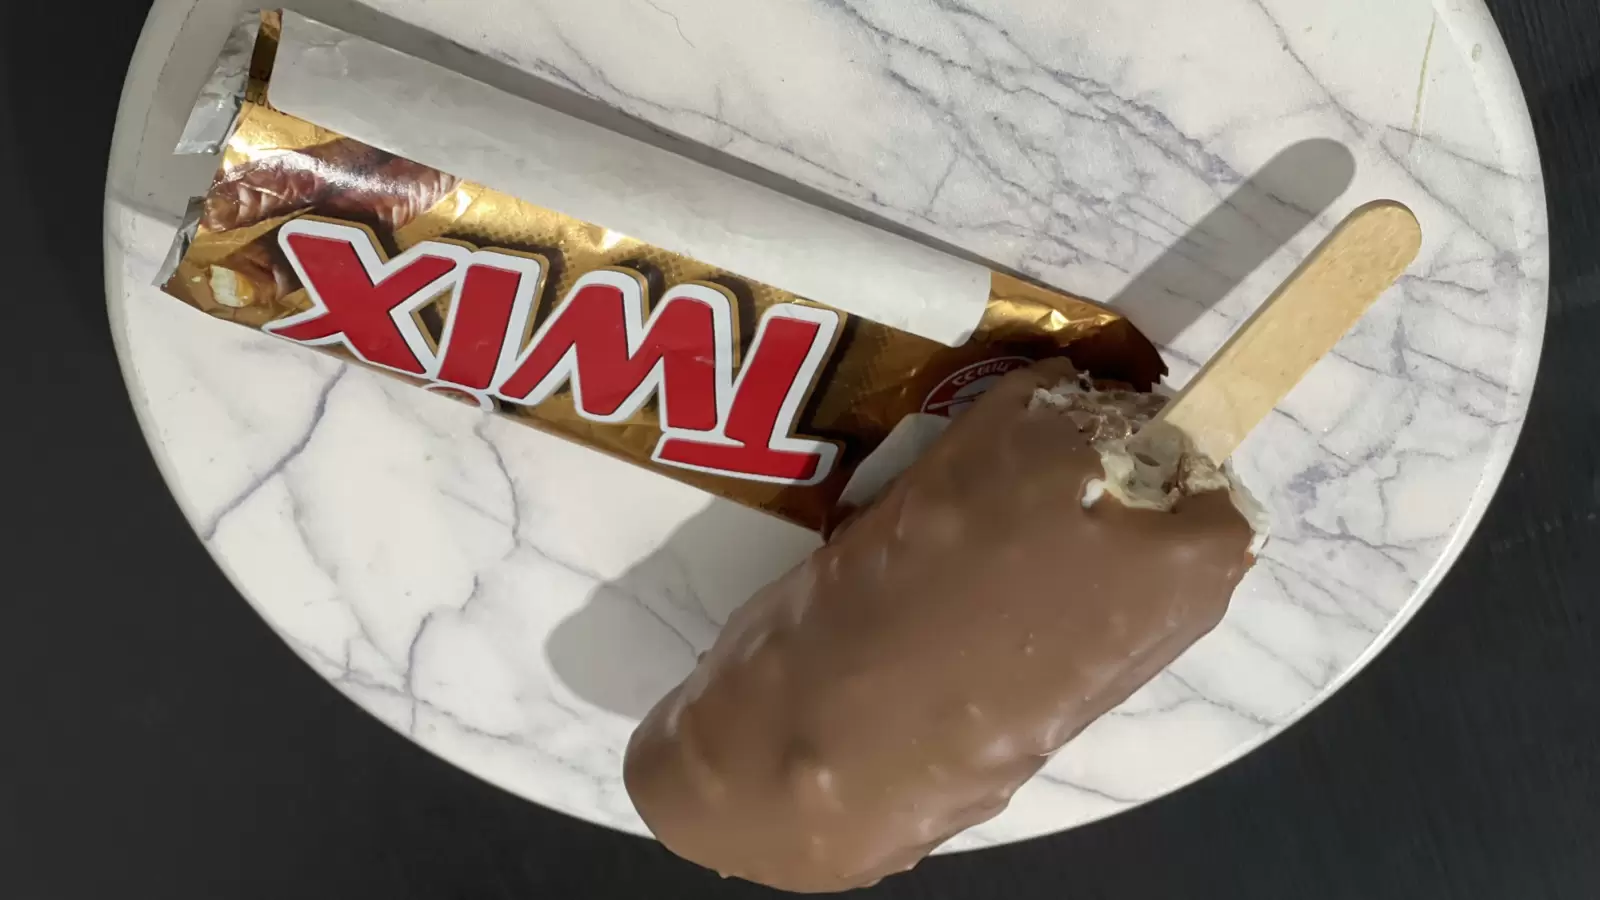
Twix Ice Cream Recipe Pictures
Making Twix ice cream at home gives you the opportunity to save money without sacrificing the quality of what you’re enjoying. Buying frozen desserts from outside can add up quickly because you’re paying for labor, rent, and branding, so the cost increases before you even take your first bite. When you make your own batch, the main expenses are the chocolate bars, milk base, and caramel, and these usually remain affordable when purchased in regular stores. You can also decide how big of a batch you want, which eliminates waste and results in even more savings. Because you control the ingredients, you avoid paying extra for additives that appear in many commercial products. The entire process is cost-effective, especially if you already have basic kitchen tools at home.
People who enjoy simple home projects often find this Twix ice cream rewarding because it doesn't require complex skills. Athletes sometimes appreciate the dairy base because it contains protein that can support their daily routine. Parents often choose it as a shared activity with children because the steps are simple. Anyone who loves chocolate-based cold treats will probably be interested in trying a version that they can make in their own kitchen.
Making Twix ice cream isn’t that difficult once you see how few tools are required. You need a hammer to crush the Twix, scissors to cut the wrapper, an ice cream stick to stick inside, but you can also use an inverted spoon, and a cup so you can put the ice cream in the freezer until it's ready. You can also use the cup later to frost the ice cream. With these simple tools ready, the steps flow naturally and you can move from one step to the next without stress.

Thanks for taking the time to read through this recipe. When I first tried making this frozen treat at home, I remember thinking how calming it felt to slow down for a moment and work through each step without rushing. That little pause stayed with me, and it is part of the reason I enjoy sharing things like this with you. As you reach the end of the page, it feels natural to invite you to try the recipe yourself, because the process becomes much clearer once you take that first small step.
Along the way, something interesting tends to happen. While preparing a recipe, people often start thinking about the meals they grew up with or the desserts they used to help someone else prepare. Those memories can spark ideas. That is usually when I tell friends that if they enjoy cooking or baking, they could also open their own food blog. The truth is that many recipe pages, including this one, earn money over time simply because people like to read and try new dishes. There is no need for technologic knowledge. Anyone can become a food blogger by writing honestly about what they prepare in their kitchen.
If the thought of having your own space online feels exciting, think of how you would present your favorite recipes or the stories behind them. If you would like to open your own blog, you can check the link at the bottom of the page and explore how to get started.
Before you go, I would love to hear from you. You can ask questions, share your thoughts or leave a comment on the review. There is also a rating box later on in the page if you want to show your support.
Recipe Tips
- Double the quantities for additional servings.
- Can be topped with any favorite spread.
- Can be frozen and stored for up to a month from preparation.
Other Recipes You May Like


Leave A Comment
Your email address will not be published. Required Fields Are Marked With (*).