Reeses Ice Cream Recipe
Anne Marie 0 CommentsPrep time: 10 Minutes Baking Time: 3.5 Hours
Serves: 1 People (1 Reeses Ice Cream Units) Easy
Learn How To Make Money And Save Money With Cooking & Baking
Reeses Ice Cream recipe is pretty easy to make and anyone can make it, even if you’re not confident in the kitchen. One of the great things about this recipe is that you’re working with peanut butter, which contains healthy fats and protein that help keep you feeling fuller for longer. The dark chocolate used here contains antioxidants that have been shown to support heart health. The creamy base provides a good dose of calcium, which is important for strong bones. Think about combining these ingredients for a dish that not only tastes good but also provides some good benefits for your body. You’re also in control of what goes into it, so you can avoid unnecessary additives or preservatives that often appear in store-bought versions. Plus, making the recipe at home allows you to adjust the sweetness to your preference, which is especially helpful if you’re watching your sugar intake. This page has everything you need to make this dish yourself: from a full ingredient list to a calorie chart and a step-by-step guide on how to make the final dish. All that’s left is to follow the instructions.
Table of Contents
Recipe Description
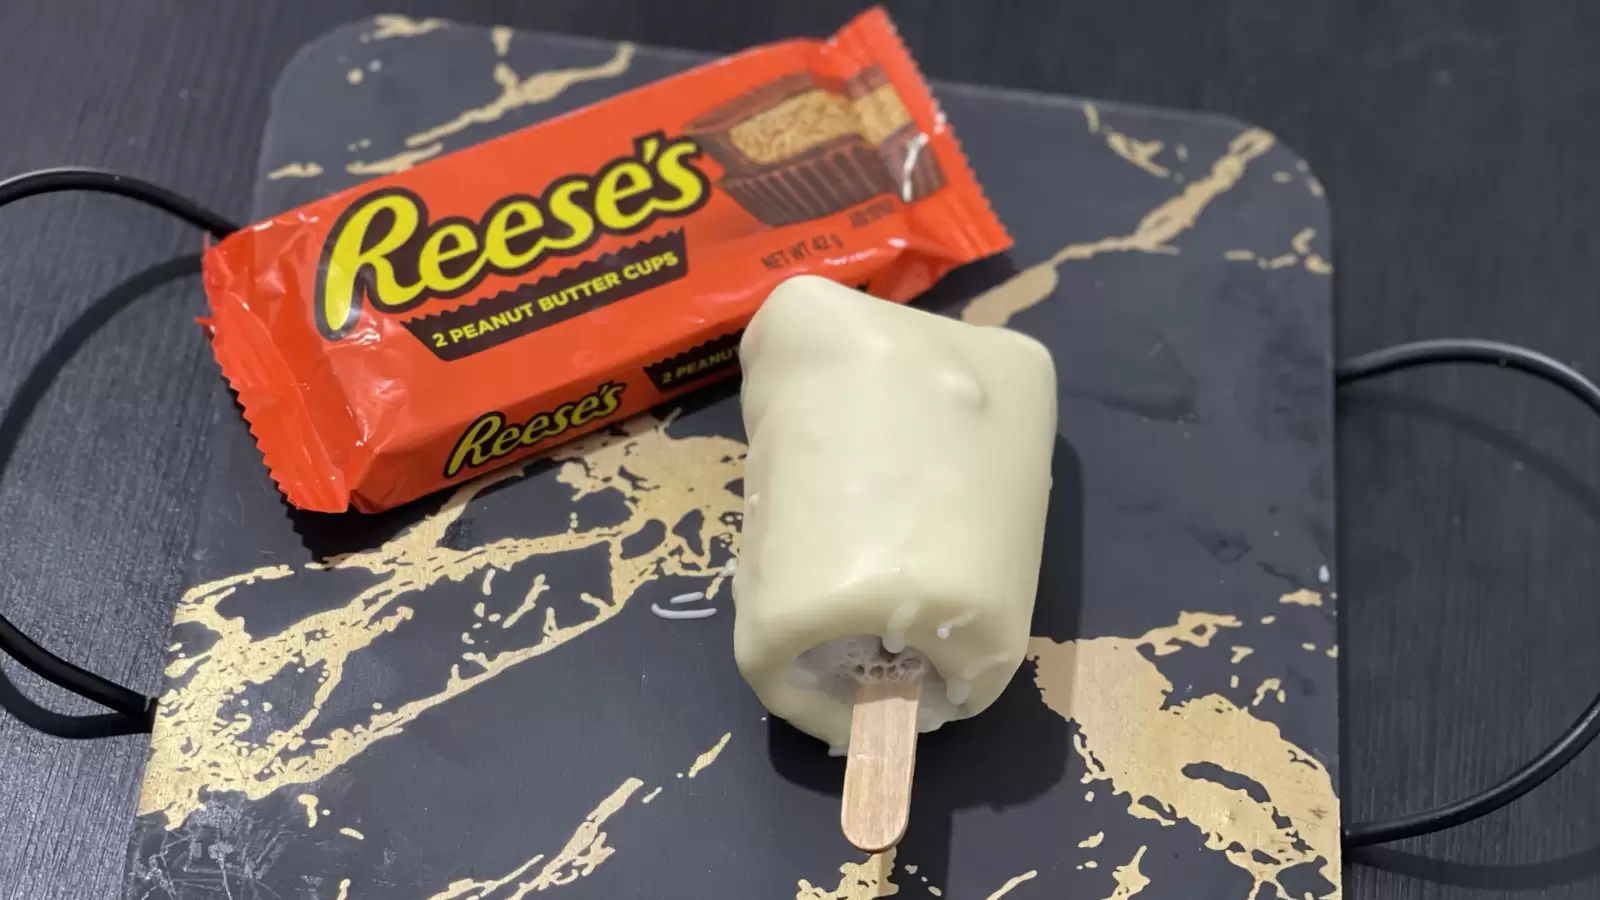
Reese's Ice Cream Recipe features a creamy blend of peanut butter and chocolate that anyone can make at home with minimal effort.
We'll set up your own food blog for 100% FREELearn About Our Mentoring Program
Recipe Ingredients
- Reeses package
- Sweet cream (100 ml)
- 50 grams white chocolate
Recipe Calorie Chart
- Reeses 218
- Cream 360
- Chocolate 280
- Total Calories: 858
Recipe Attributes
- Freezable
- Healthy
- Low Fat
- Low Carb
- Refreshing
- Seasonal
- Kids Favorite
- Budget Friendly
Reeses Ice Cream Recipe Steps
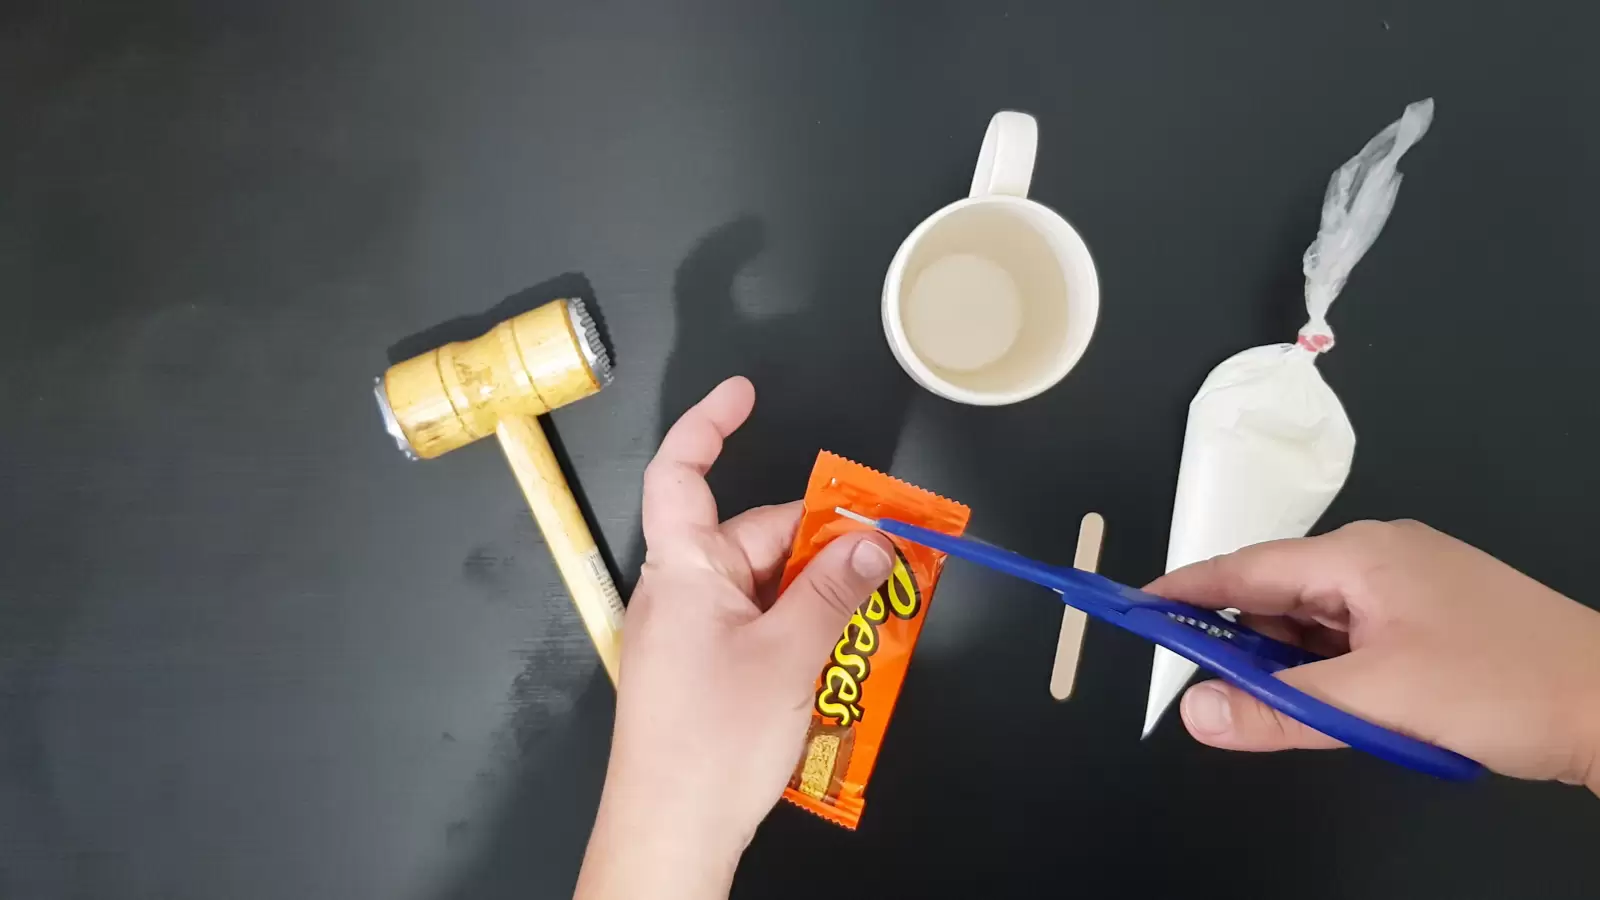
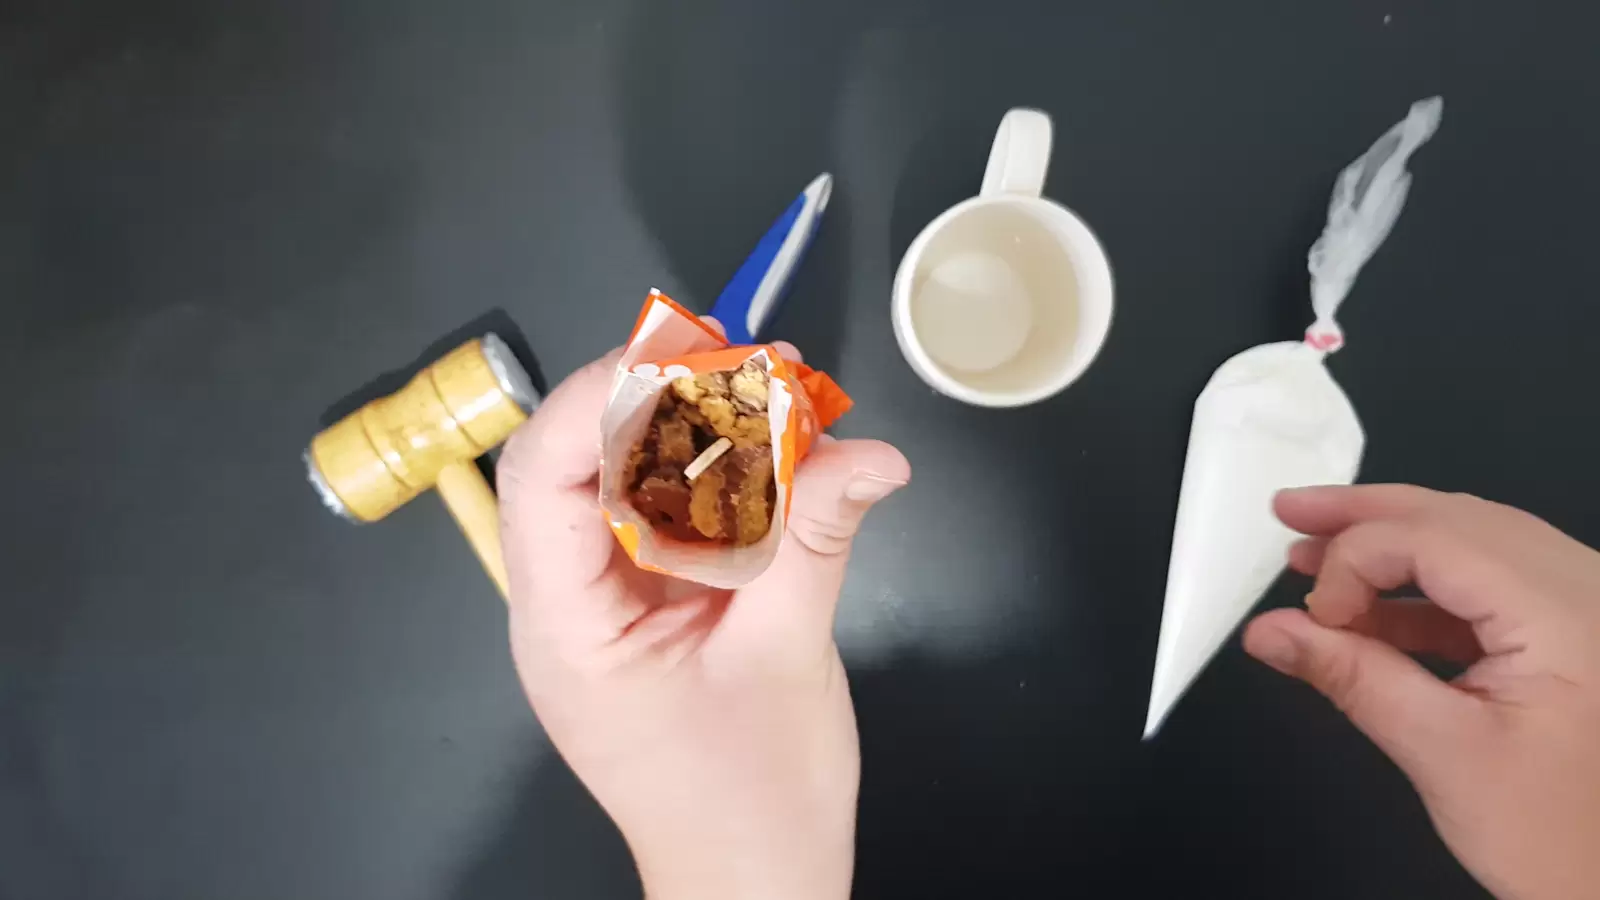
- Step 1 Open the package. Using scissors, cut the edge of the Reeses wrapper.
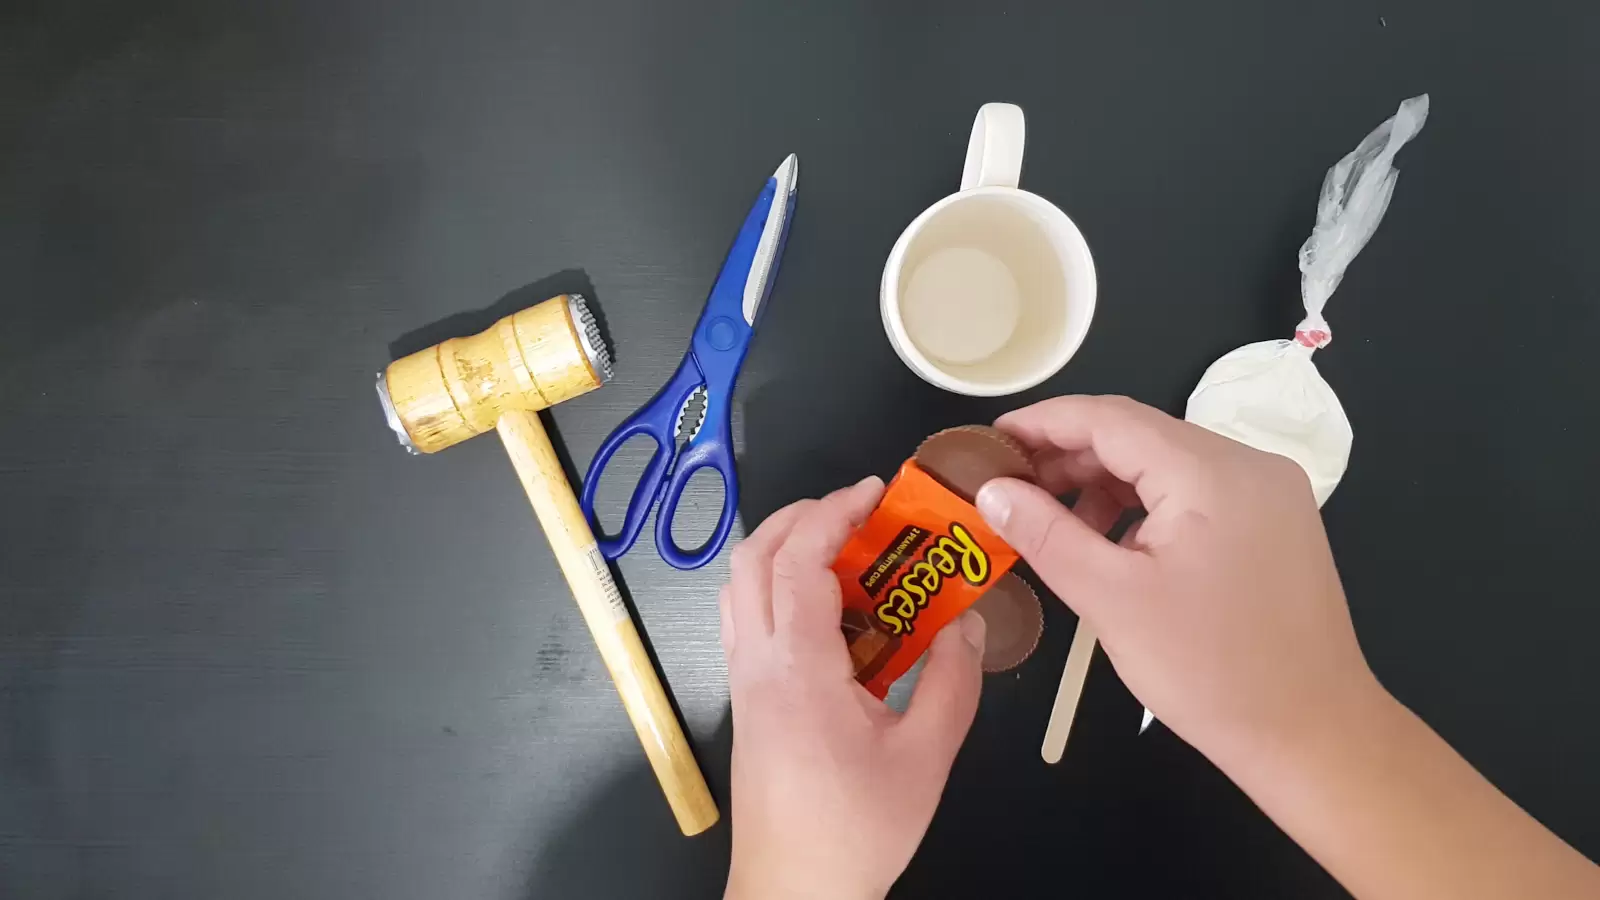
Step 1: Open the package. - Step 2 Remove the Reeses. Remove the Reeses and remove the wrappers.

Step 2: Remove the Reeses. - Step 3 Put them back in. Put the Reeses back in the bag.
Step 3: Put them back in. - Step 4 Break the Reeses. Using a kitchen hammer, break the Reeses.
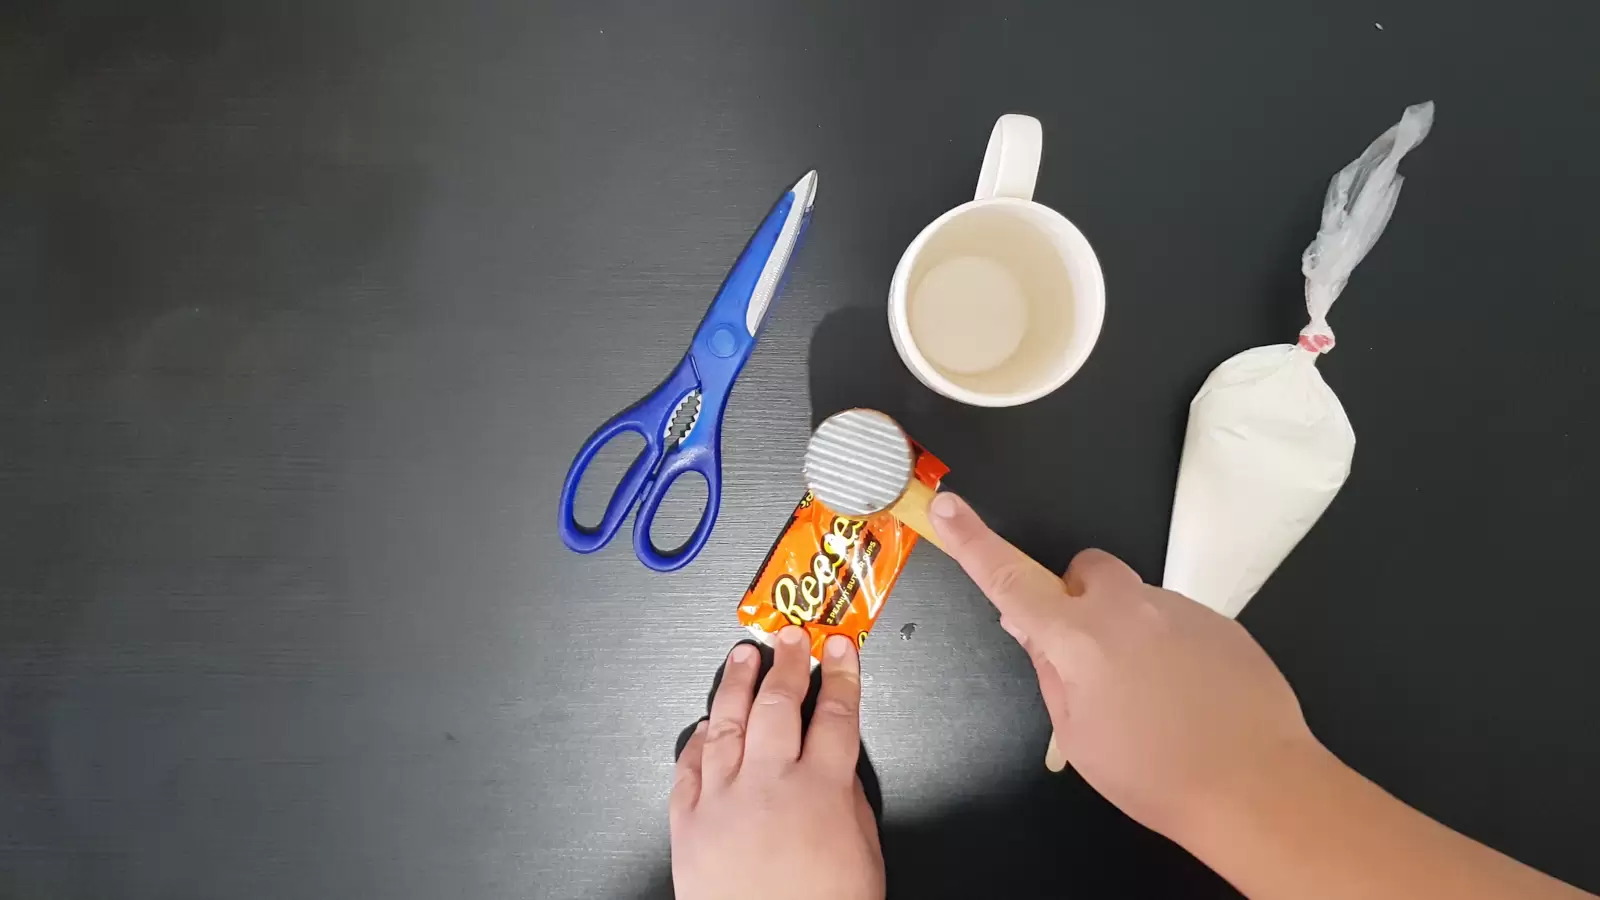
Step 4: Break the Reeses. - Step 5 Insert a popsicle stick. Insert a popsicle stick into the center of the broken Reeses.
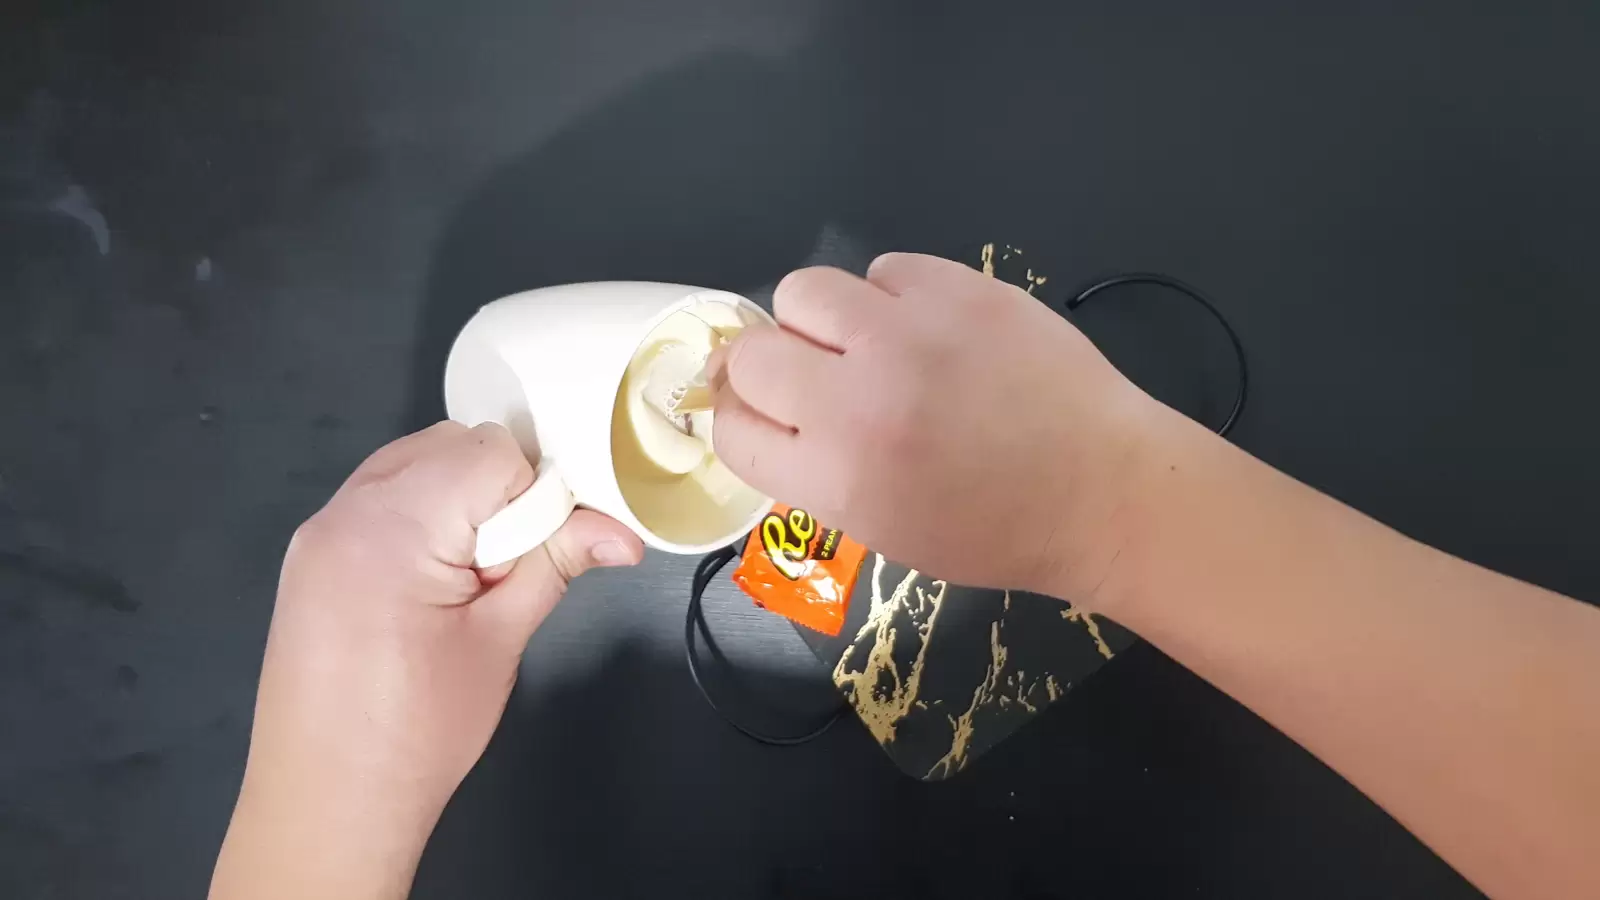
Step 5: Insert a popsicle stick. - Step 6 Pour in the cream. Place the Reeses in a glass. Pour in the cream until it is full. Place in the freezer for at least 3.5 hours.
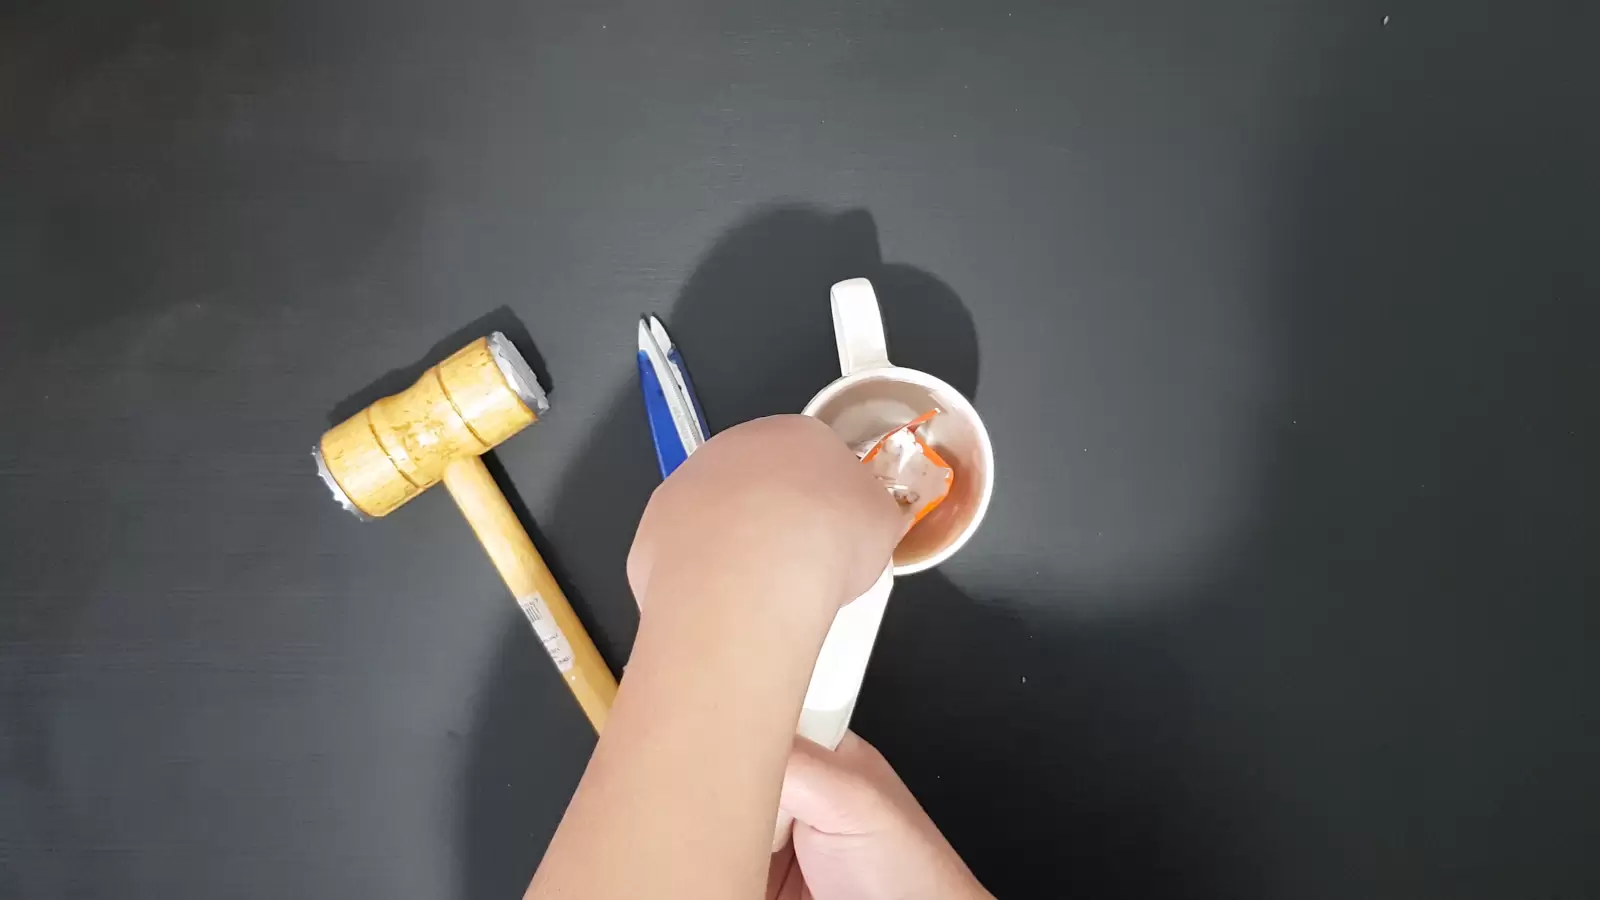
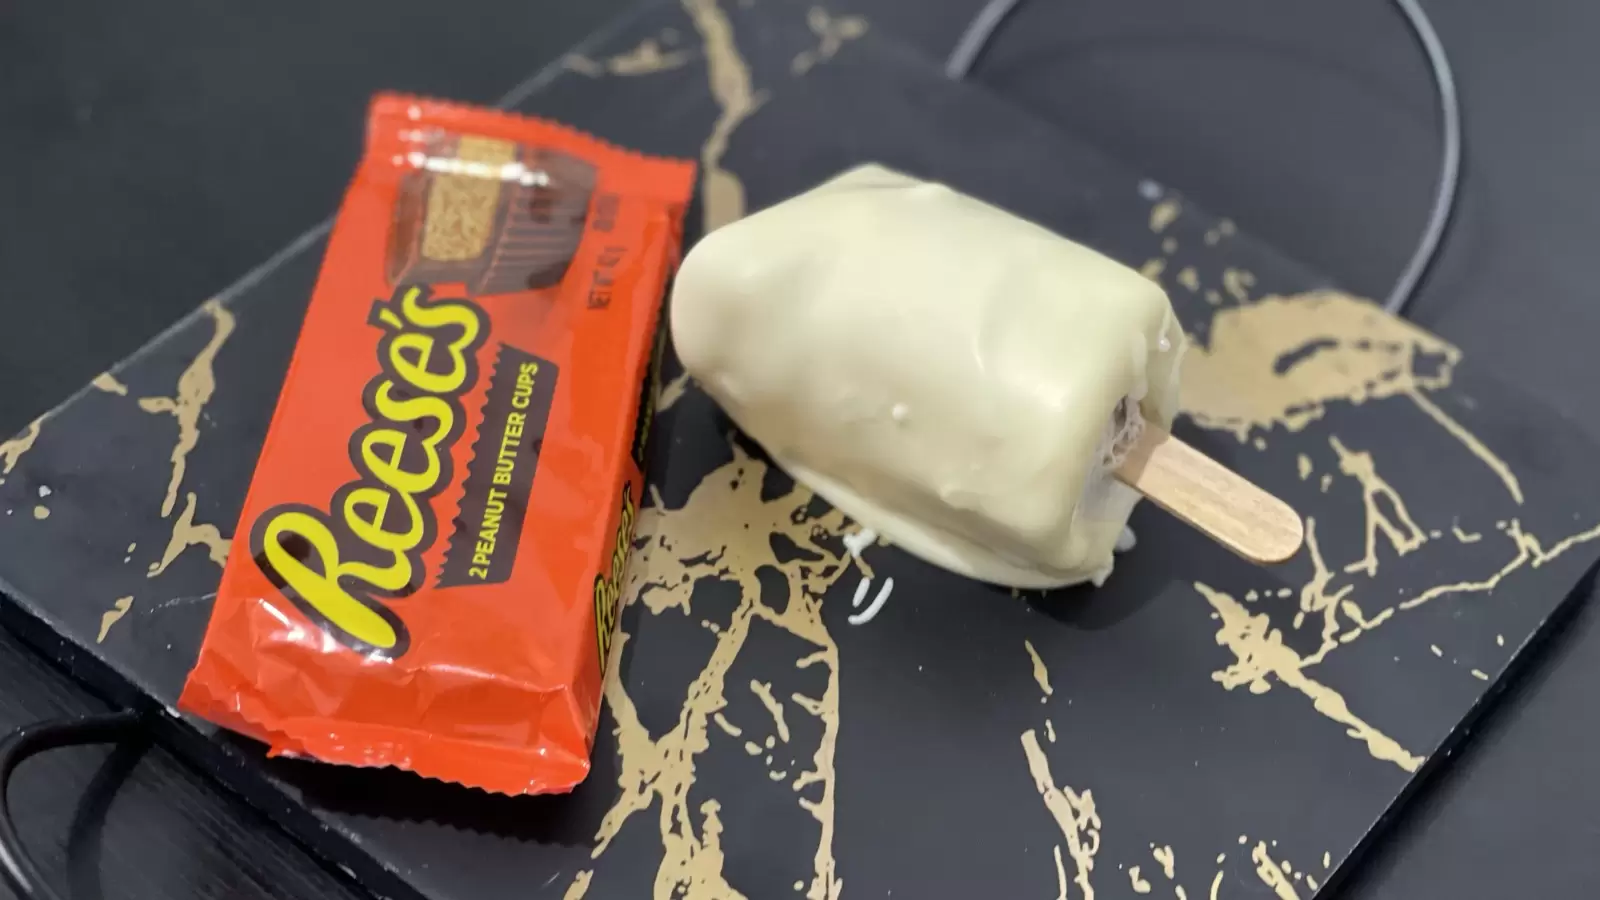
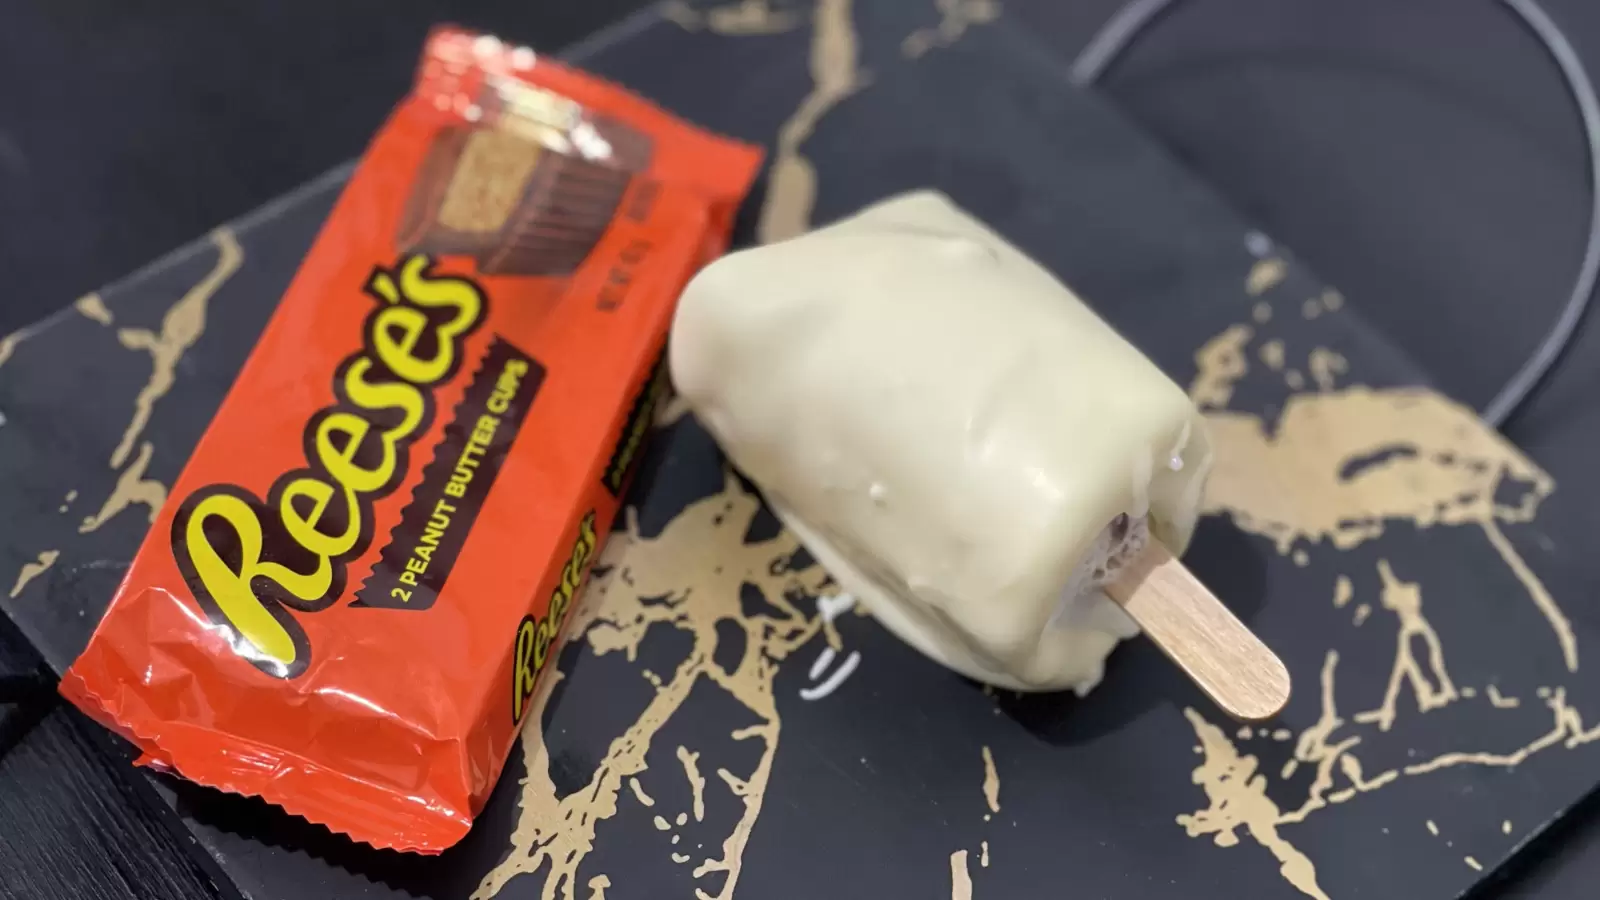
Step 6: Pour in the cream. - Step 7 Gently remove. Gently remove the wrapper from the ice cream.
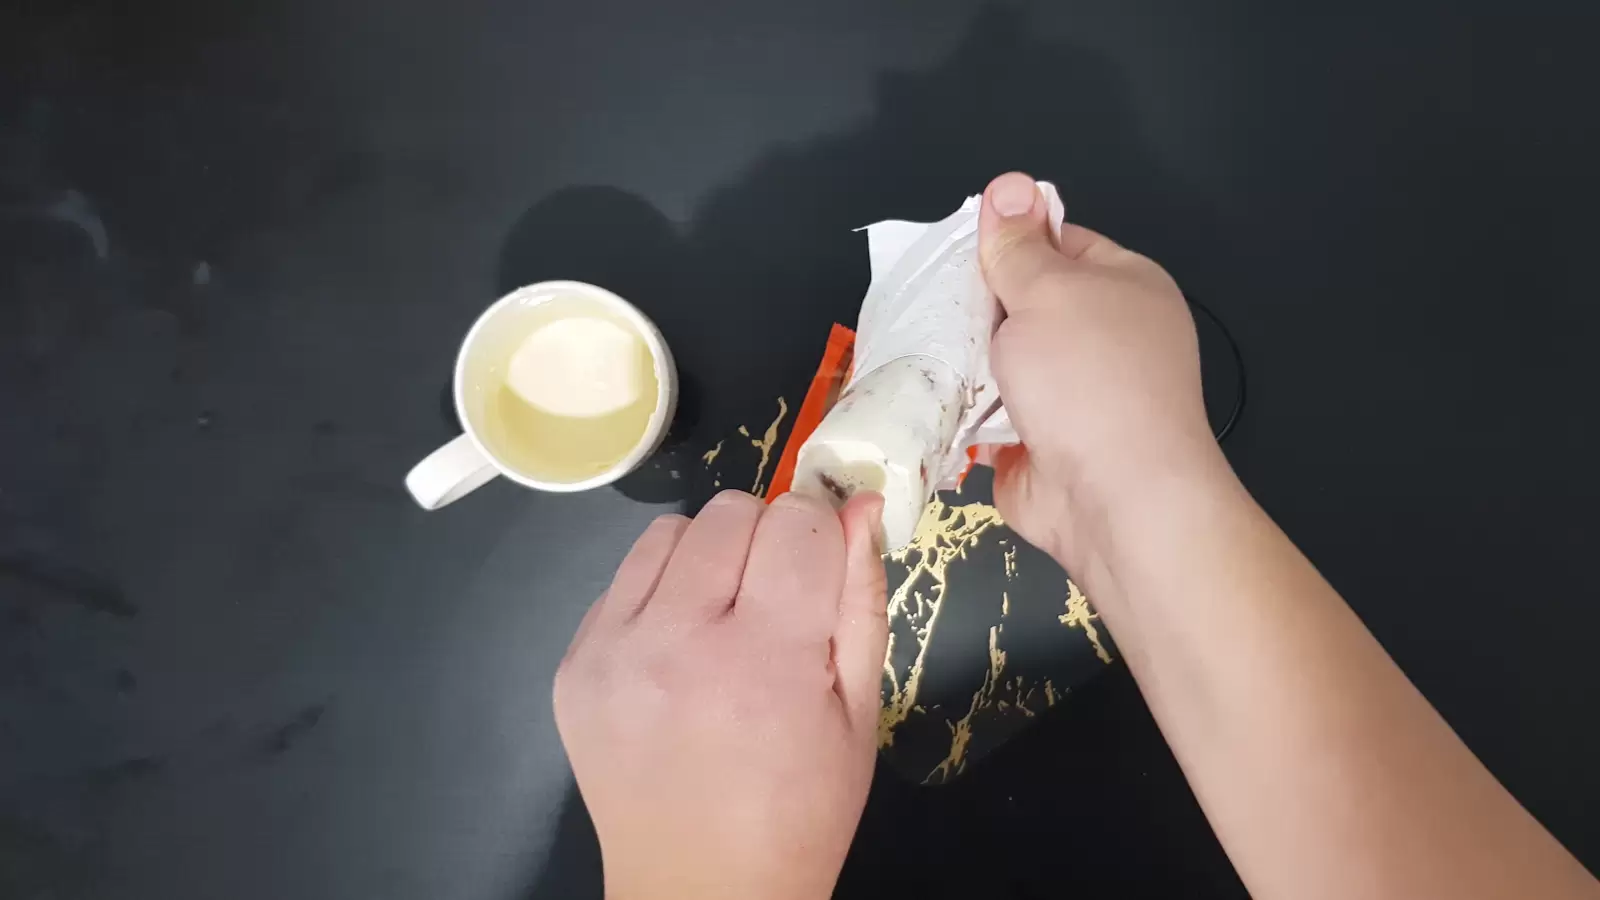
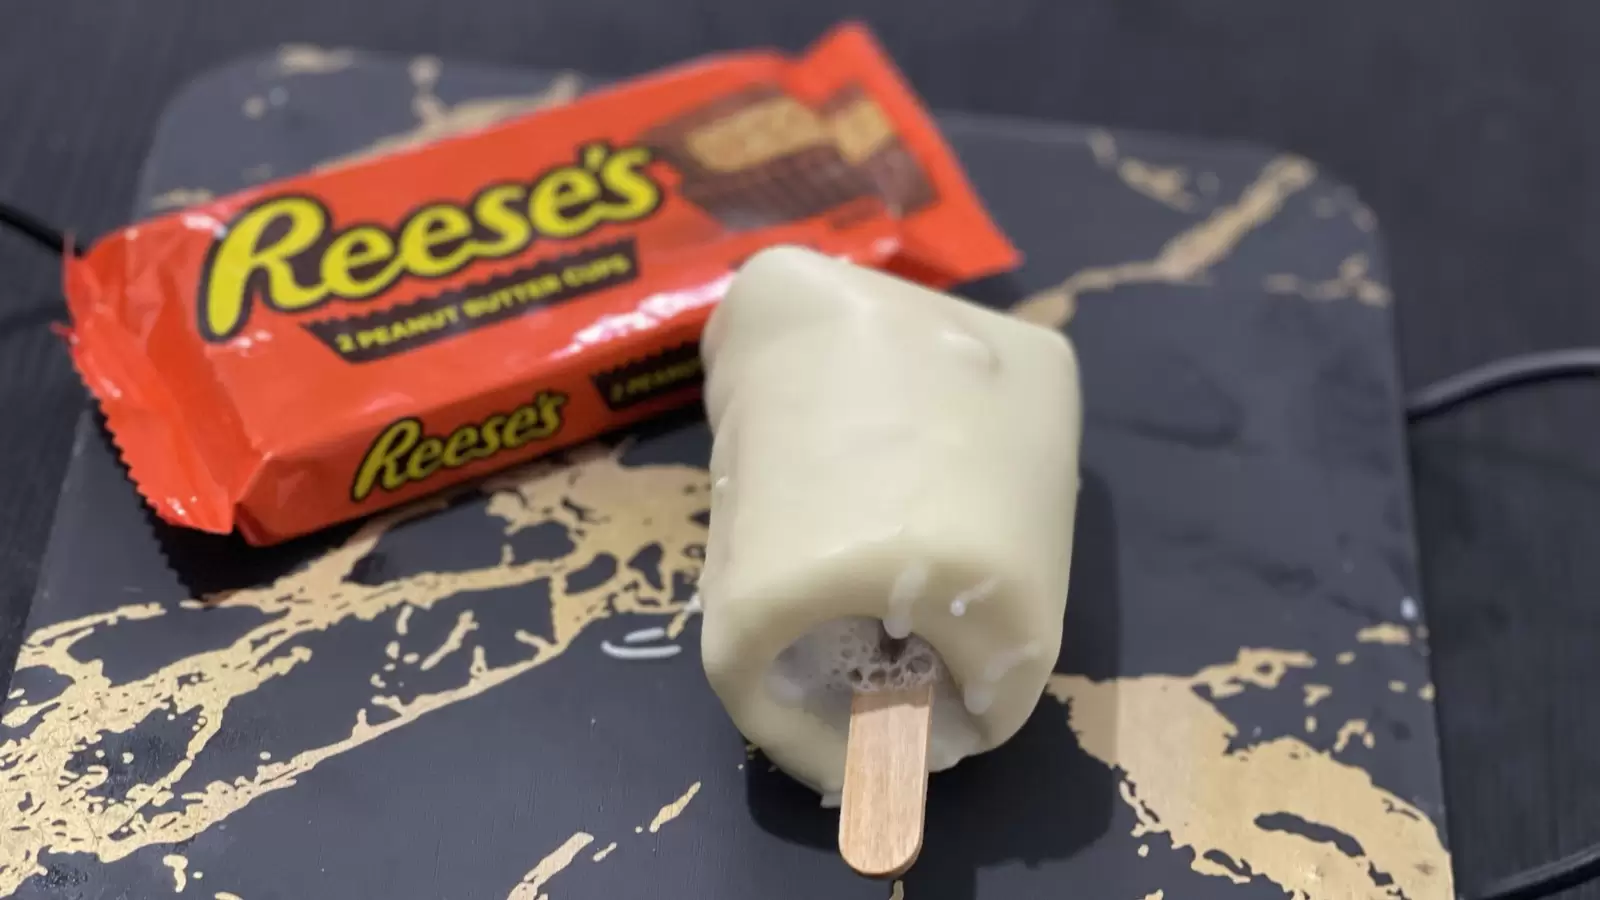
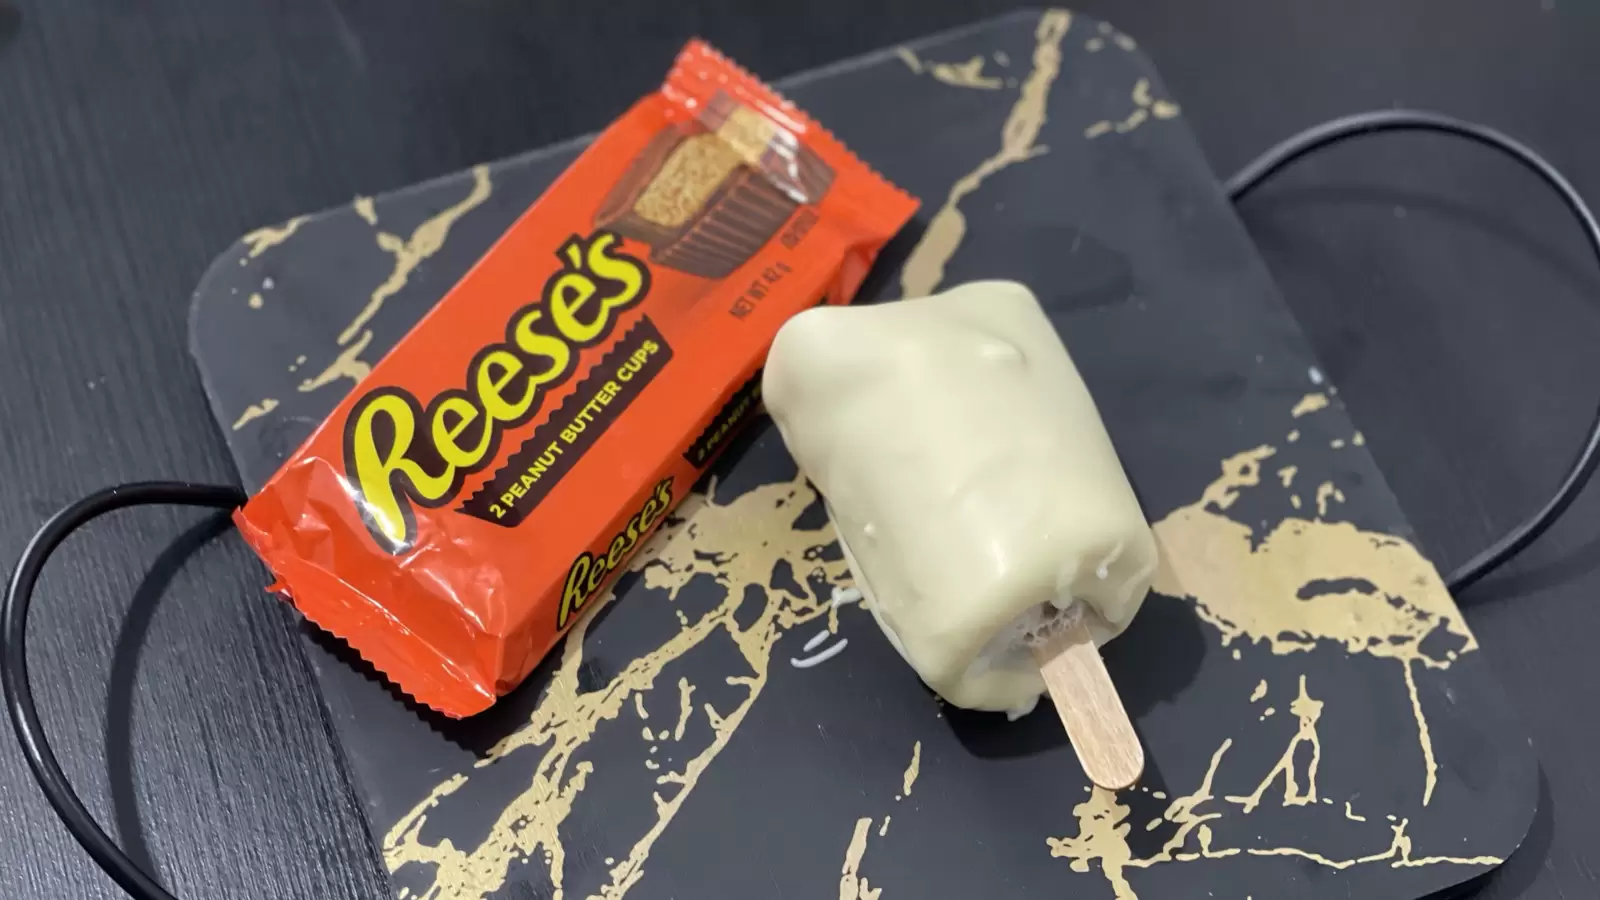
Step 7: Gently remove. - Step 8 Dip in white chocolate. Melt 50 grams of white chocolate and place in a tall glass, dip the ice cream in from all sides.
Step 8: Dip in white chocolate. - Step 9Did you find our tasty? Let us know! Share your thoughts on our recipe and leave a comment.

Step number 9: Share your thoughts: Drop a comment if you enjoyed our recipe, inquire, share with loved ones, and rate it, please!
Reeses Ice Cream Recipe Pictures
Making Reese’s ice cream at home can save you money compared to buying it at an ice cream shop or buying a special container from the store. When you buy the main ingredients in bulk, like peanut butter, chocolate, and cream, you usually get a better bang for your buck. Another thing to keep in mind is that you can make larger batches and freeze them, which means fewer trips to the store and fewer impulse purchases. There are also savings when you avoid the additional costs that come with branding and packaging store-bought products. Over time, making your own ice cream becomes more economical, especially if you already have some of the basic ingredients at home. It’s not just about cutting costs, but also about getting more out of your spending.
Athletes or those focused on fitness may enjoy this as a post-workout treat thanks to the protein content in the peanut butter. Busy parents looking for a homemade dessert that they can control will also find this recipe helpful, as they can choose the quality and quantity of ingredients. Anyone who prefers to know what goes into their food, whether for dietary or personal reasons, will likely enjoy making this ice cream at home.
To make this recipe, you will need a few basic kitchen tools: a glass, a kitchen mallet, a piping bag, and scissors. All in all, no special tools are needed. By pouring the cream into a piping bag, you can be sure that you won’t spill it and that you put in the exact amount without it being wasted for additional servings. It’s not that hard to do, and with a little time and patience, you can create a homemade treat that feels special without needing any professional tools.
Thank you so much for taking the time to read Reese’s ice cream recipe. I really hope you feel encouraged to try it yourself because it’s not as complicated as it may sound, and it’s rewarding to see the end result in your freezer. When I first tried making my own ice cream at home, I was surprised by how much control I had over the ingredients and how much fun it was to experiment with small changes. It got me thinking – if you enjoy cooking or baking, why not share your creations with others? You can start your own food blog, just like us, and start making money by uploading your recipes and stories. You don’t need any sophisticated technical knowledge to become a food blogger. All you need is a passion to share what you make, and you can reach people who will be happy to try your dishes. Would you like to start your own blog? If so, check out the link at the bottom of the page. You can also ask questions or leave a comment on this review, and we'd love to hear your feedback. Be sure to rate it too - you'll find the comments and rating box further down the page.
Recipe Tips
- You can drizzle or add cookie or candy pieces immediately after coating with white chocolate.
- Can be stored in the freezer in a tightly sealed container for up to 3 months.
Other Recipes You May Like


Leave A Comment
Your email address will not be published. Required Fields Are Marked With (*).