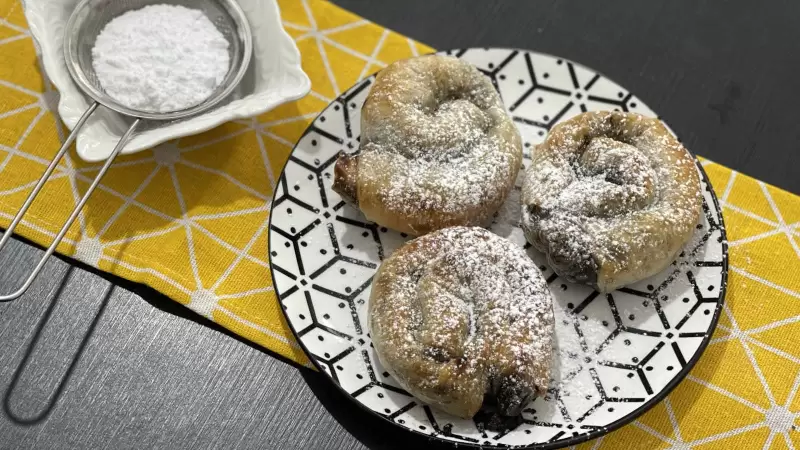
Hersheys Ice Cream Recipe
Anne Marie 0 CommentsPrep time: 10 Minutes Cooking Time: 5 Hours
Serves: 10 People Easy
Learn How To Make Money And Save Money With Cooking & Baking
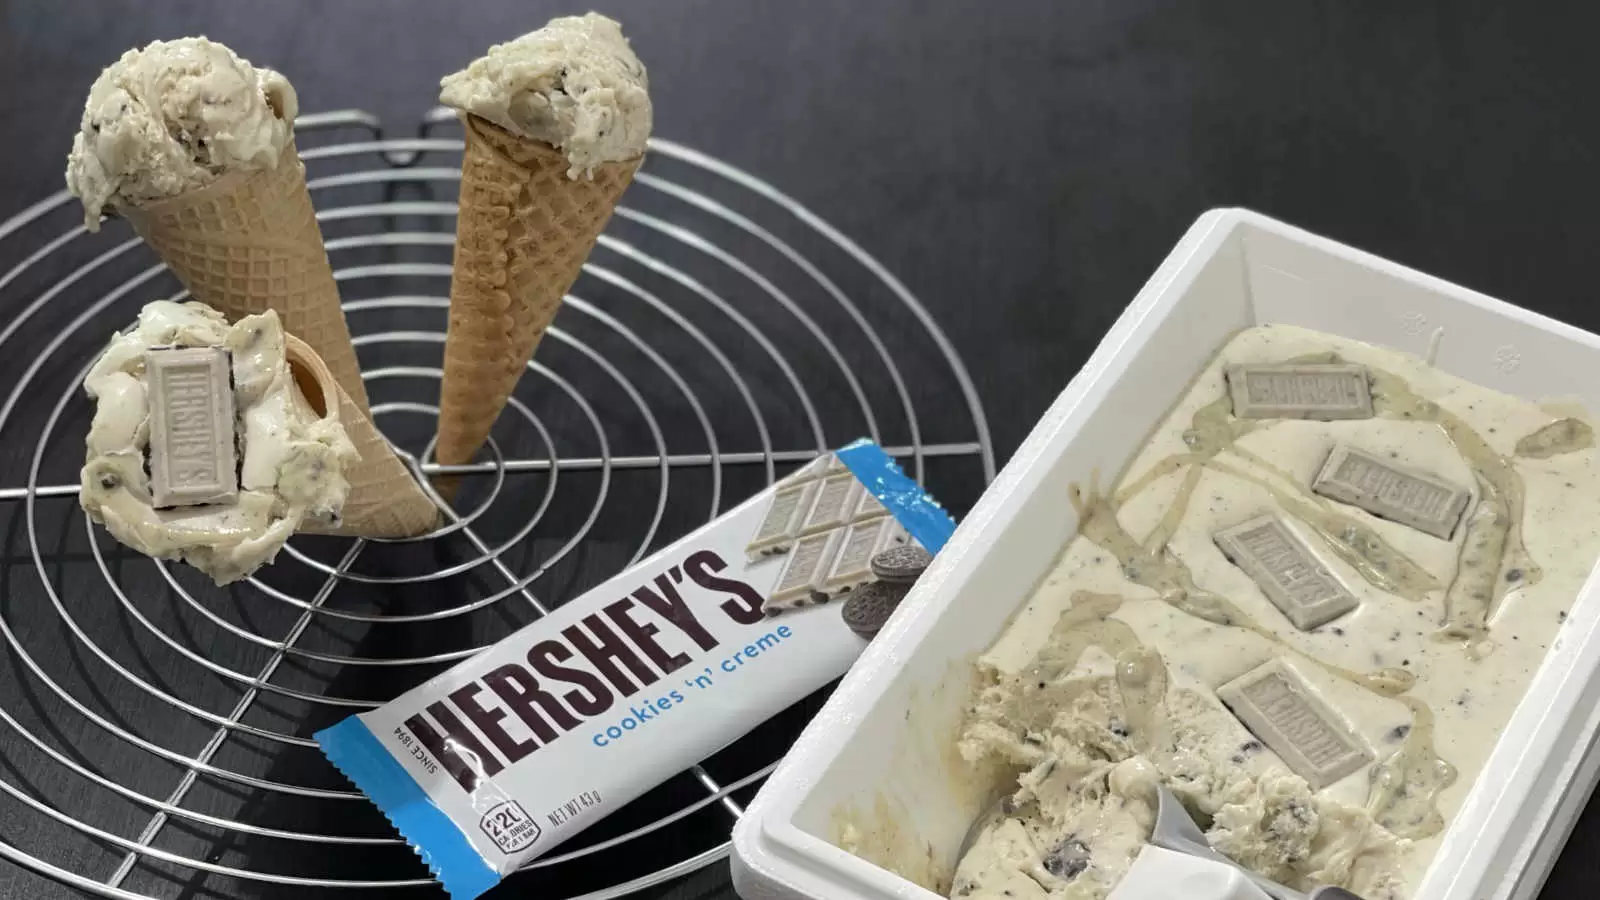
This Hersheys Ice Cream recipe is pretty easy to make, so even if you're not a pro in the kitchen, you can create something special without much fuss. One of the reasons you'll enjoy making it is that it's not only delicious but includes some ingredients that benefit your body. The cream and condensed milk provides calcium, essential for strong bones. Another big advantage is that you can adapt it to your needs, whether you are looking for something rich in chocolate with high cocoa percentages or a little lighter.
Not only does this dish include healthy ingredients, but it's also satisfying in a way that doesn't just rely on taste. You'll get a nice balance of nutrients without loading on anything too heavy, making this a solid option whether you're looking for a treat or something you can feel good about enjoying regularly. Also, this recipe page has everything you need: from a full ingredient list to a step-by-step guide and even a calorie chart. All that remains is to follow the instructions.
Table of Contents
Recipe Description
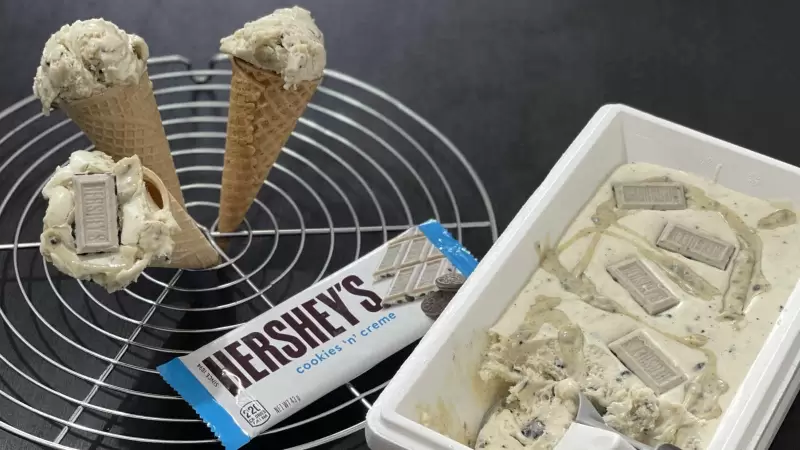
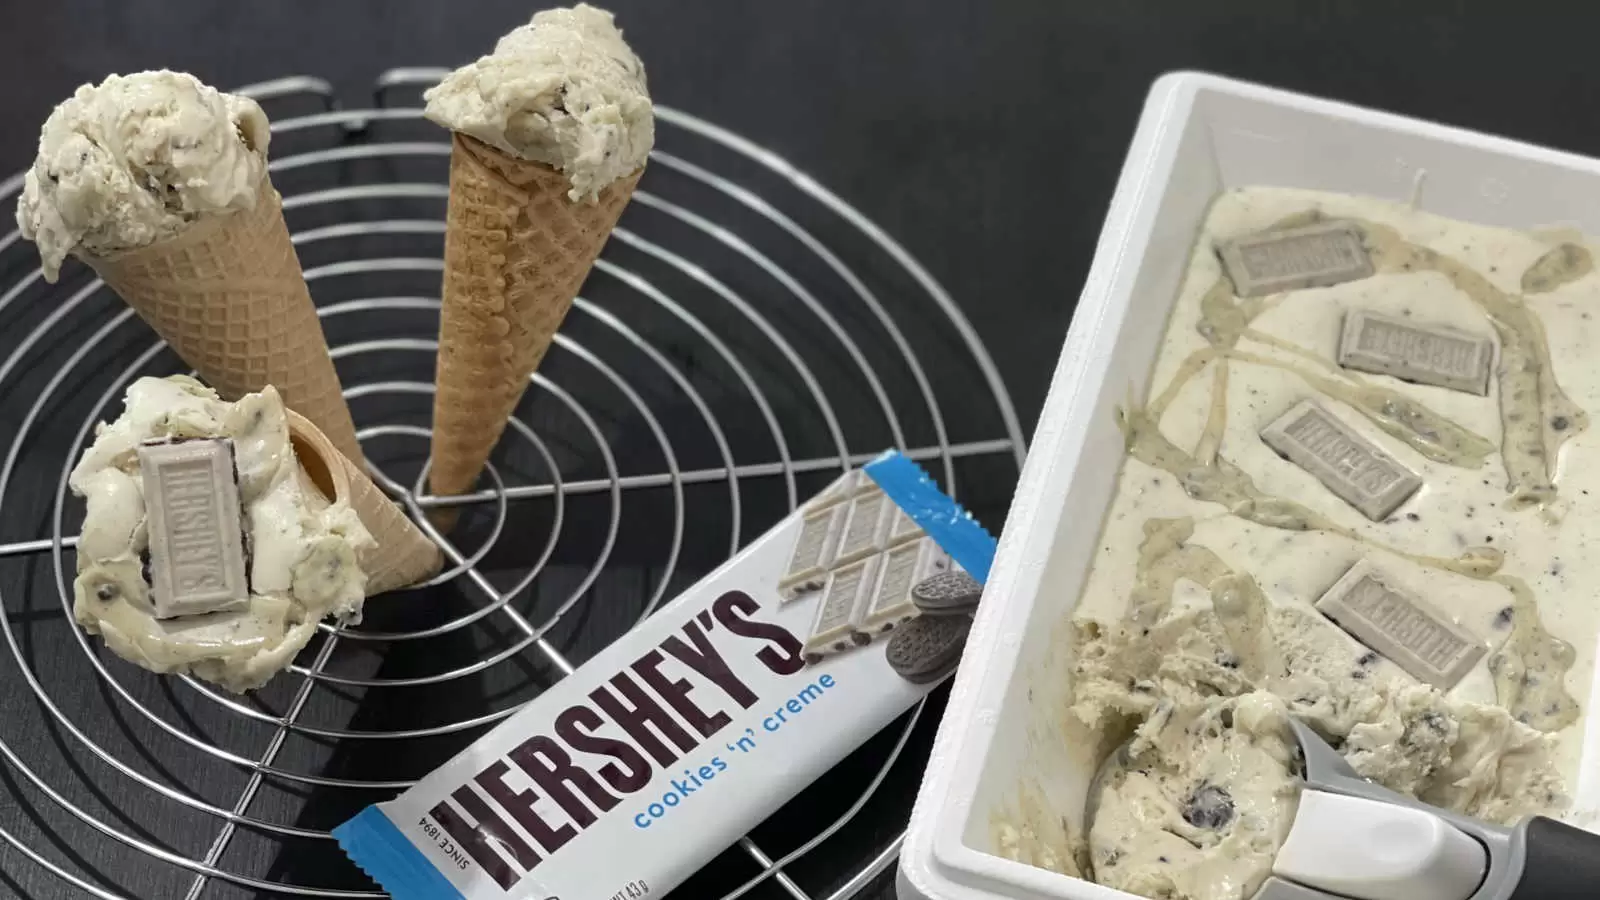
The Hershey's ice cream recipe includes a mixture of whipping cream, condensed milk, and Hershey's chocolate, perfect for anyone looking for a treat that is both delicious and loaded with some nutritional benefits. Ideal for fitness enthusiasts, hospitality days, and anyone looking to make an economical dessert at home.
We'll set up your own food blog for 100% FREELearn About Our Mentoring Program
Recipe Ingredients
- 500 ml whipping cream 38%
- 400 grams of condensed milk
- 43 grams of Hershey\\'s chocolate (pack)
Recipe Calorie Chart
- Cream 1870
- Milk 1104
- Hershey 217
- Total Calories: 3191
Recipe Attributes
- Freezable
- Gluten Free
- High Protein
- Refreshing
- Kids Favorite
- Budget Friendly
Hersheys Ice Cream Recipe Steps
- Step 1 Whip cream in a mixer. Pour 500 ml into a mixer bowl, and attach the whisk.
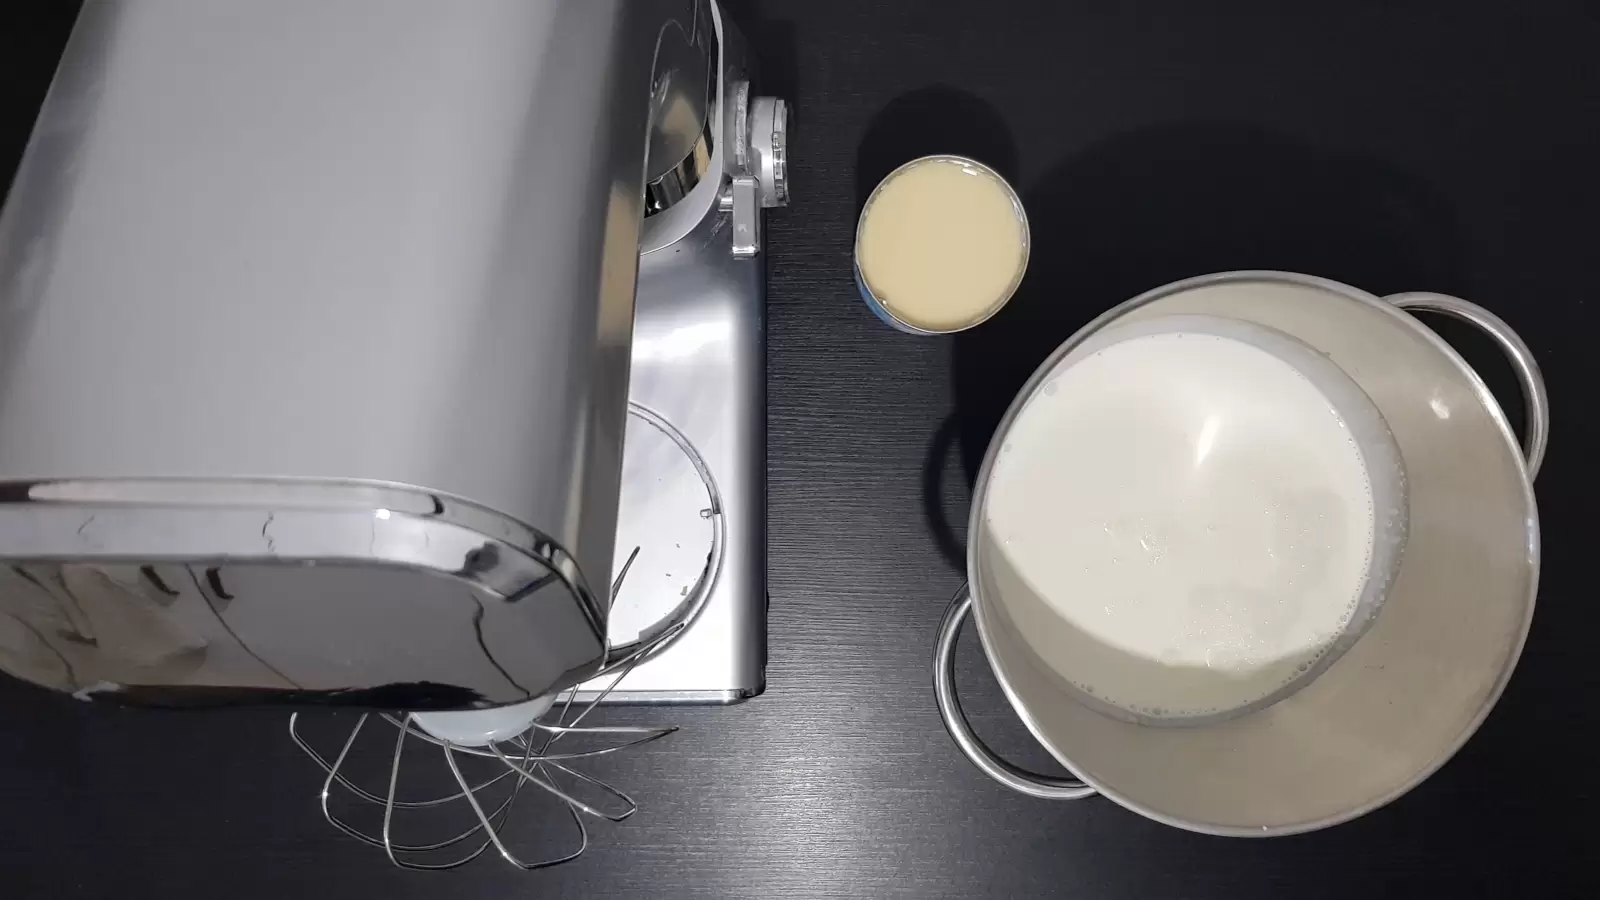
Step 1: Whip cream in a mixer. - Step 2 Turn on the mixer. Turn on the mixer on low-medium power. Wait a few minutes for the whipped cream to set.
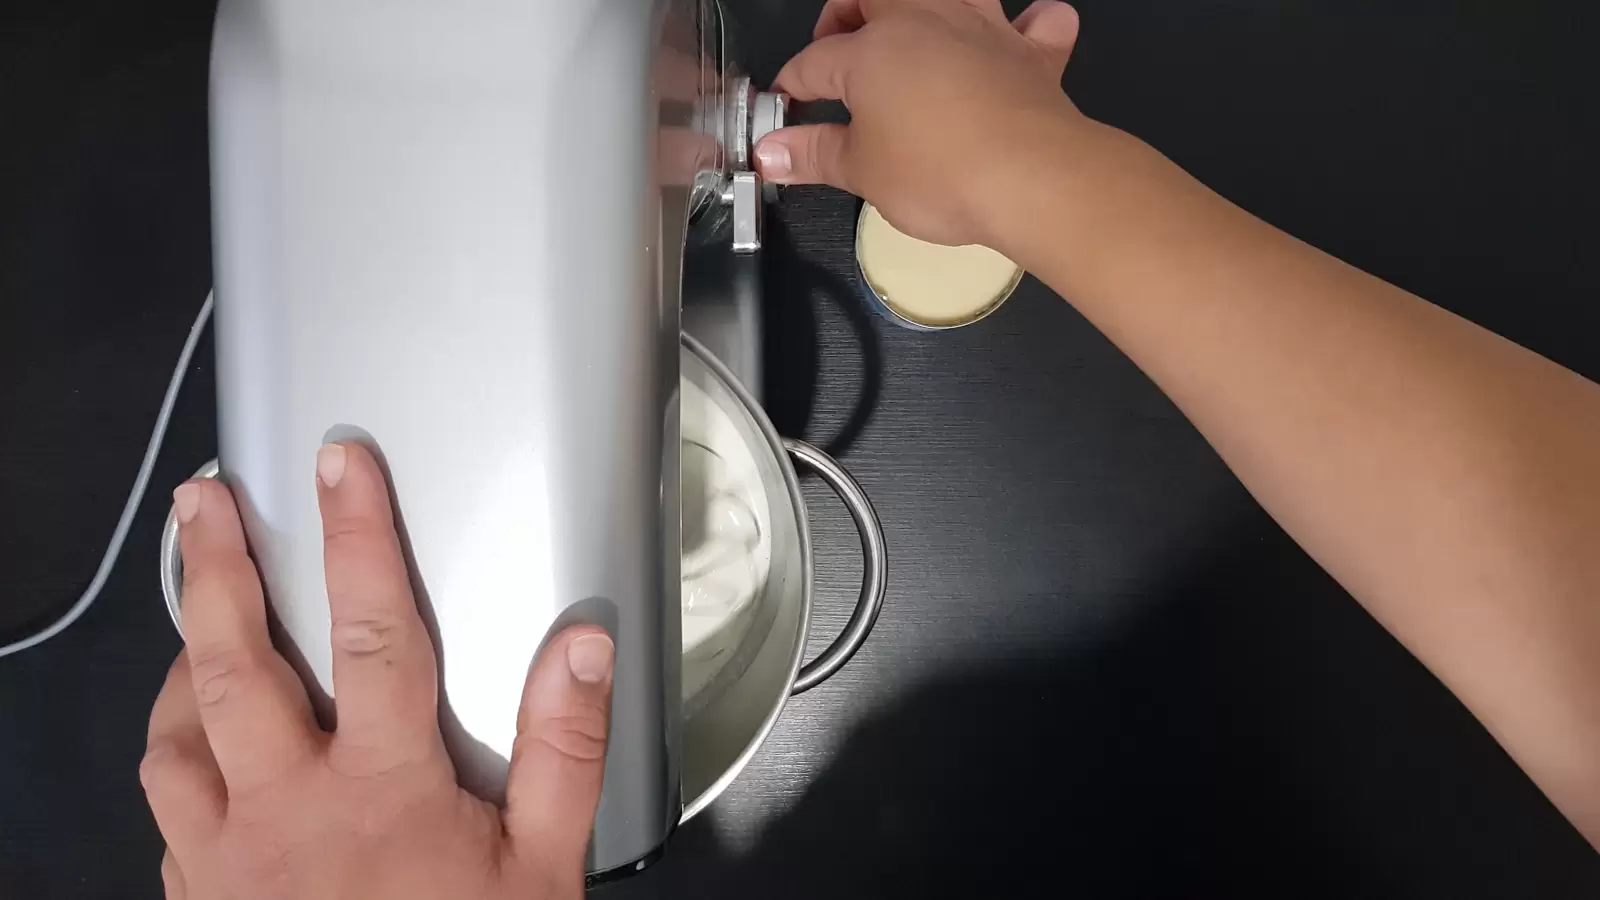
Step 2: Turn on the mixer. - Step 3 Add condensed milk. Gradually add 400 grams of condensed milk into the mixer bowl while whipping. Continue mixing until fully combined.
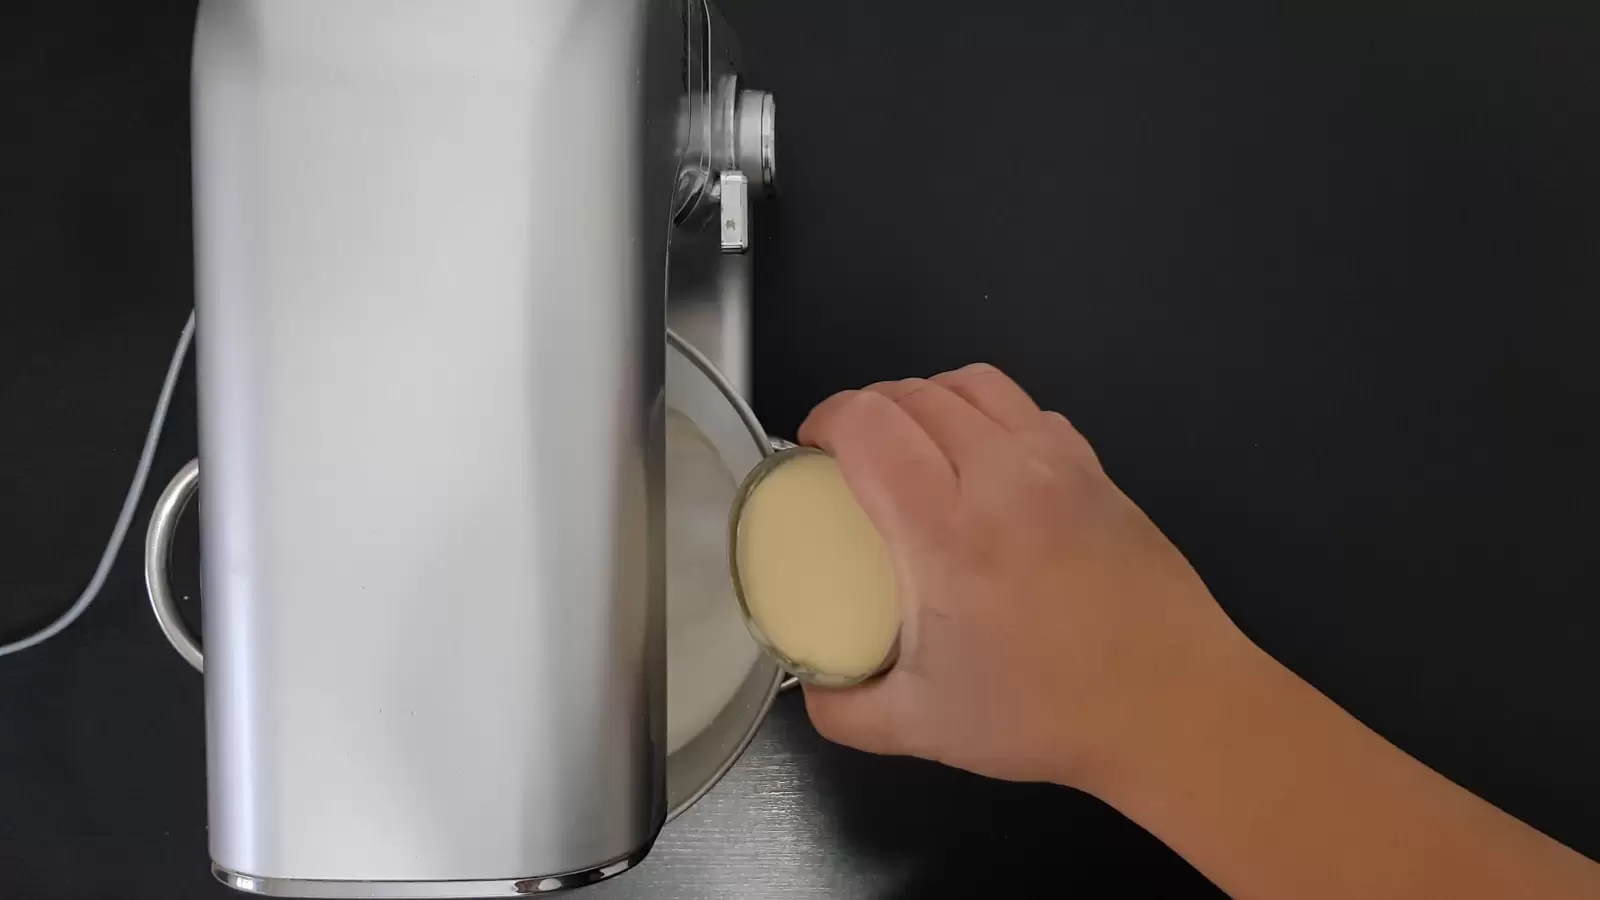
Step 3: Add condensed milk. - Step 4 Stop the mixer. This is the texture we want to reach, so stop as soon as you see that the whipped cream is already uniform and stable.
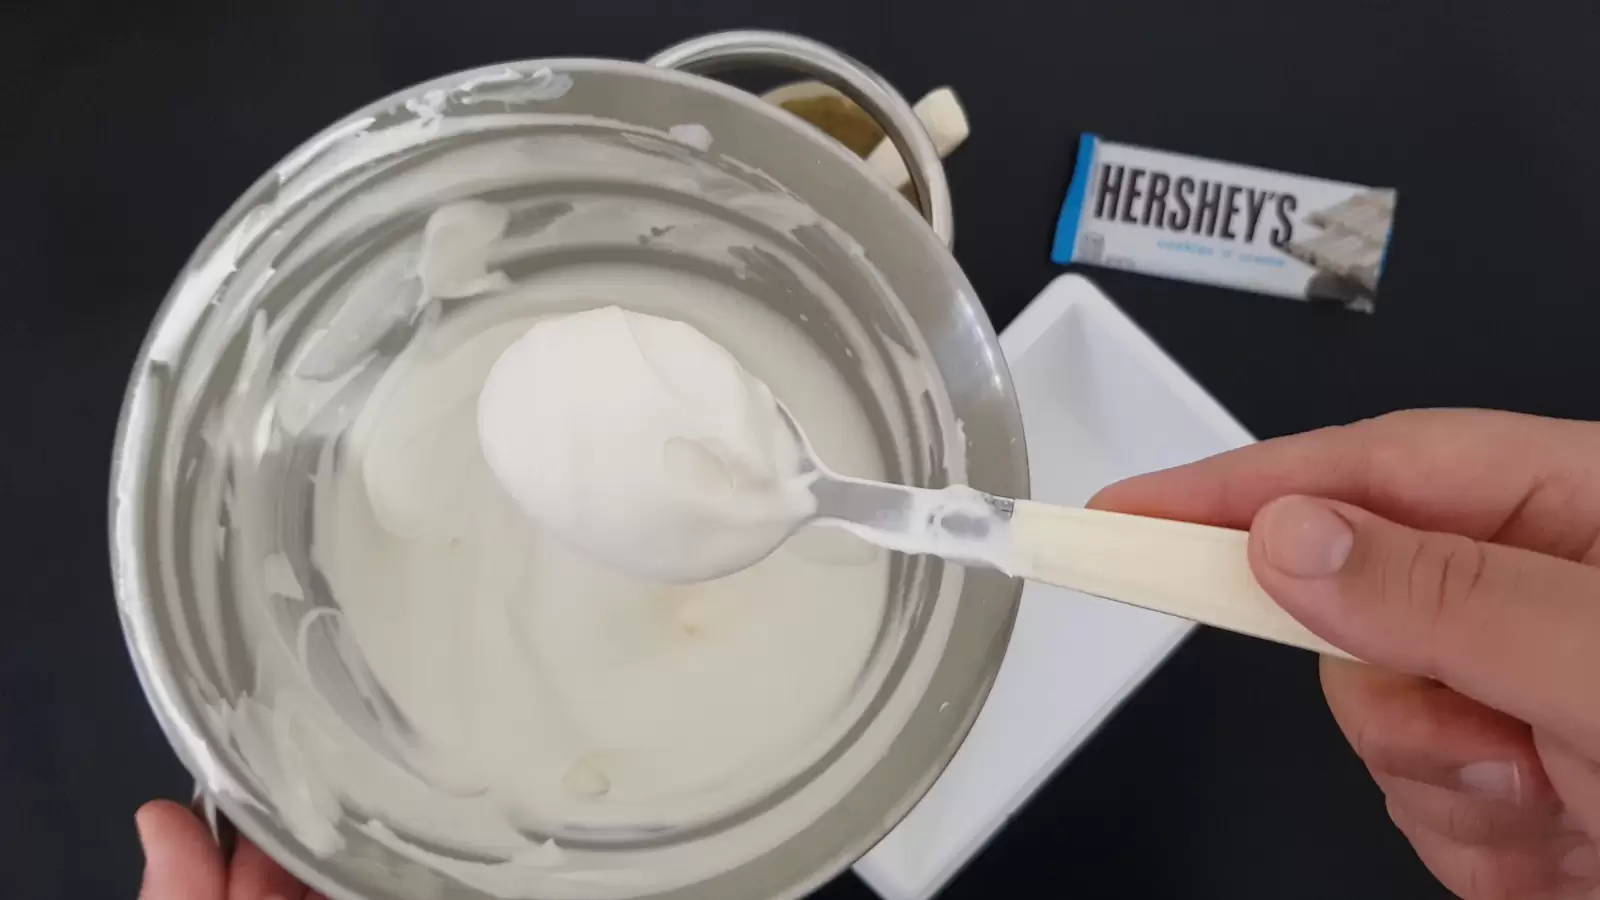
Step 4: Stop the mixer. - Step 5 Add Hersheys chocolate spread. Add 6 tablespoons of Hershey's chocolate spread. You can buy ready-made spread, or melt chocolate bars in a pot or microwave. Check if the level of sweetness is to your taste, if not, you can add more of the spread to the cream mixture. Mix well and gently.
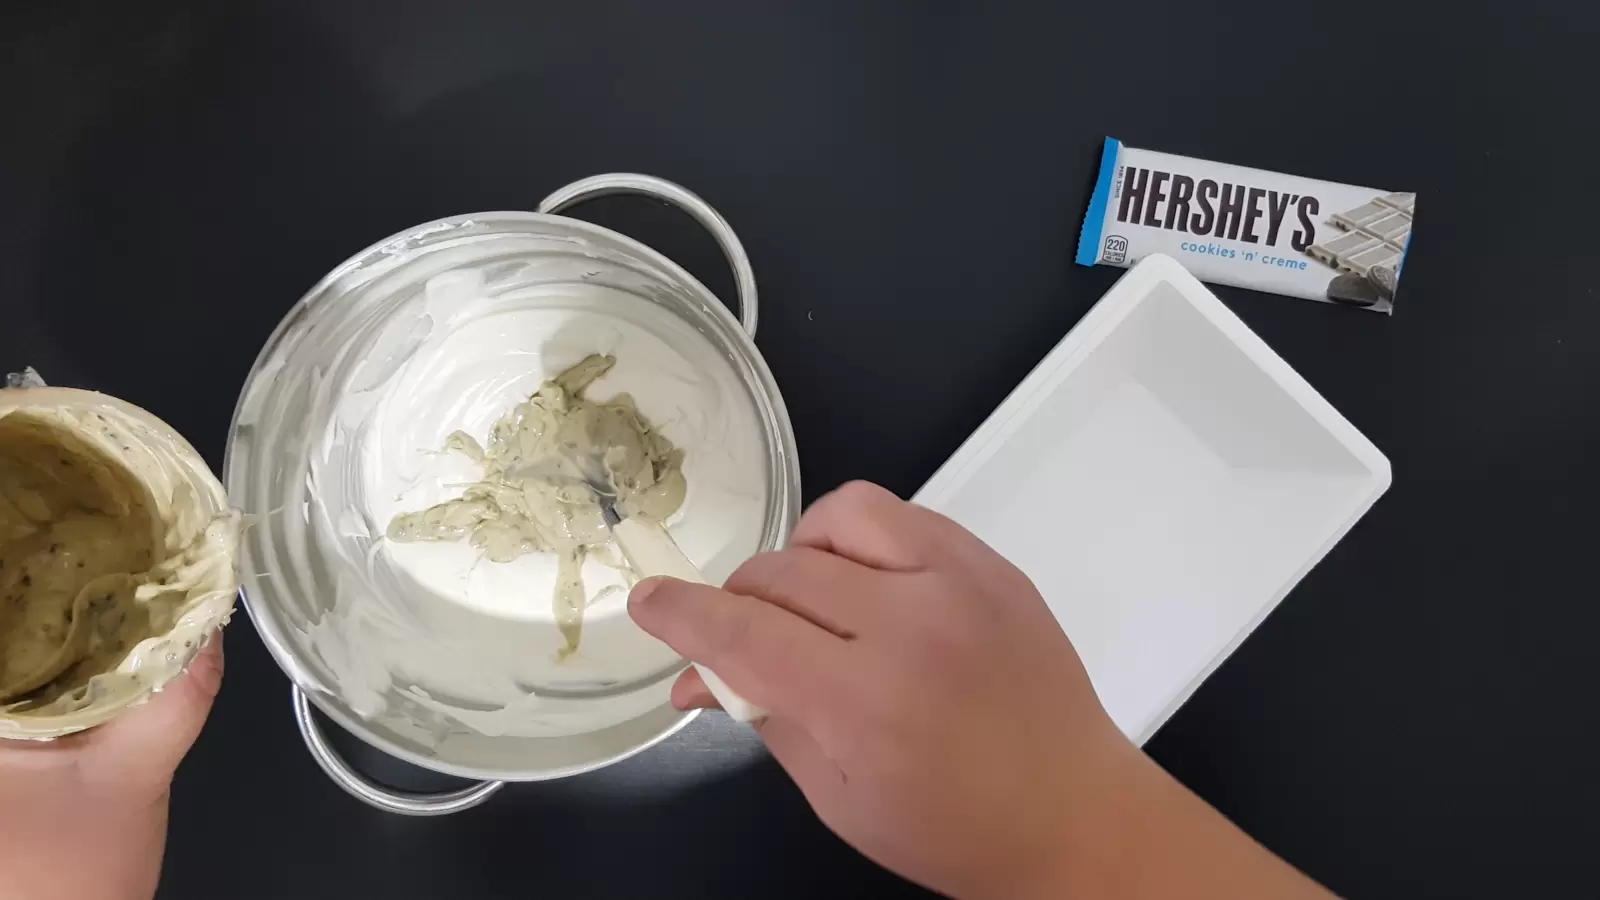
Step 5: Add Hersheys chocolate spread. - Step 6 Transfer to the box. Transfer to a box suitable for the freezer, you can use an ice cream box, or any other sealed box. Put a first layer of the mixture we prepared.
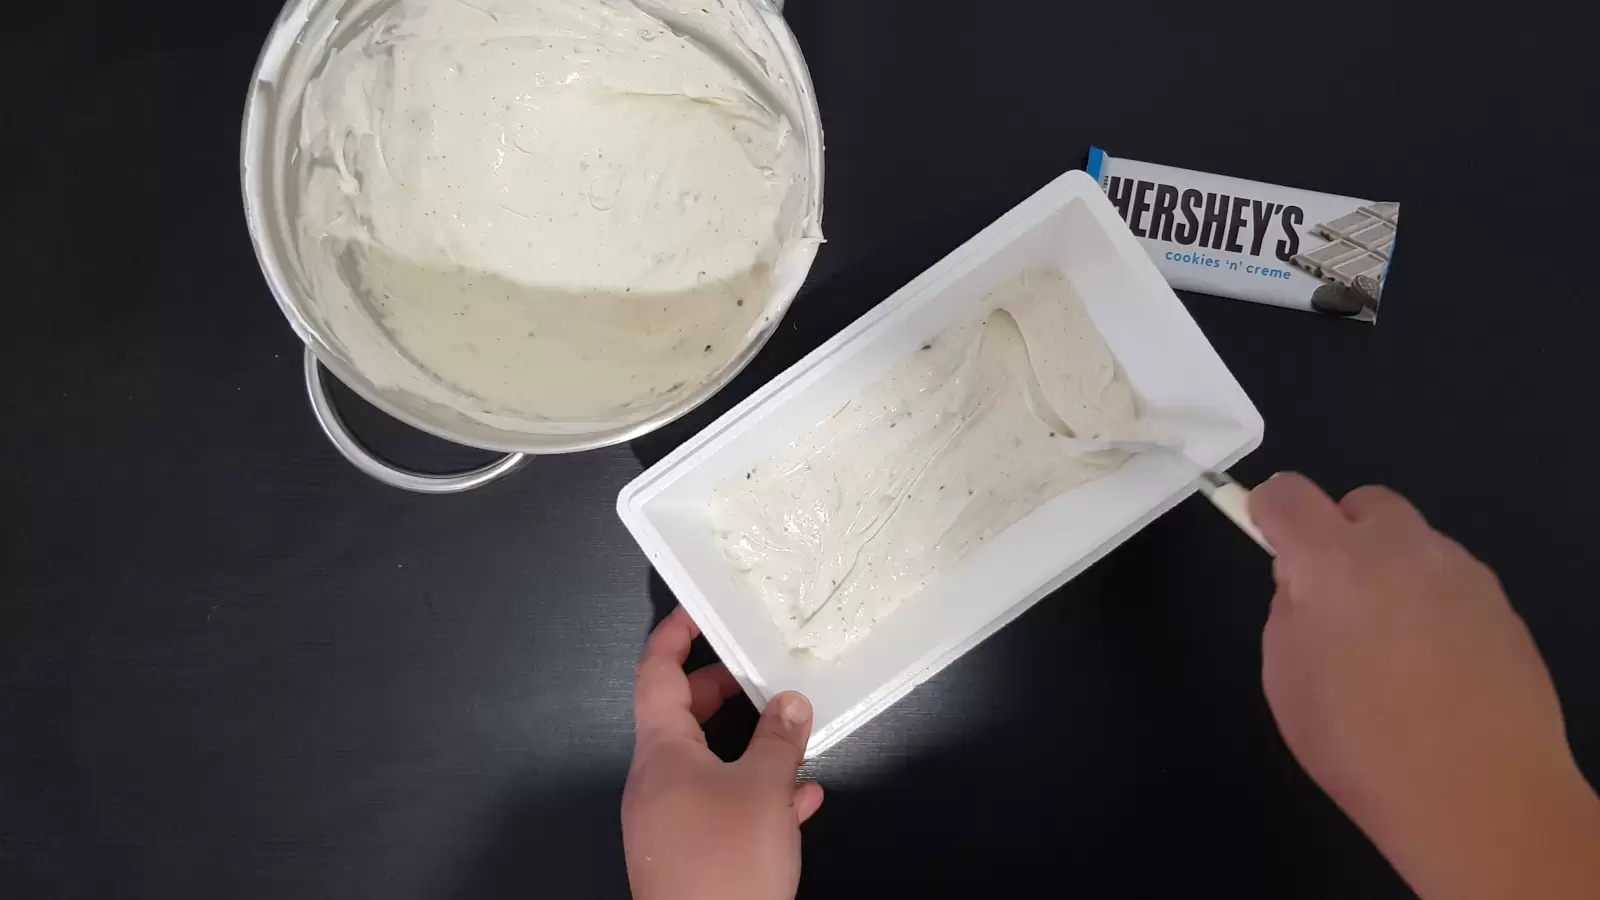
Step 6: Transfer to the box. - Step 7 Add pieces of Hersheys chocolate. Not mandatory, but it is recommended to add chocolate pieces to the ice cream in the box.
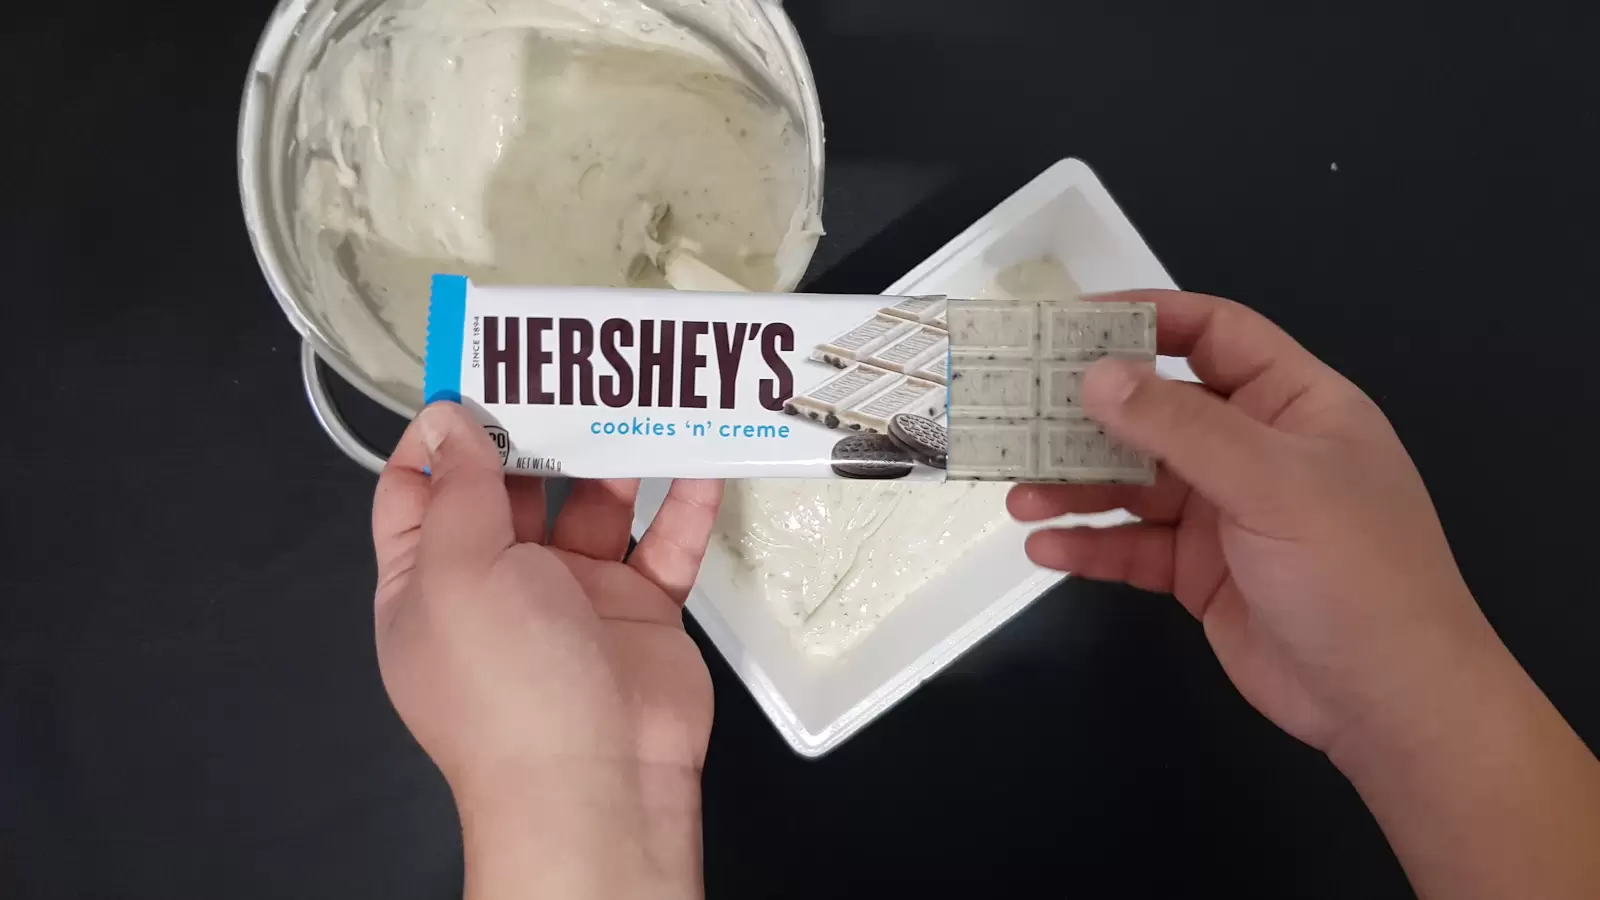
Step 7: Add pieces of Hersheys chocolate. - Step 8 Add chocolate pieces. Using your hands, break 6 cubes of Hershey's chocolate into small pieces and spread evenly on top of the ice cream.
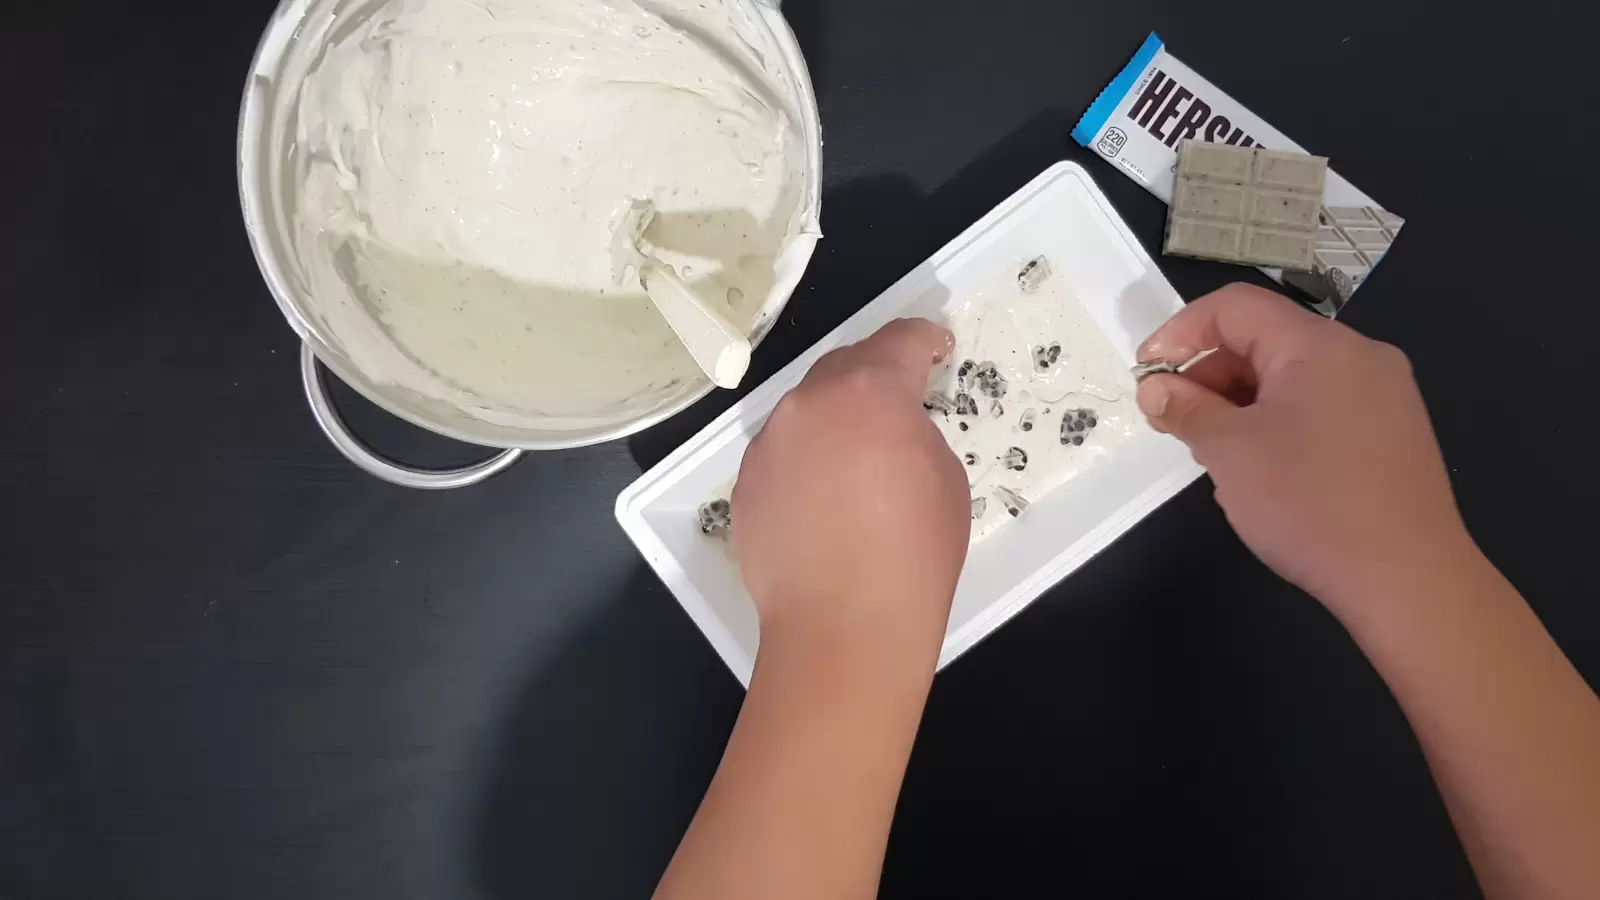
Step 8: Add chocolate pieces. - Step 9 Pour from the mixture. Pour the mixture into the box with the ice cream, on top of the chocolate pieces. Spread evenly using a palette knife or spoon.
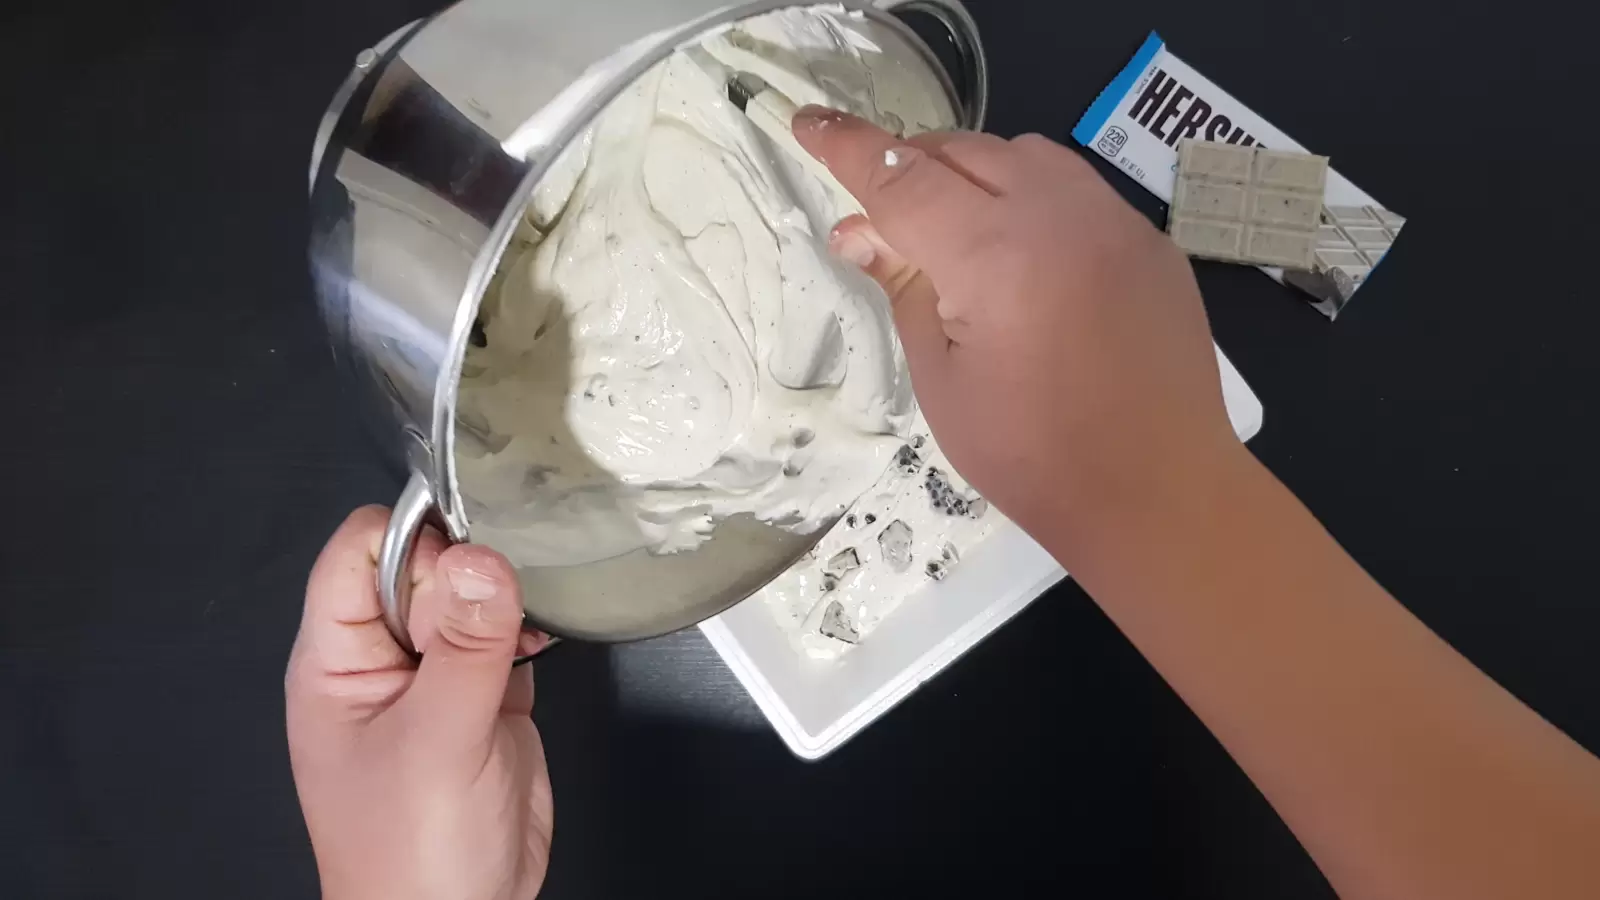
Step 9: Pour from the mixture. - Step 10 Add chocolate cubes. Add additional Hershey's chocolate cubes on top for decoration. Close tightly and put in the freezer for at least five hours.
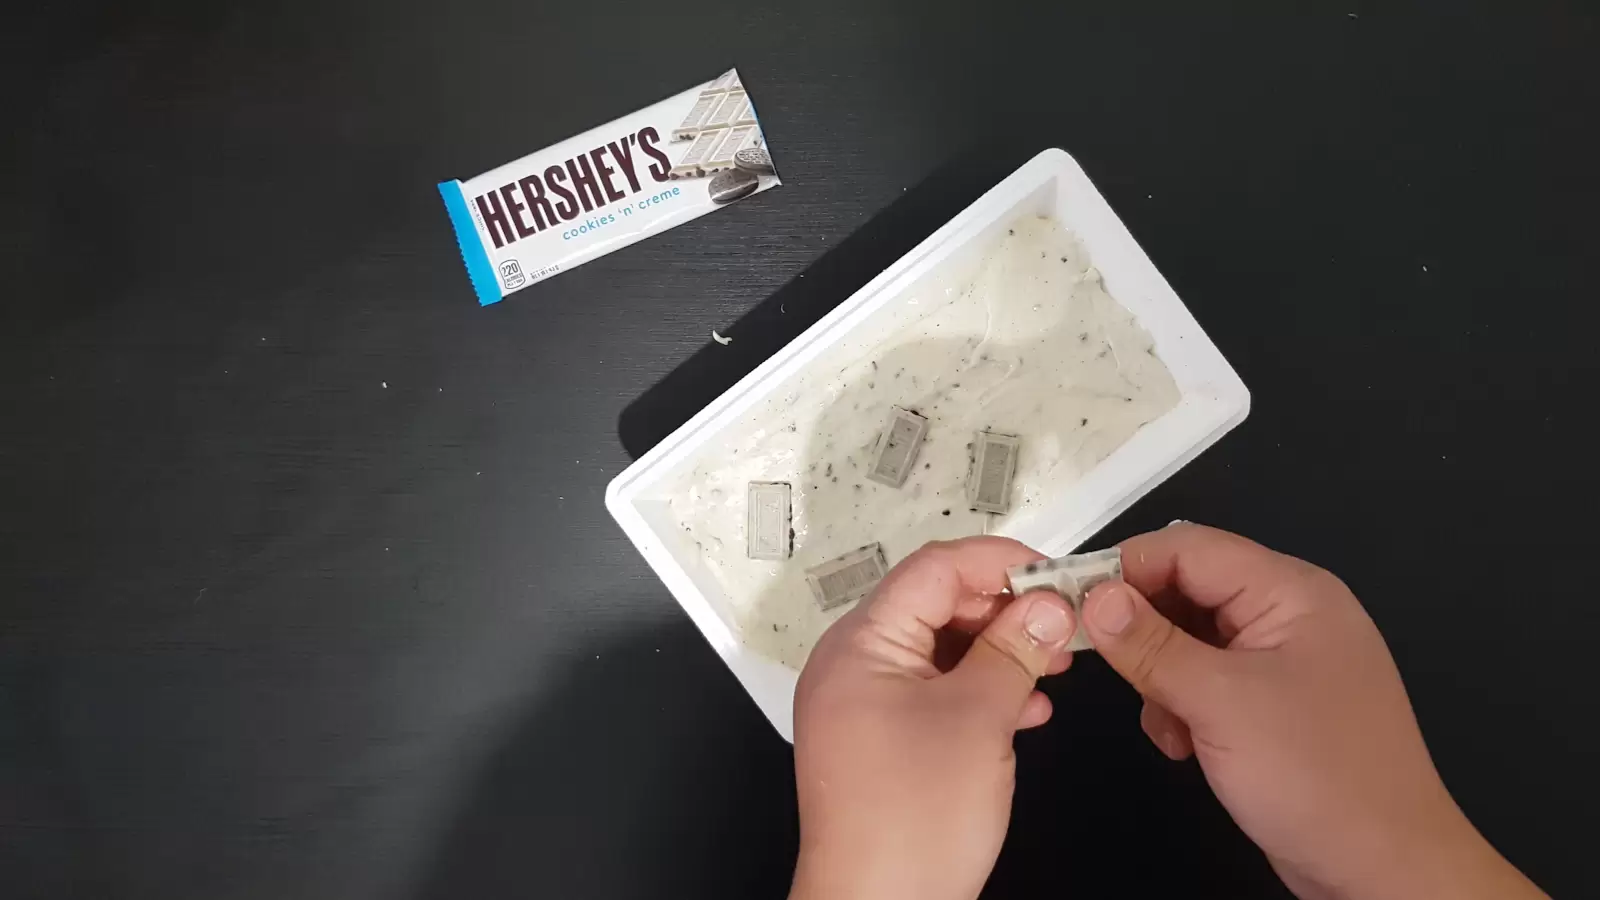
Step 10: Add chocolate cubes. - Step 11Take a taste test and share your opinion! Did you enjoy our recipe? Let us know in the comments.
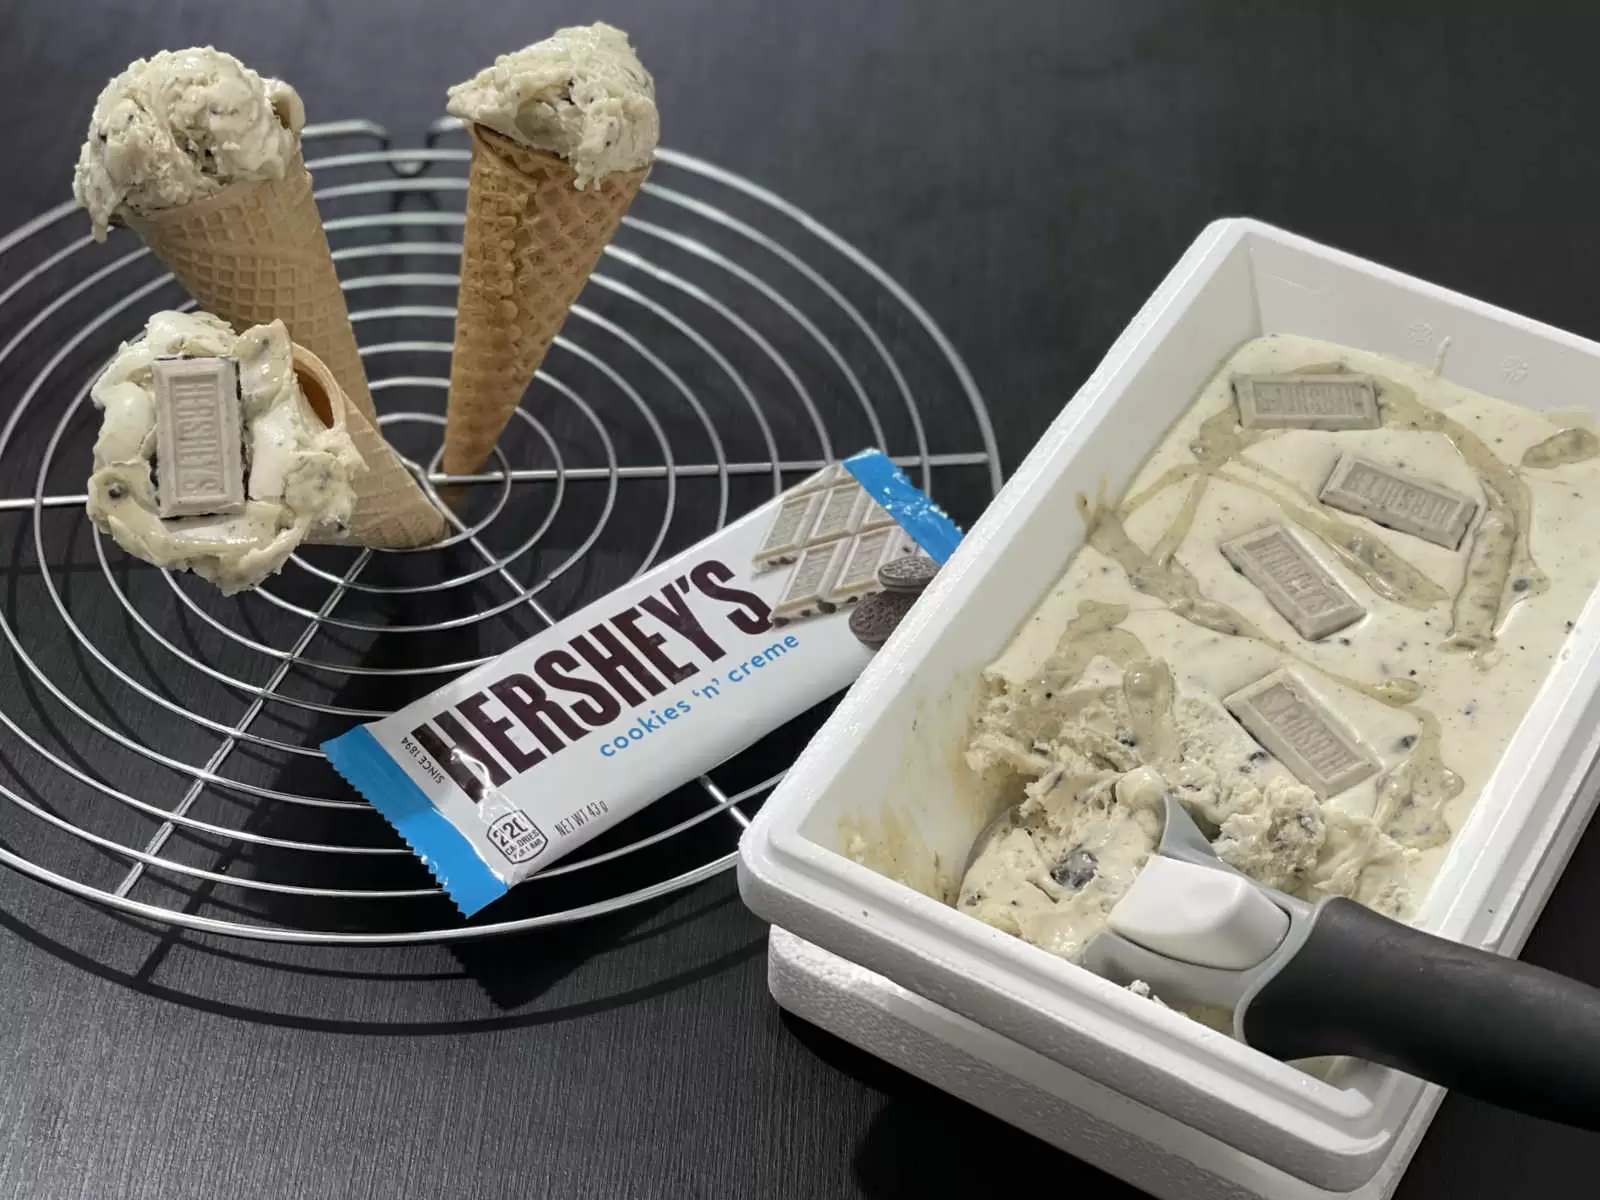
Step number 11: As we reach the final step, the most crucial one awaits - Share your thoughts! Comment if you enjoyed our recipe, feel free to ask questions in the comments section below, spread the joy with your friends, and don't forget to rate it!
Hersheys Ice Cream Recipe Pictures
Making this recipe at home is a great way to save some money compared to buying a similar dish out. When you make it yourself, you can buy ingredients in larger quantities, reducing the overall cost per dish. Plus, by controlling what you buy, you can choose affordable options without sacrificing quality. Another big advantage is that you avoid additional expenses such as taxes or tips, which usually come with eating out. Over time, making your own treats can lead to considerable savings, all while giving you the freedom to adjust the ingredients to your preferences.
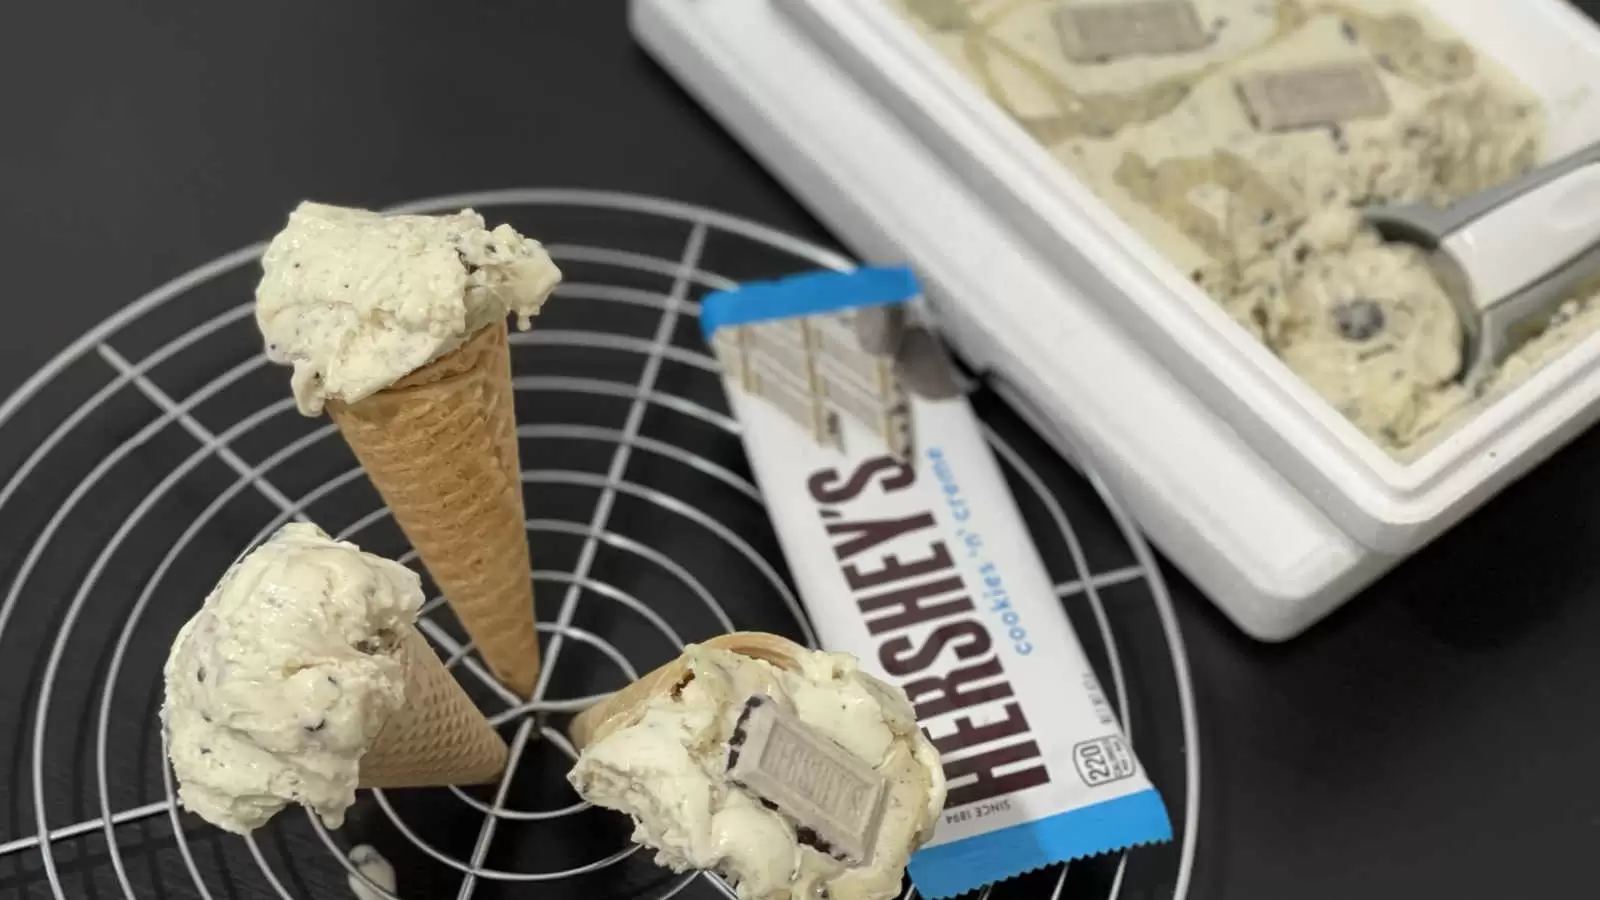
This recipe is perfect for many different types of people. Athletes and fitness enthusiasts will find it appealing, thanks to the calcium and protein from the milk, which are great for post-workout recovery. Even those looking for healthier dessert alternatives can enjoy it, as it's easy to adjust to lower fat or sugar content without losing its appeal. It really offers something for anyone who enjoys a balance between indulgence and some nutritional value.
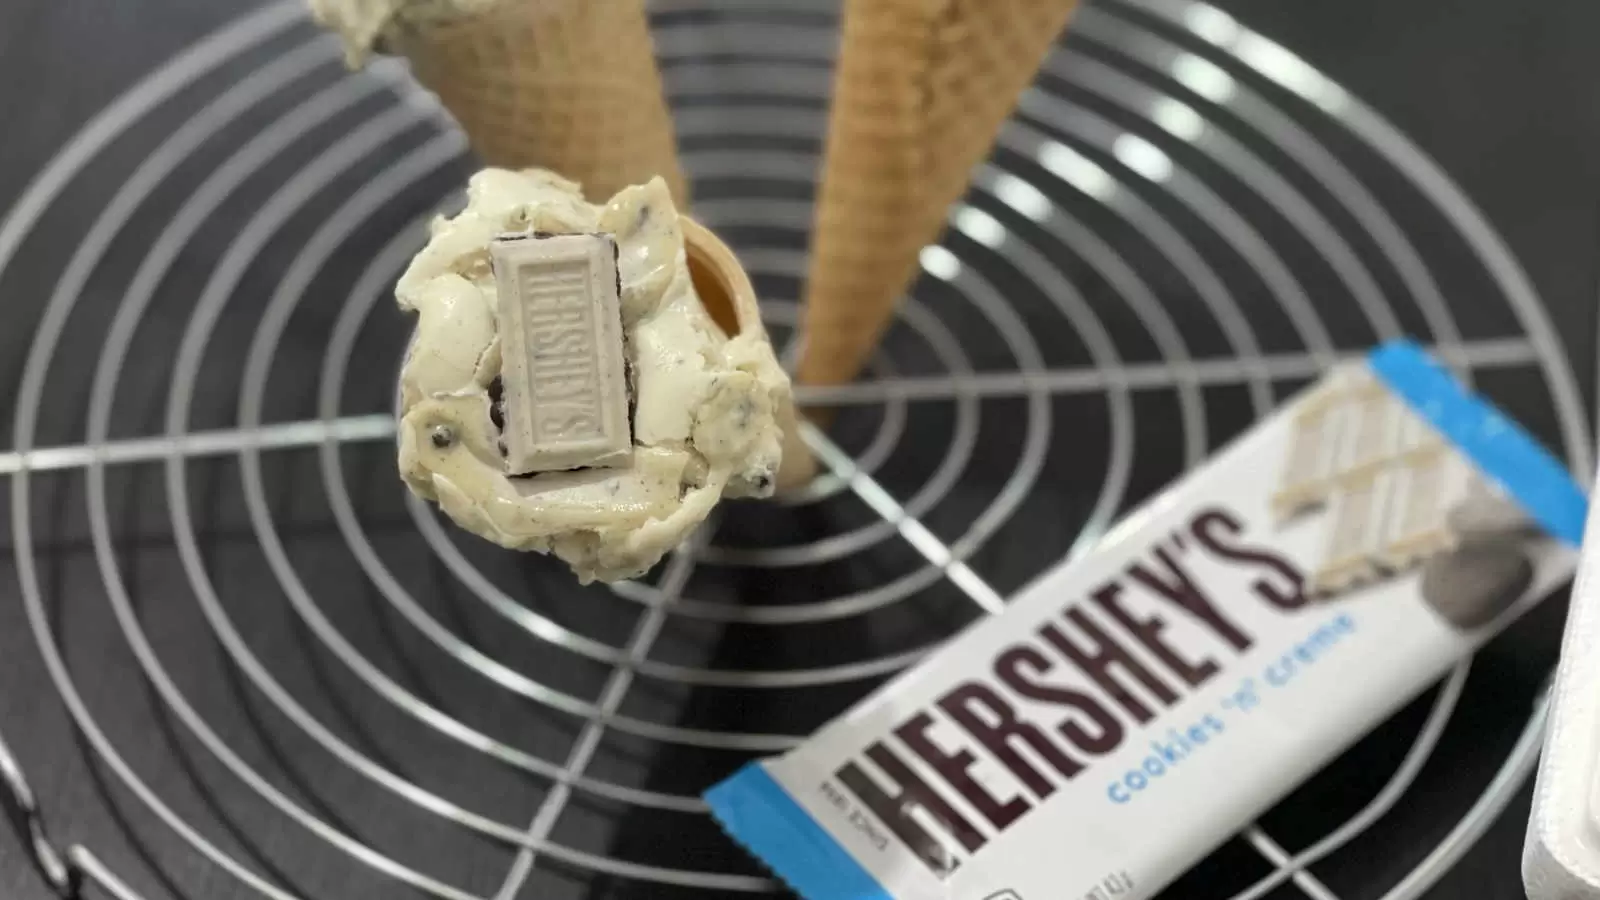
To make this recipe, you won't need any fancy equipment. A basic set of kitchen utensils will do the job. First, you'll need a mixing bowl to combine your ingredients and a whisk or electric mixer to blend them smoothly. You will also need a freezer-safe container, an airtight box or ice cream container, and of course, a measuring cup and spoons to adjust your quantities. It's not hard to do it, and having just a few of these tools on hand will make it easy to follow along with the recipe steps.
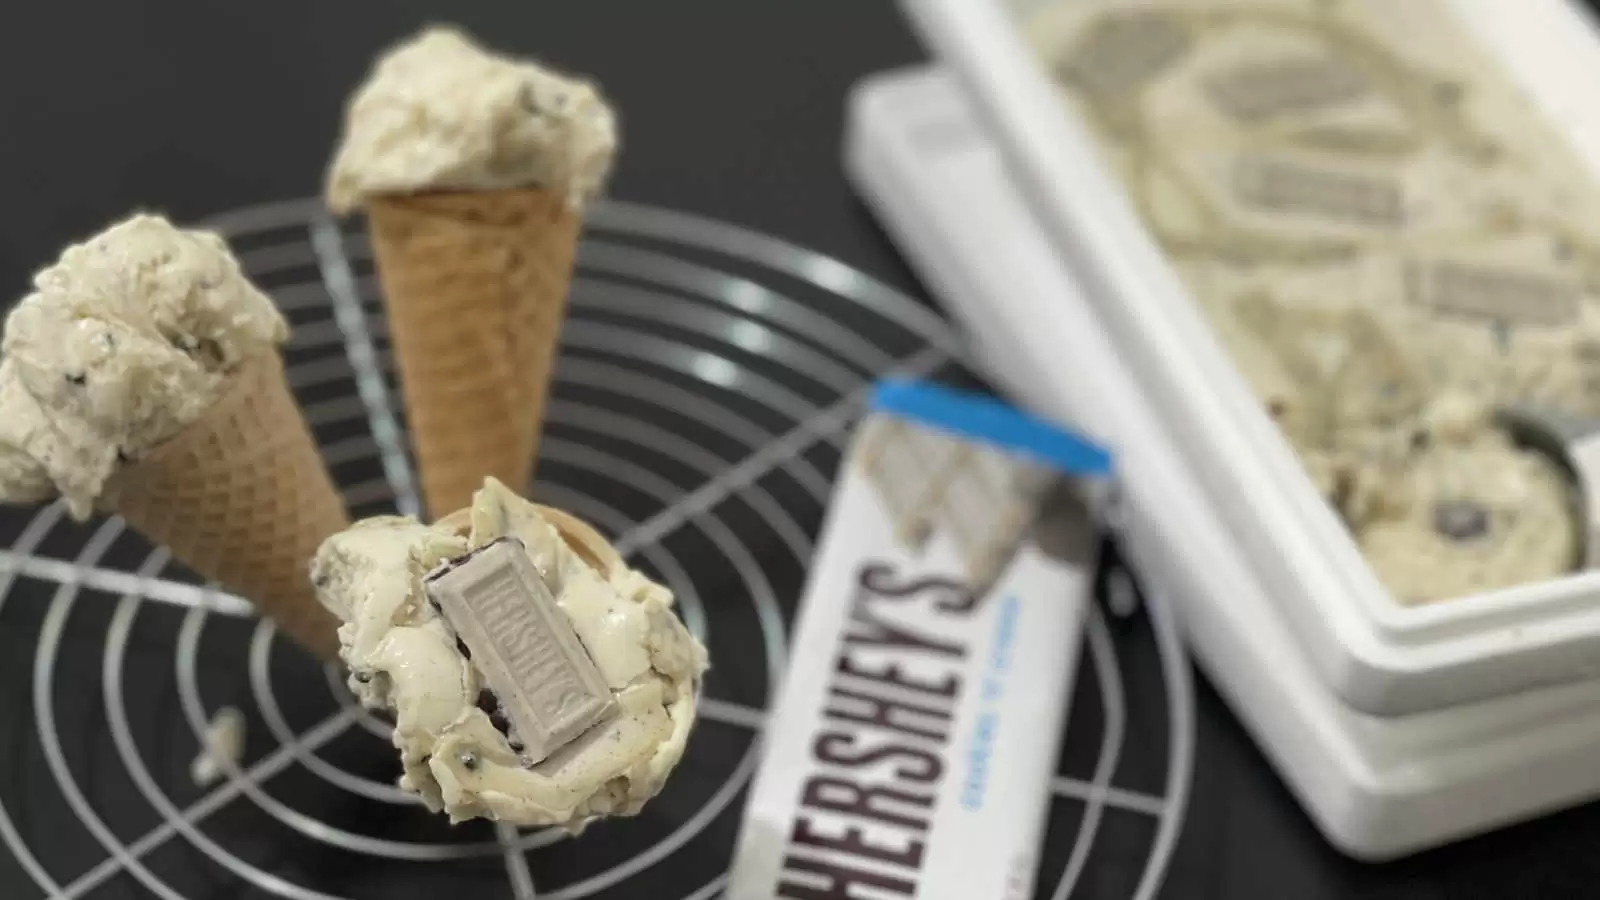
Thank you for taking the time to read the recipe. I hope you're excited to try it for yourself because it's easier than it looks and gives you complete control over what goes into your dish. Not only is it a healthier option, but by making it at home, you can save money and feel proud of the result. If you enjoy cooking or baking, why not share your passion with others? You can even start your own food blog, just like we did, and earn some money by sharing your recipes. Trust me, it doesn't require any technical expertise; All you need is the ability to cook or bake, and you're good to go. Think about it, if we can do it, so can you! If you would like to learn more, check out the link at the bottom of the page.
You are welcome to leave a comment or ask any question about the recipe, and don't forget to rate it. You can find the comment and rating box further down the page.
Recipe Tips
- You can add any toppings or chocolate pieces you like to the ice cream.
- The ice cream can be kept for up to two months from the moment it is made.
- It must be kept in the freezer at all times in a tightly closed box.
Other Recipes You May Like
Leave A Comment
Your email address will not be published. Required Fields Are Marked With (*).

